In this article
- Introduction
- How can you recover deleted Outlook emails in Microsoft 365?
- How to recover deleted Outlook emails if you don’t have a backup?
- How to recover deleted Outlook emails if you have a backup?
How to Recover Deleted Outlook Emails in Microsoft 365?
9 Sept 2024
|10 min read
|Annu Palathingal


Blog Articles
Article at a glance
Recovering deleted emails in Office 365 can be done through the Deleted Items folder or the Recoverable Items folder:
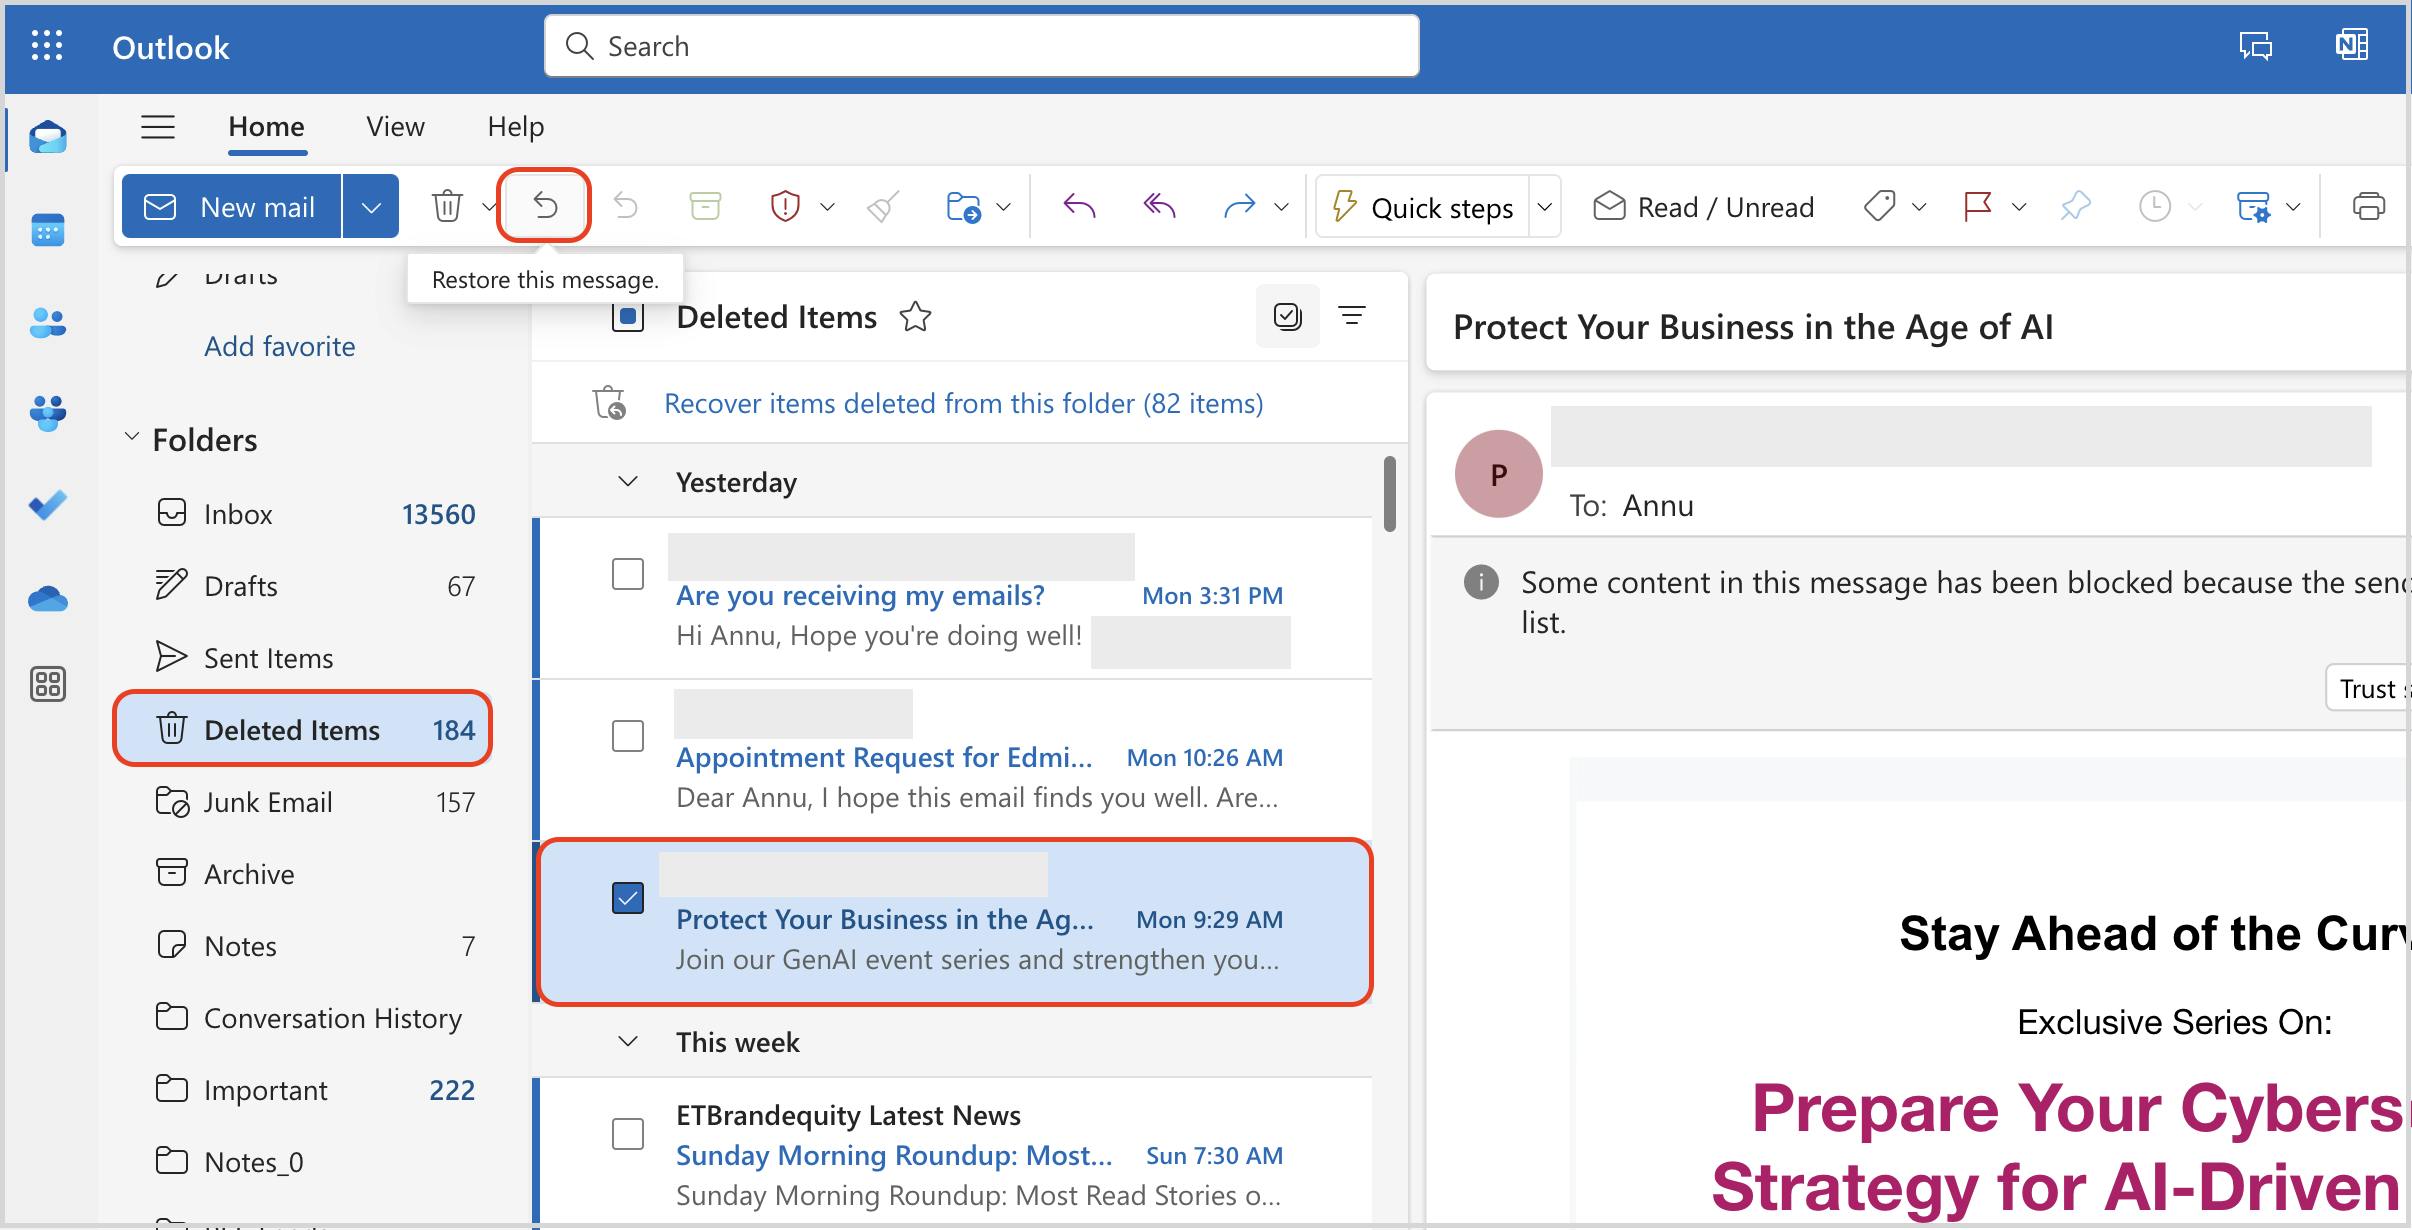
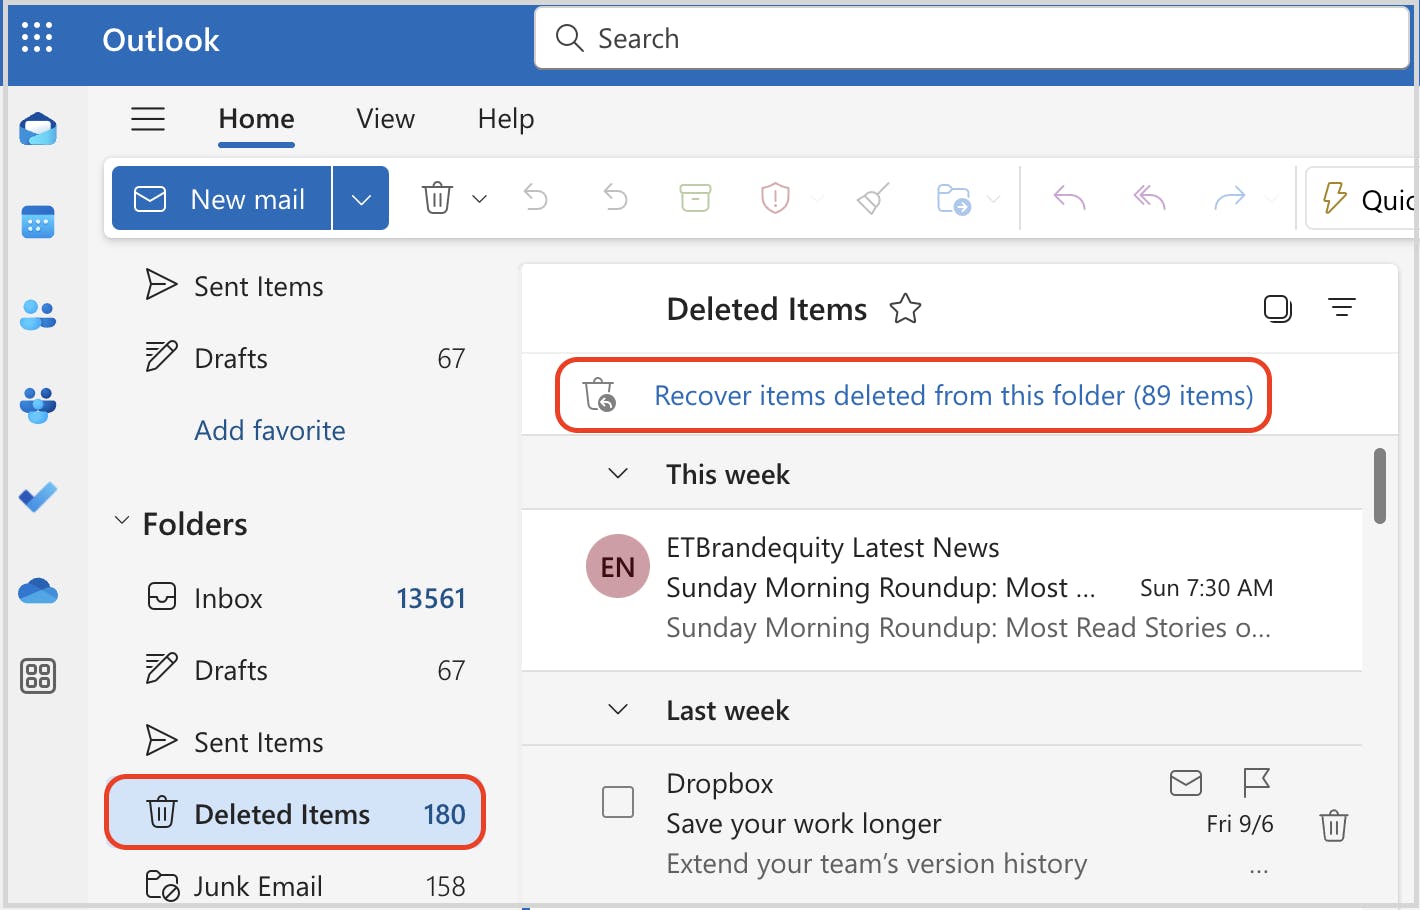
- Emails deleted from the Deleted Items folder can be restored within 14 days (or up to 30 days if configured) from the Recoverable Items folder.
After this period, emails are permanently deleted and typically cannot be recovered through standard Office 365 tools. What is the solution?
Read more
Introduction
How can you recover deleted Outlook emails in Microsoft 365?
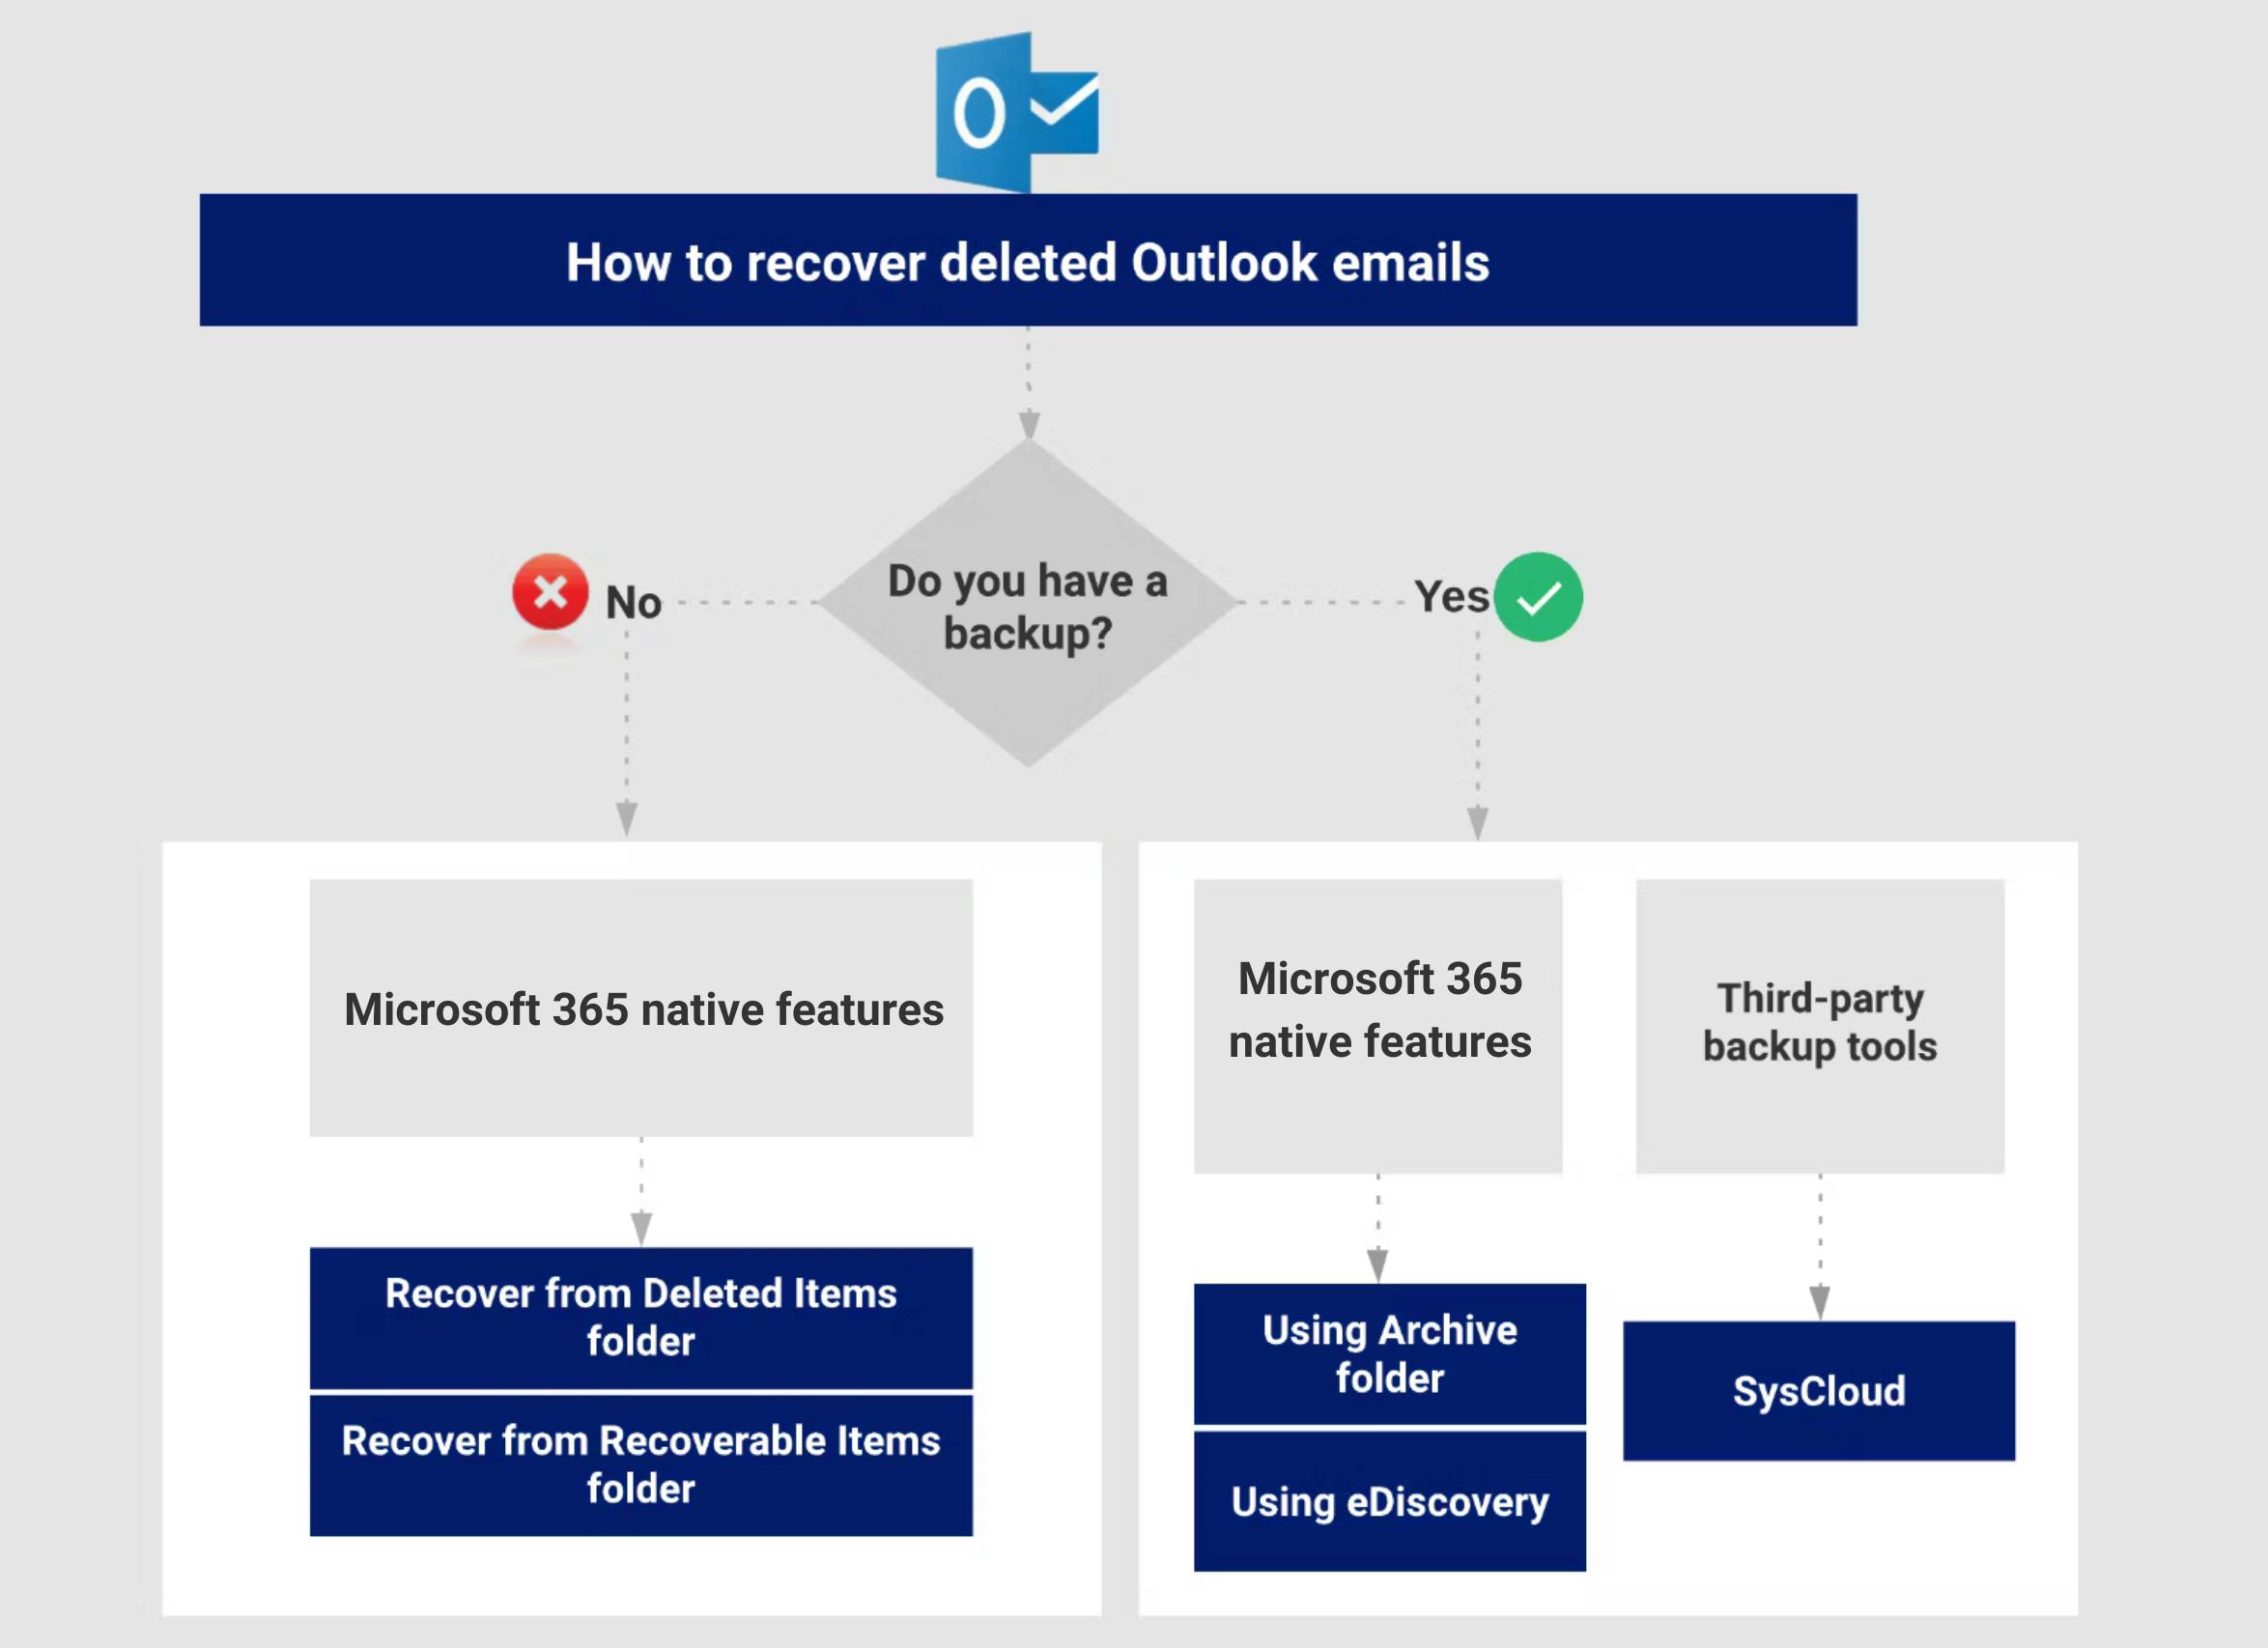
How to recover deleted Outlook emails if you don’t have a backup?
Recovering deleted Outlook emails from Deleted Items folder
How to recover deleted Outlook email folder?
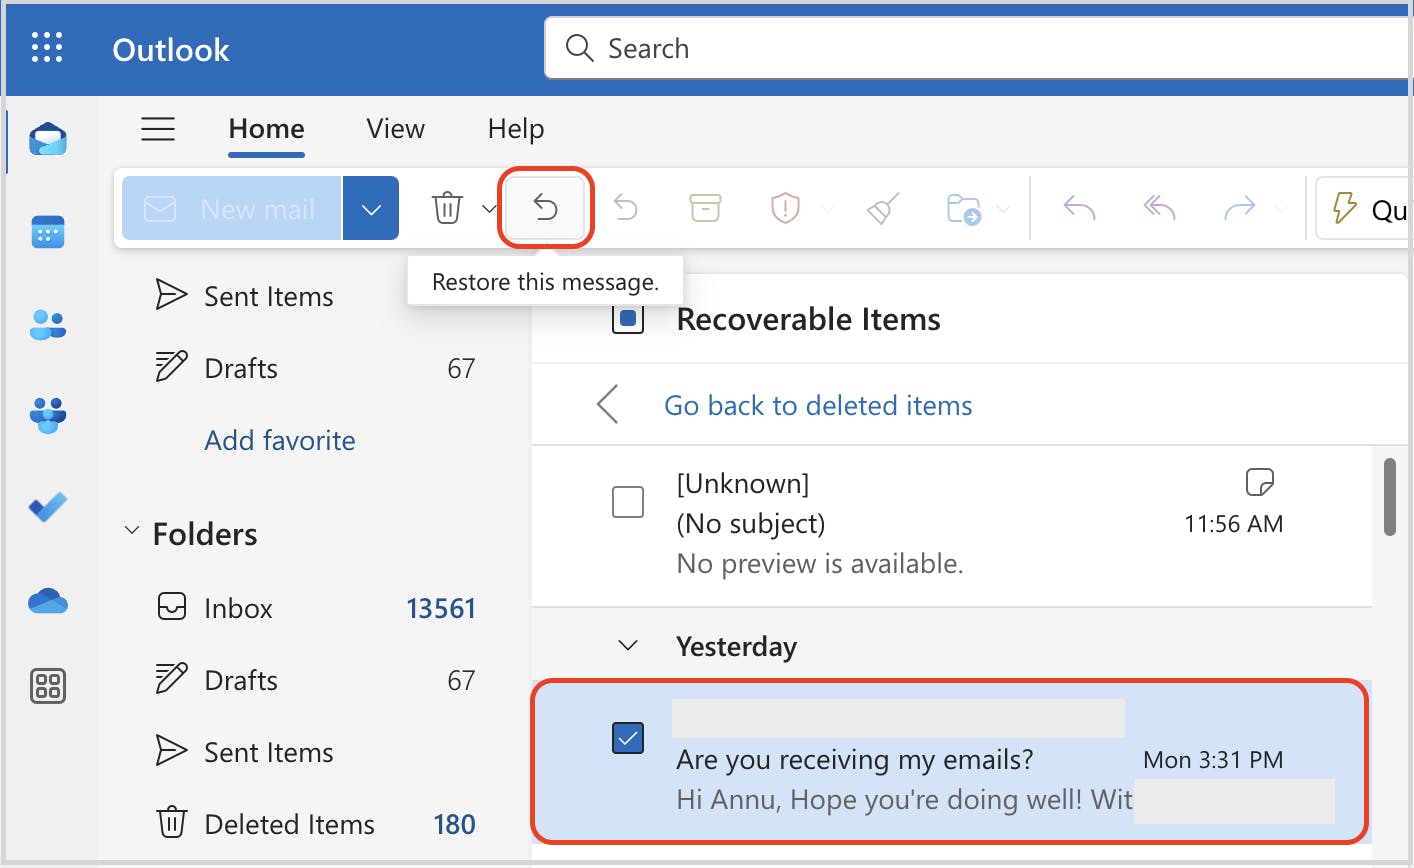
Recovering permanently deleted files from Recoverable Items folder
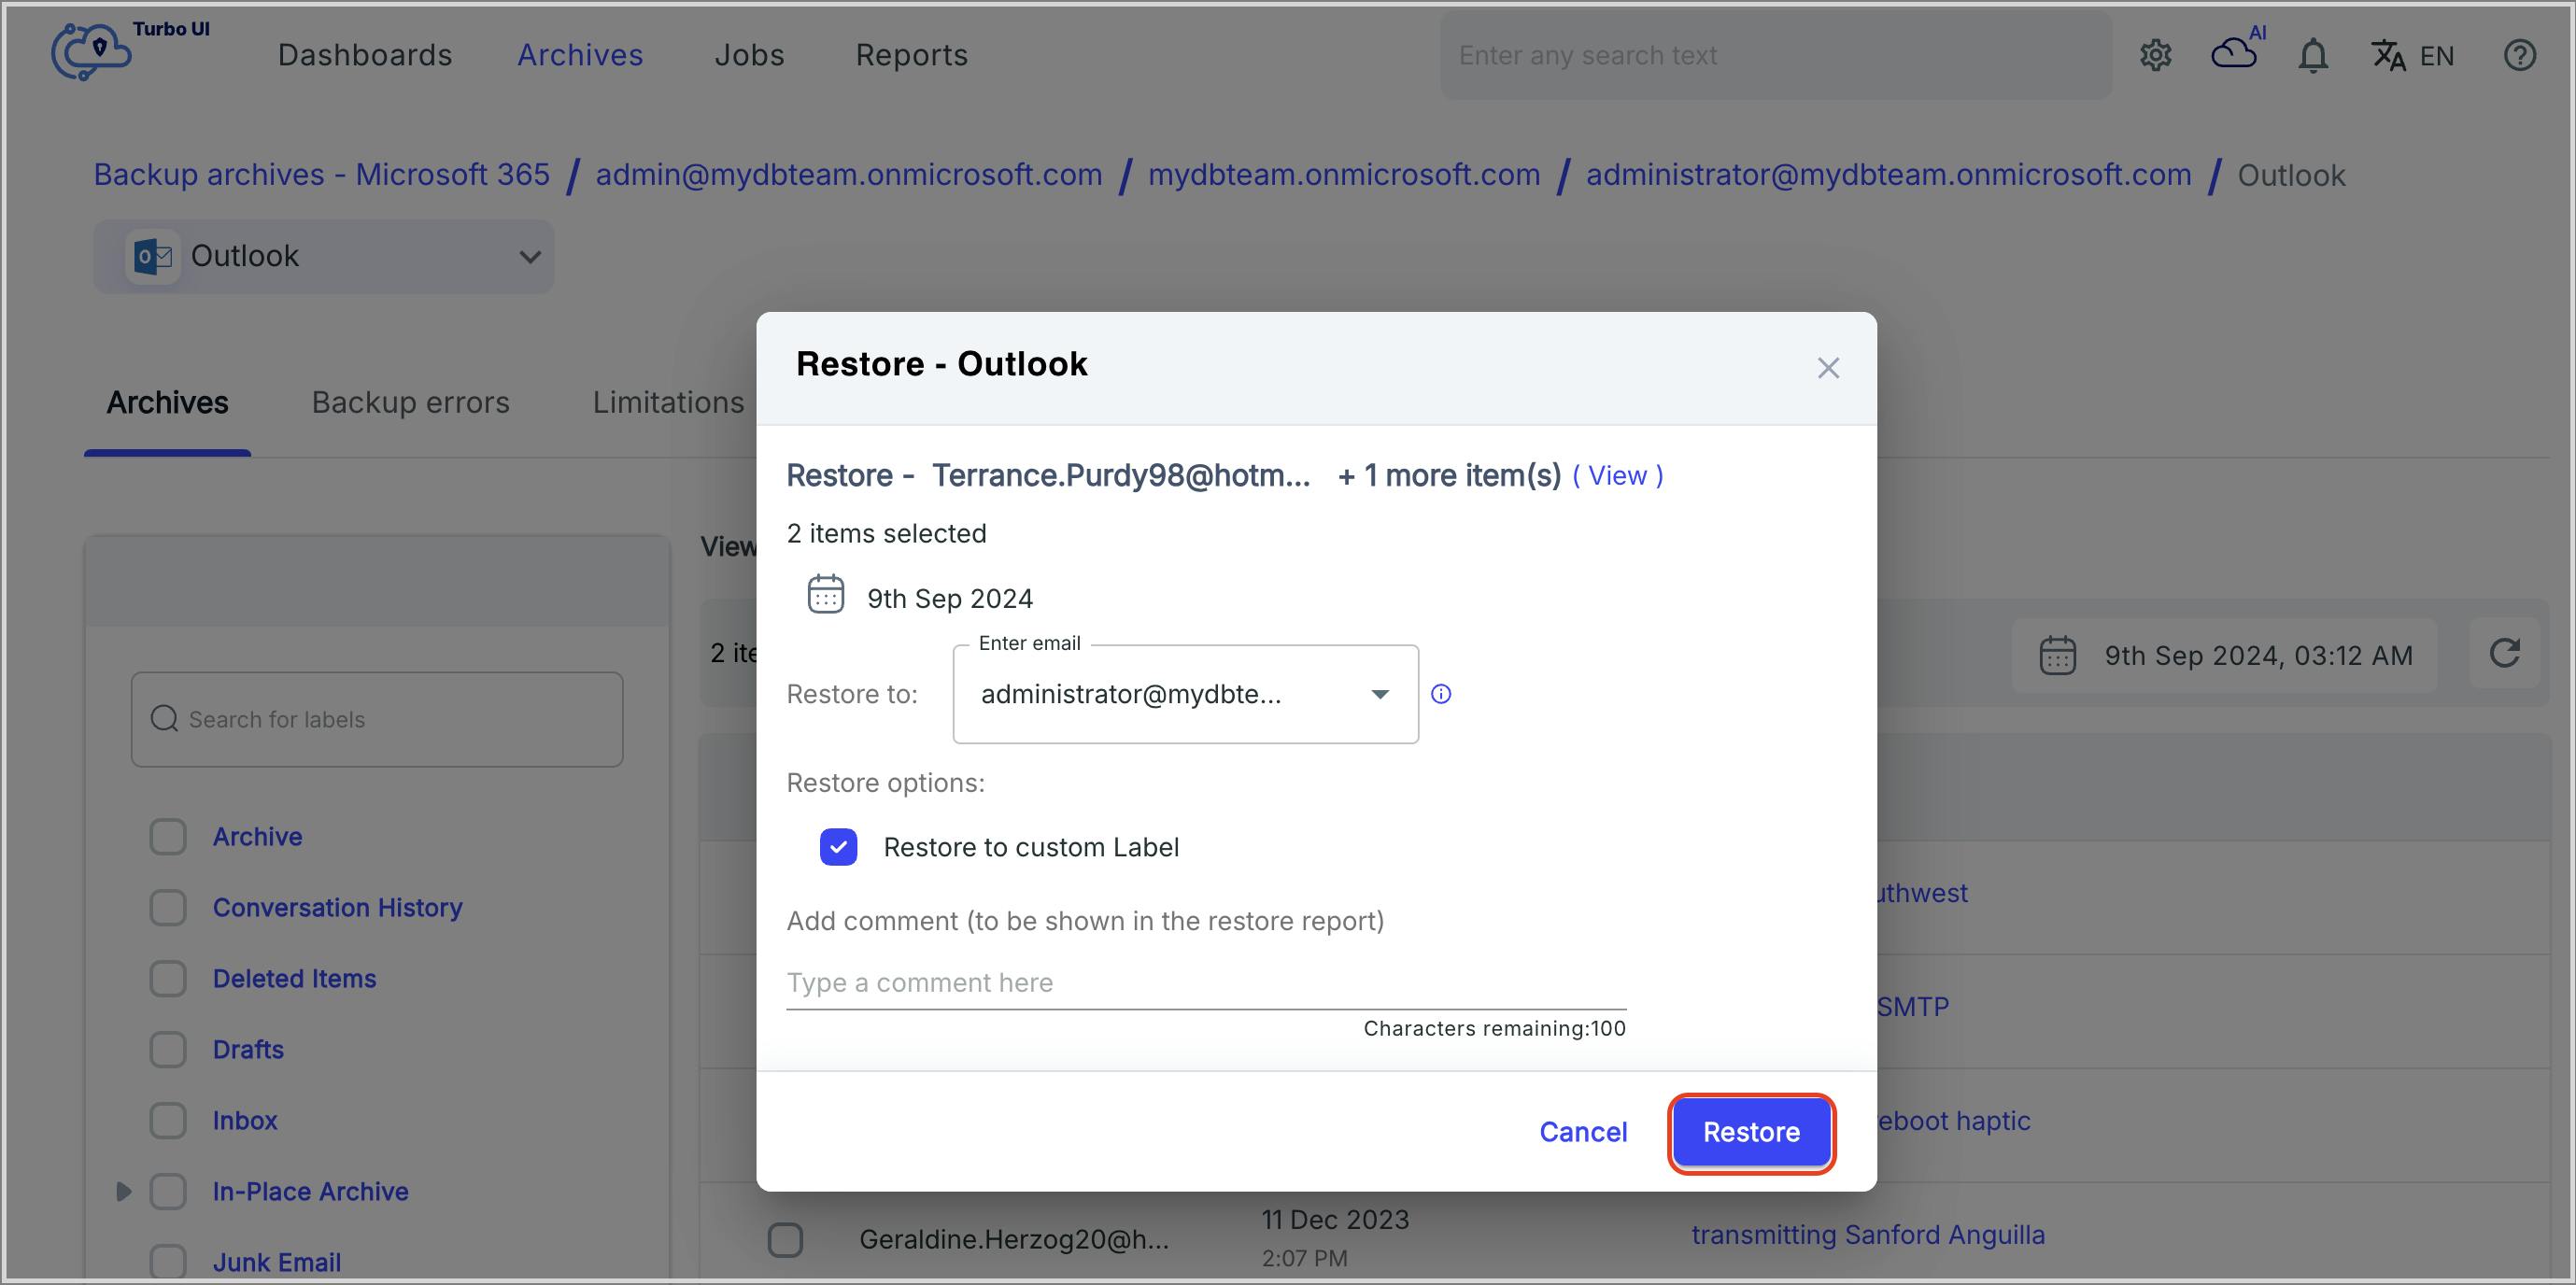
How to recover deleted Outlook emails if you have a backup?
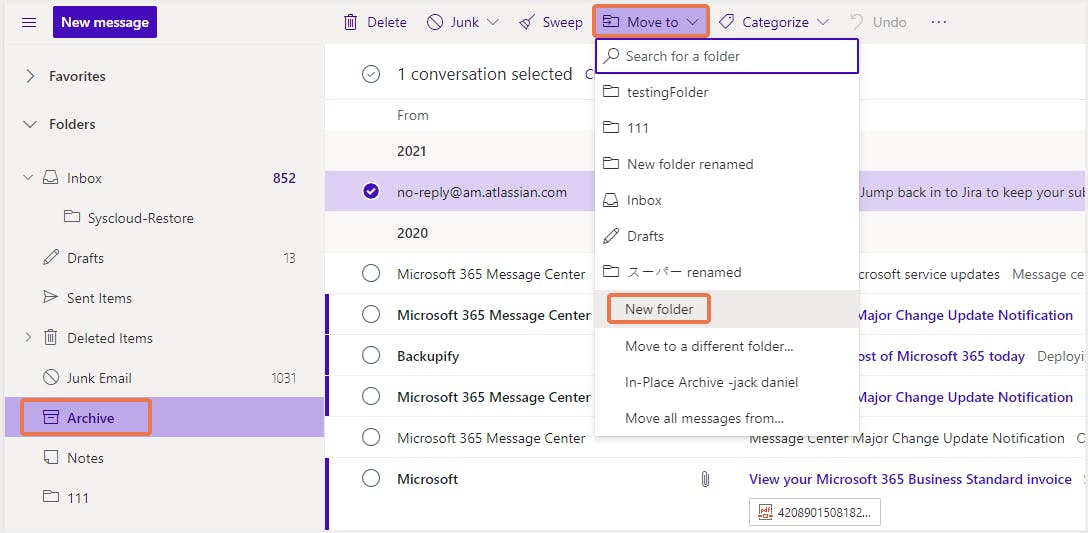
Recover deleted Outlook emails from the Archive folder
Recover permanently deleted Outlook emails using eDiscovery
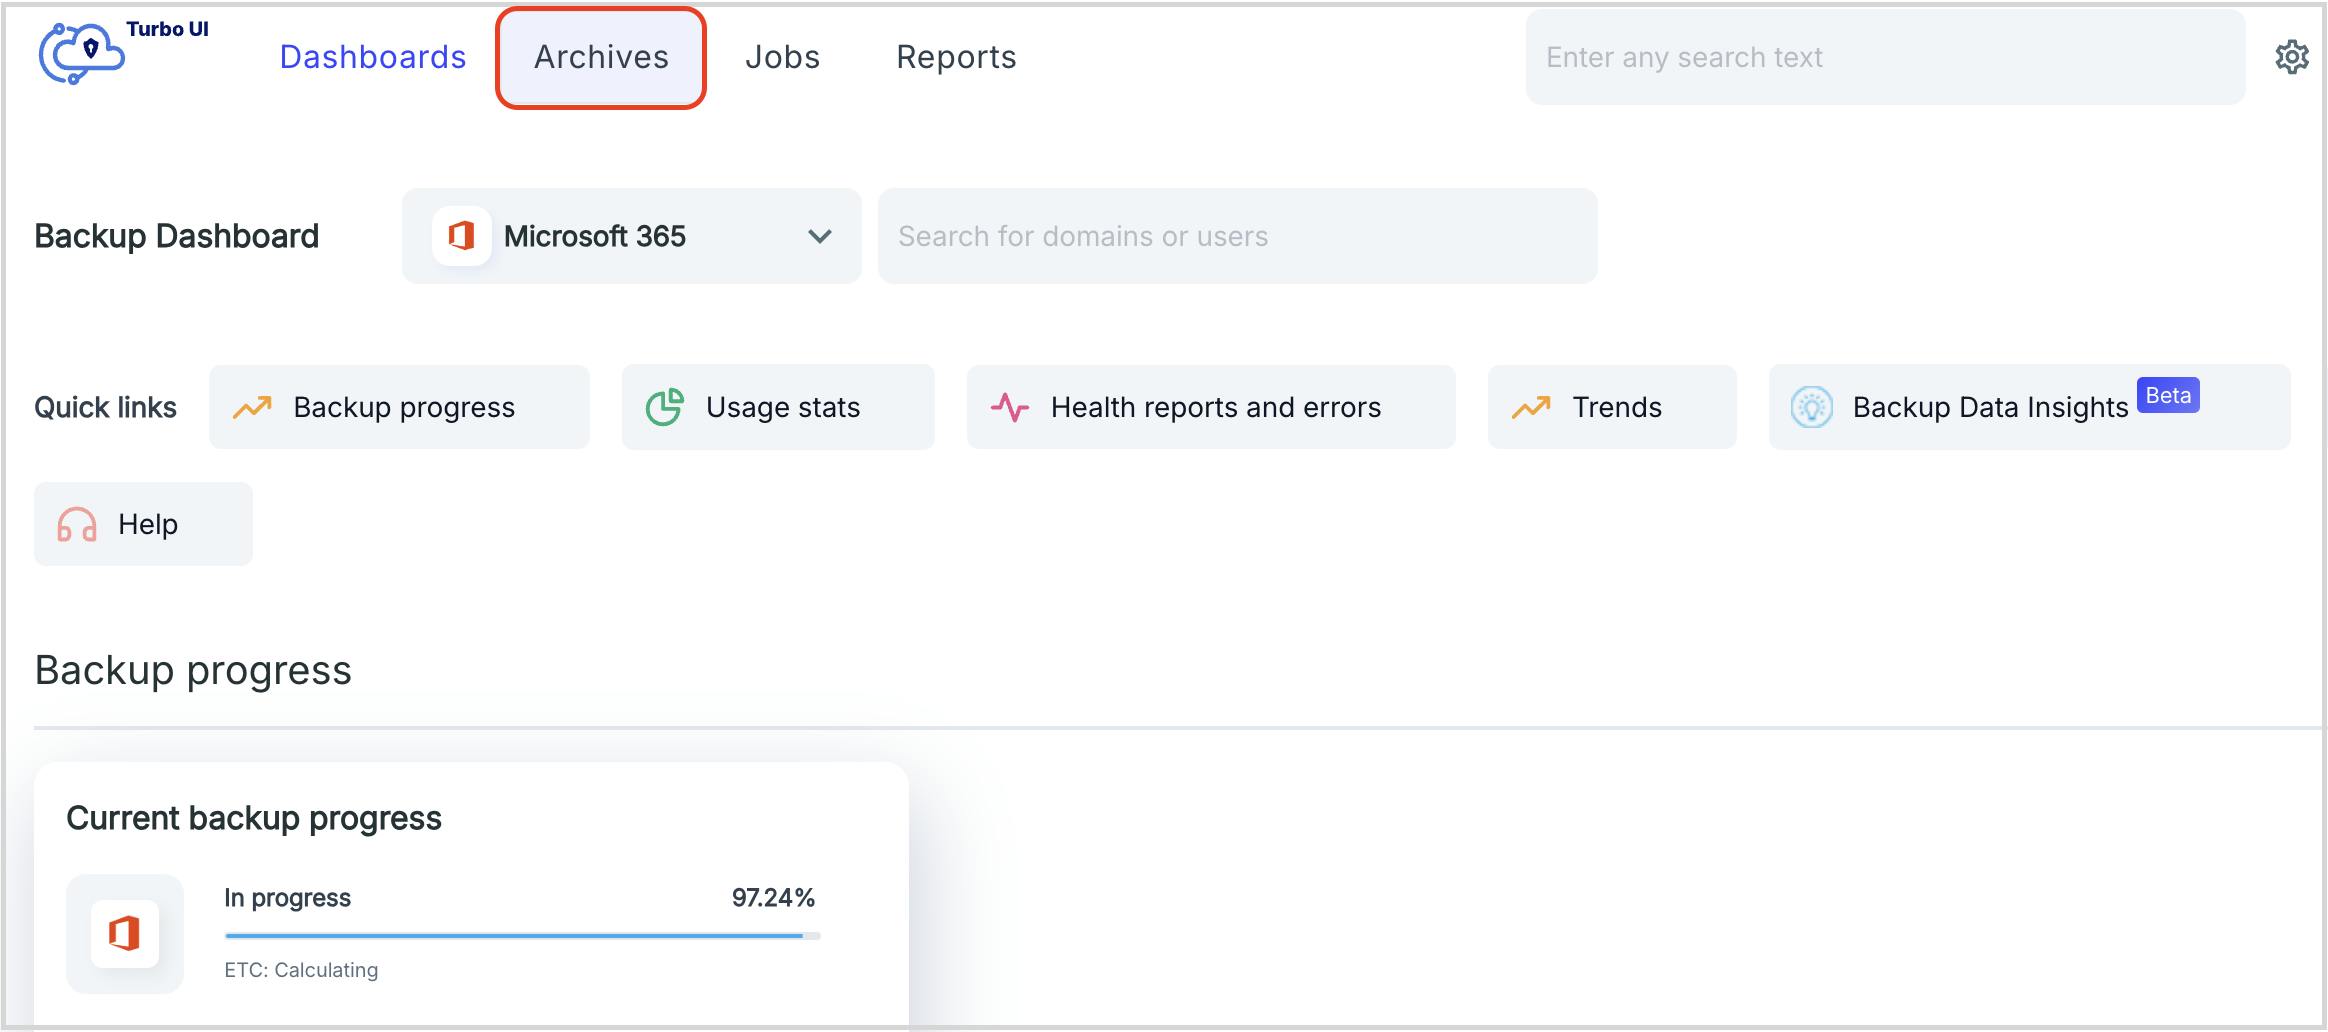
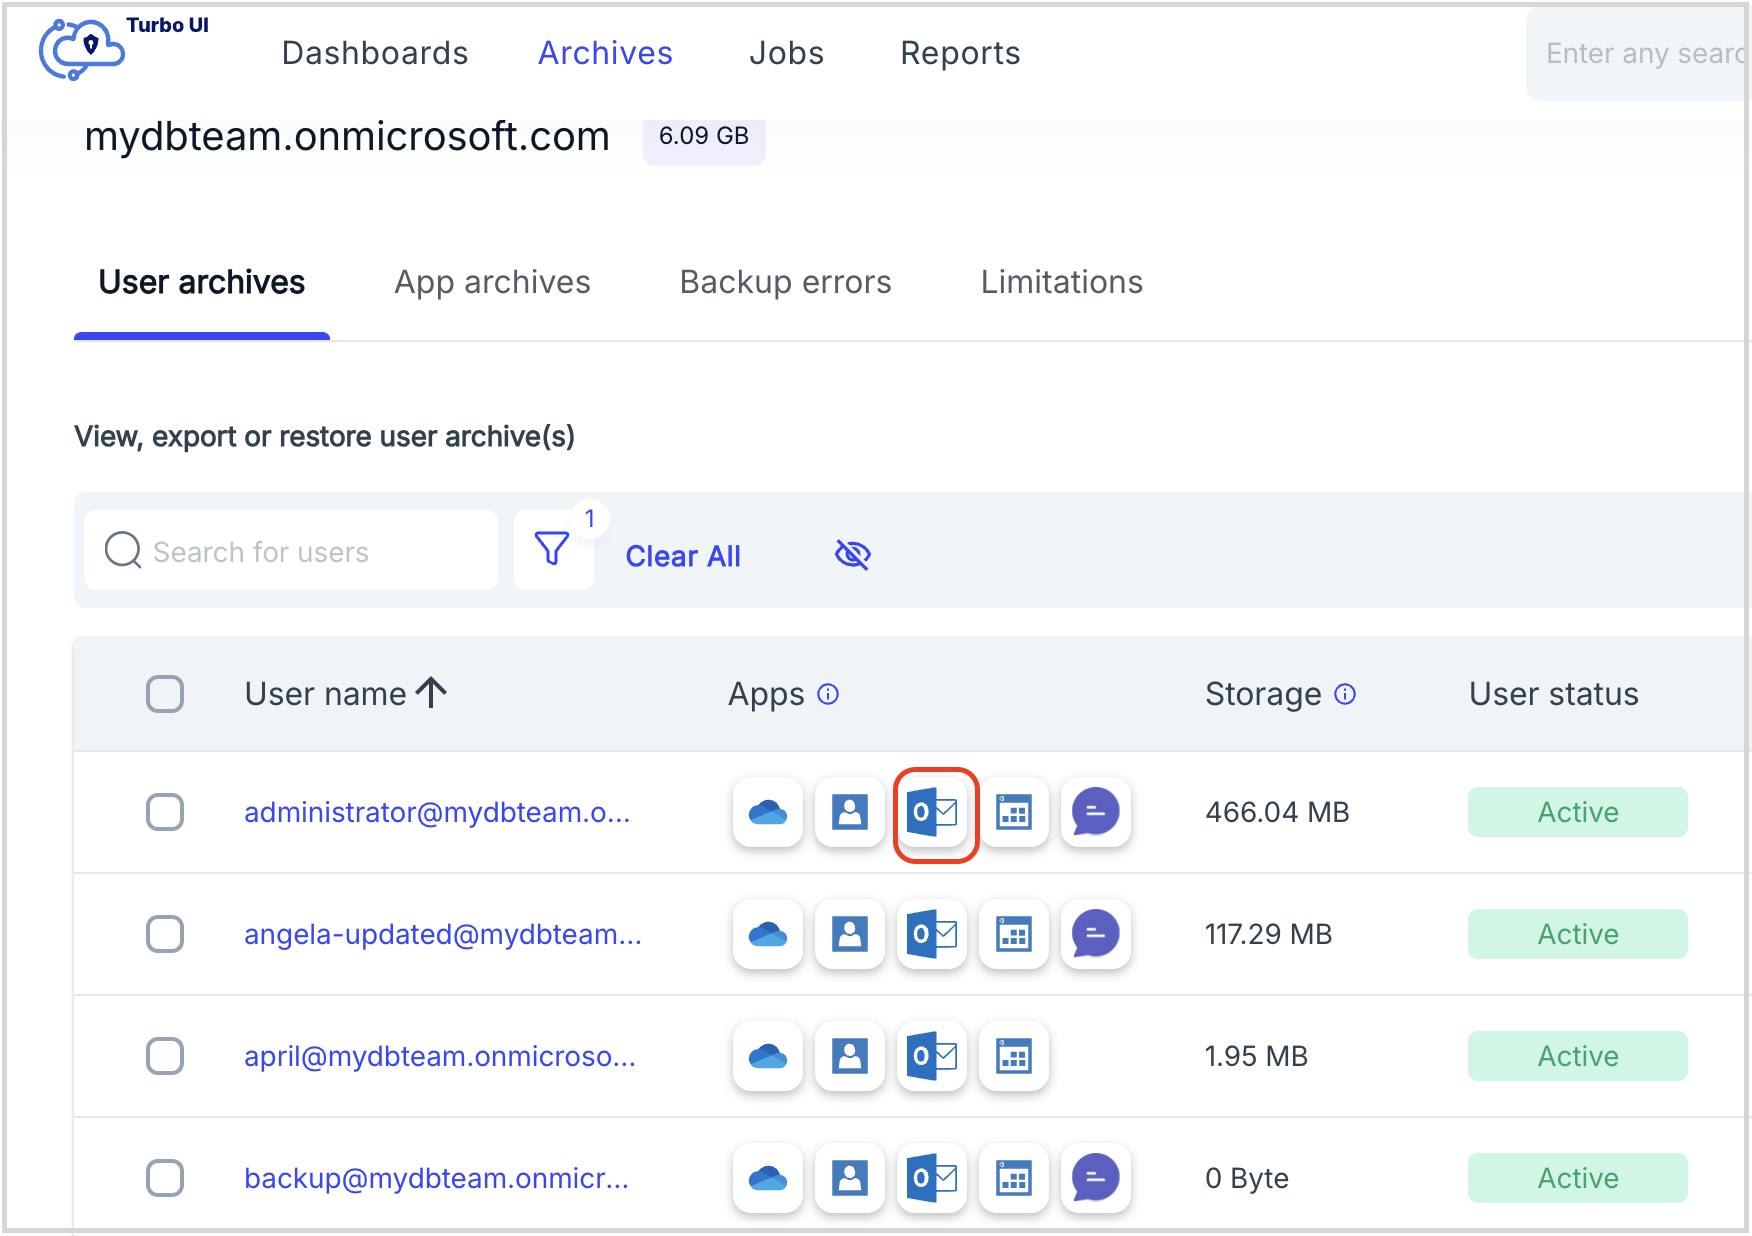
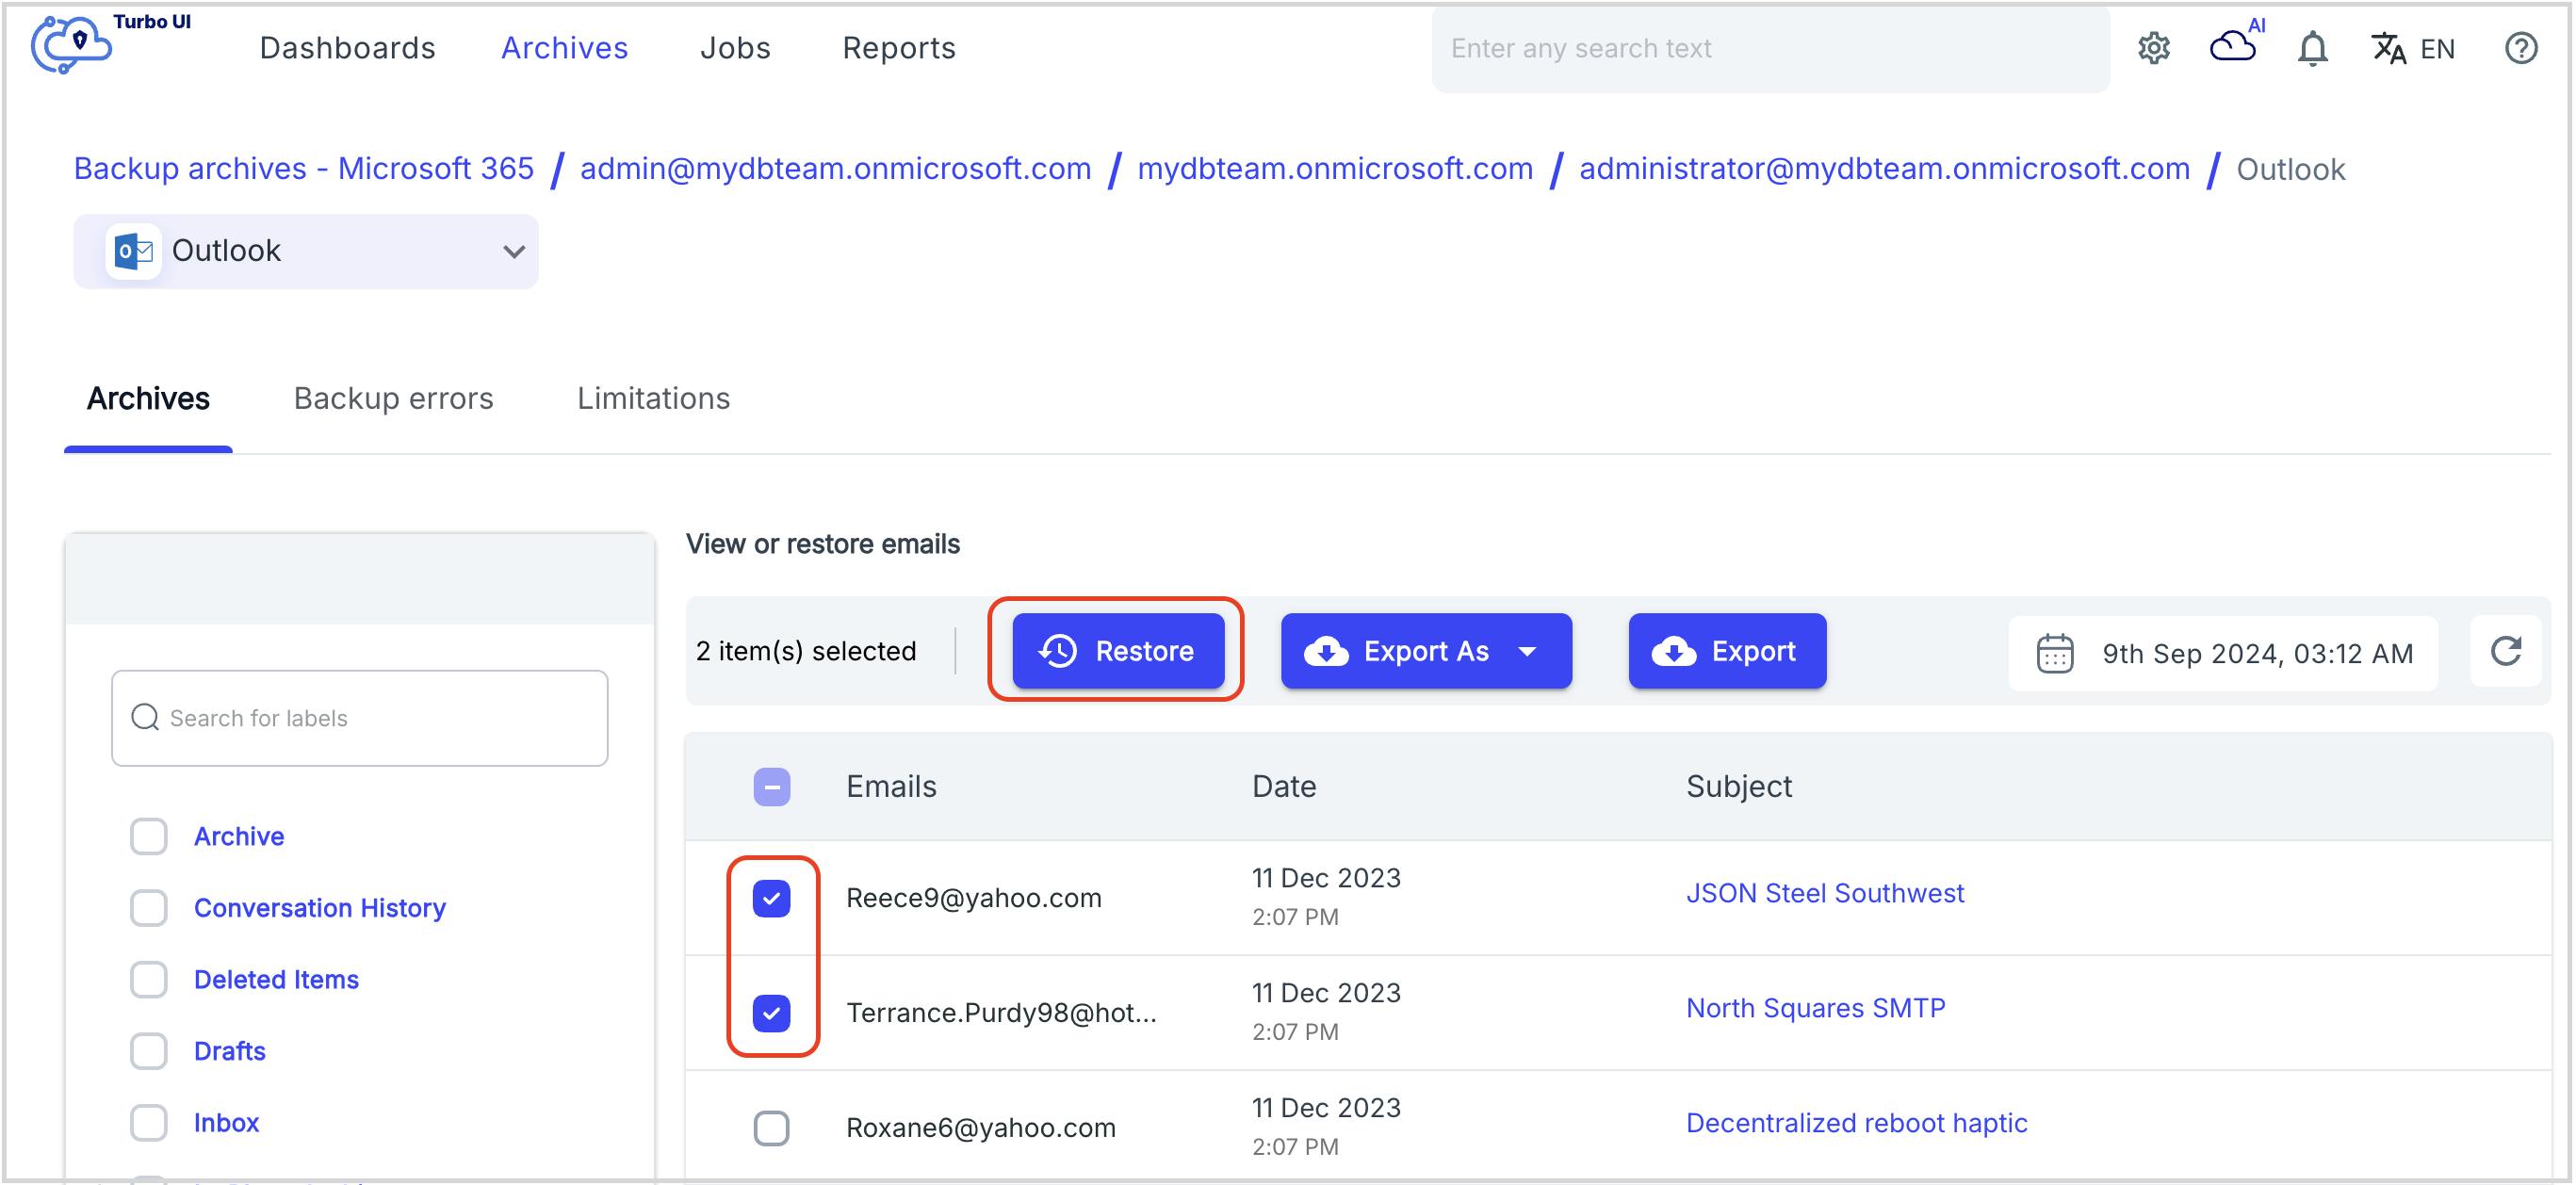
Recover deleted Outlook emails using third-party tools
In this article

- Introduction
- How can you recover deleted Outlook emails in Microsoft 365?
- How to recover deleted Outlook emails if you don’t have a backup?
- How to recover deleted Outlook emails if you have a backup?