In this article
- Microsoft 365 Admin Center Outlook Security Settings to Prevent Phishing Attacks
- Exchange Admin Center Settings
- Services & Add-ins Settings
- Admin Center- Security & Compliance Settings
- COVid-19-Themed Phishing Attacks
- Outlook Security best practices
5 Microsoft 365 Admin Center Outlook Settings to Stop Phishing Attacks
24 May 2021
|15 min read
|Gabby Maletto


Blog Articles
Article at a glance
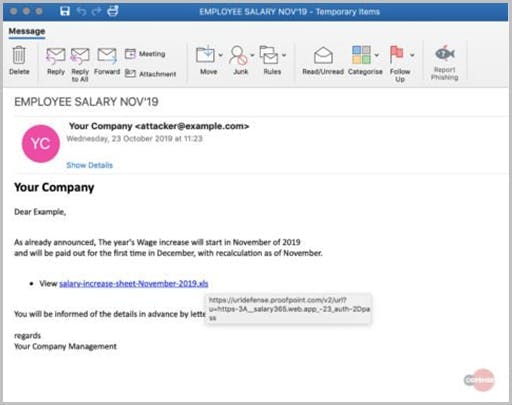
Outlook security vulnerabilities can expose organizations to phishing attacks, especially with the rise of remote work.
How do we prevent the attacks?
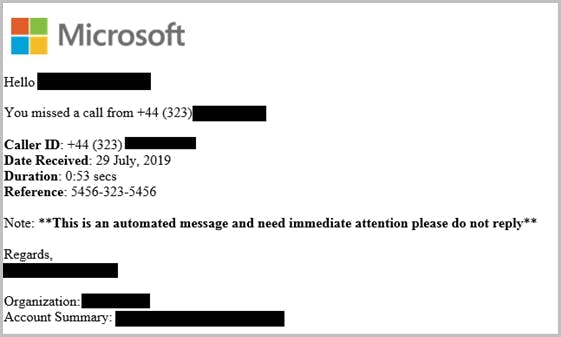
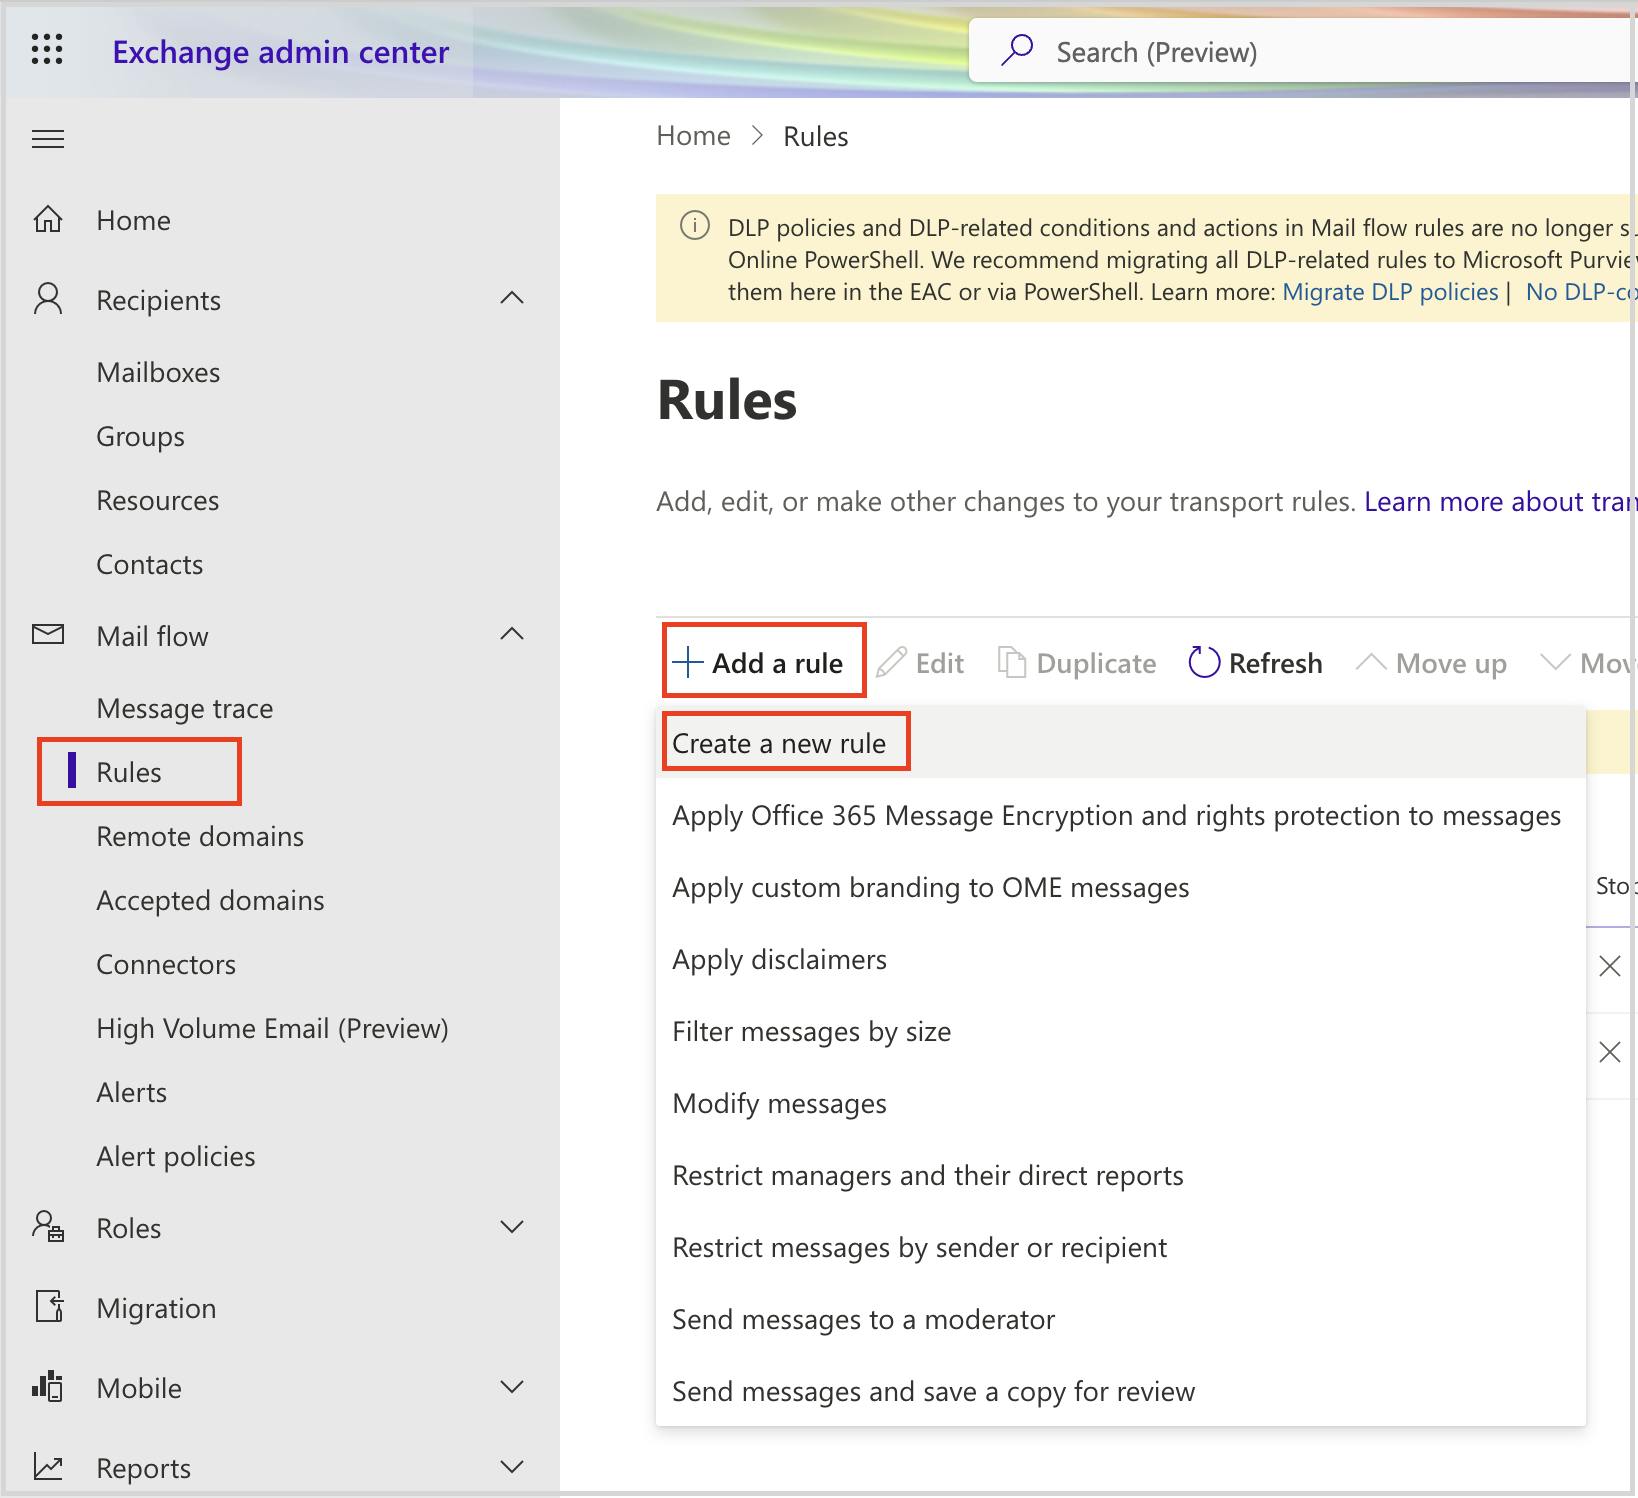
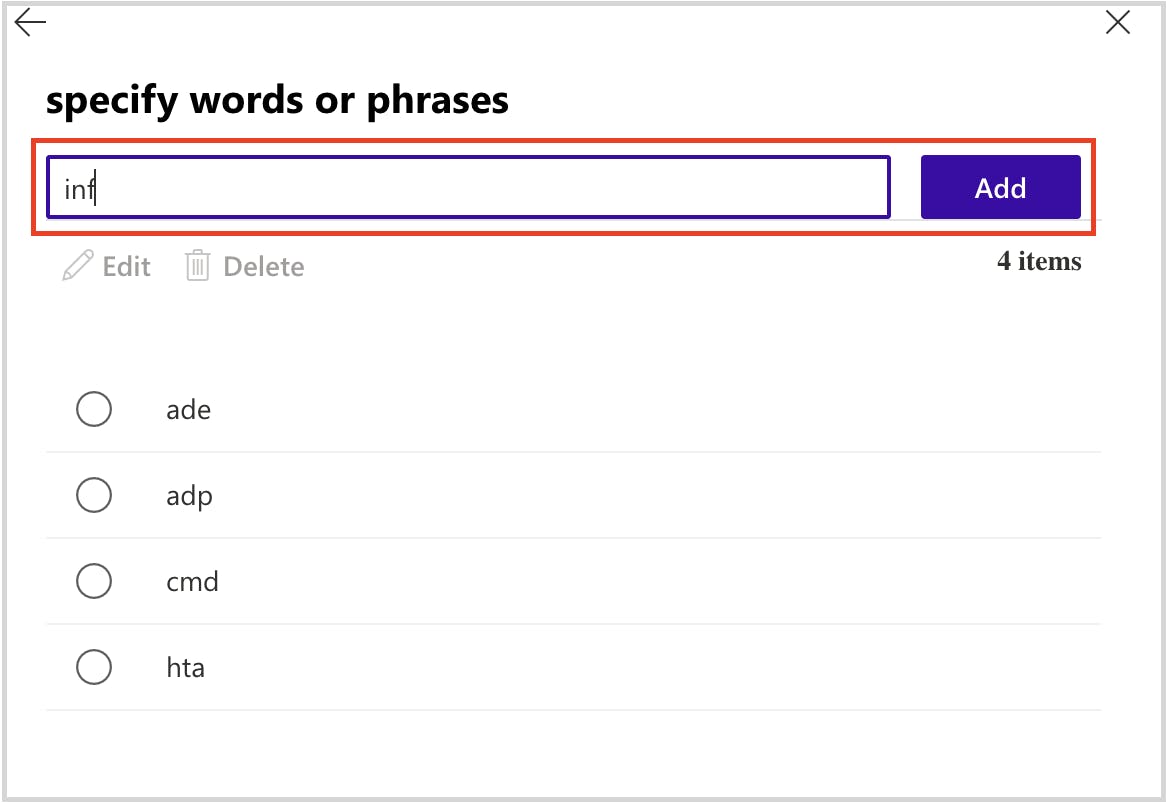
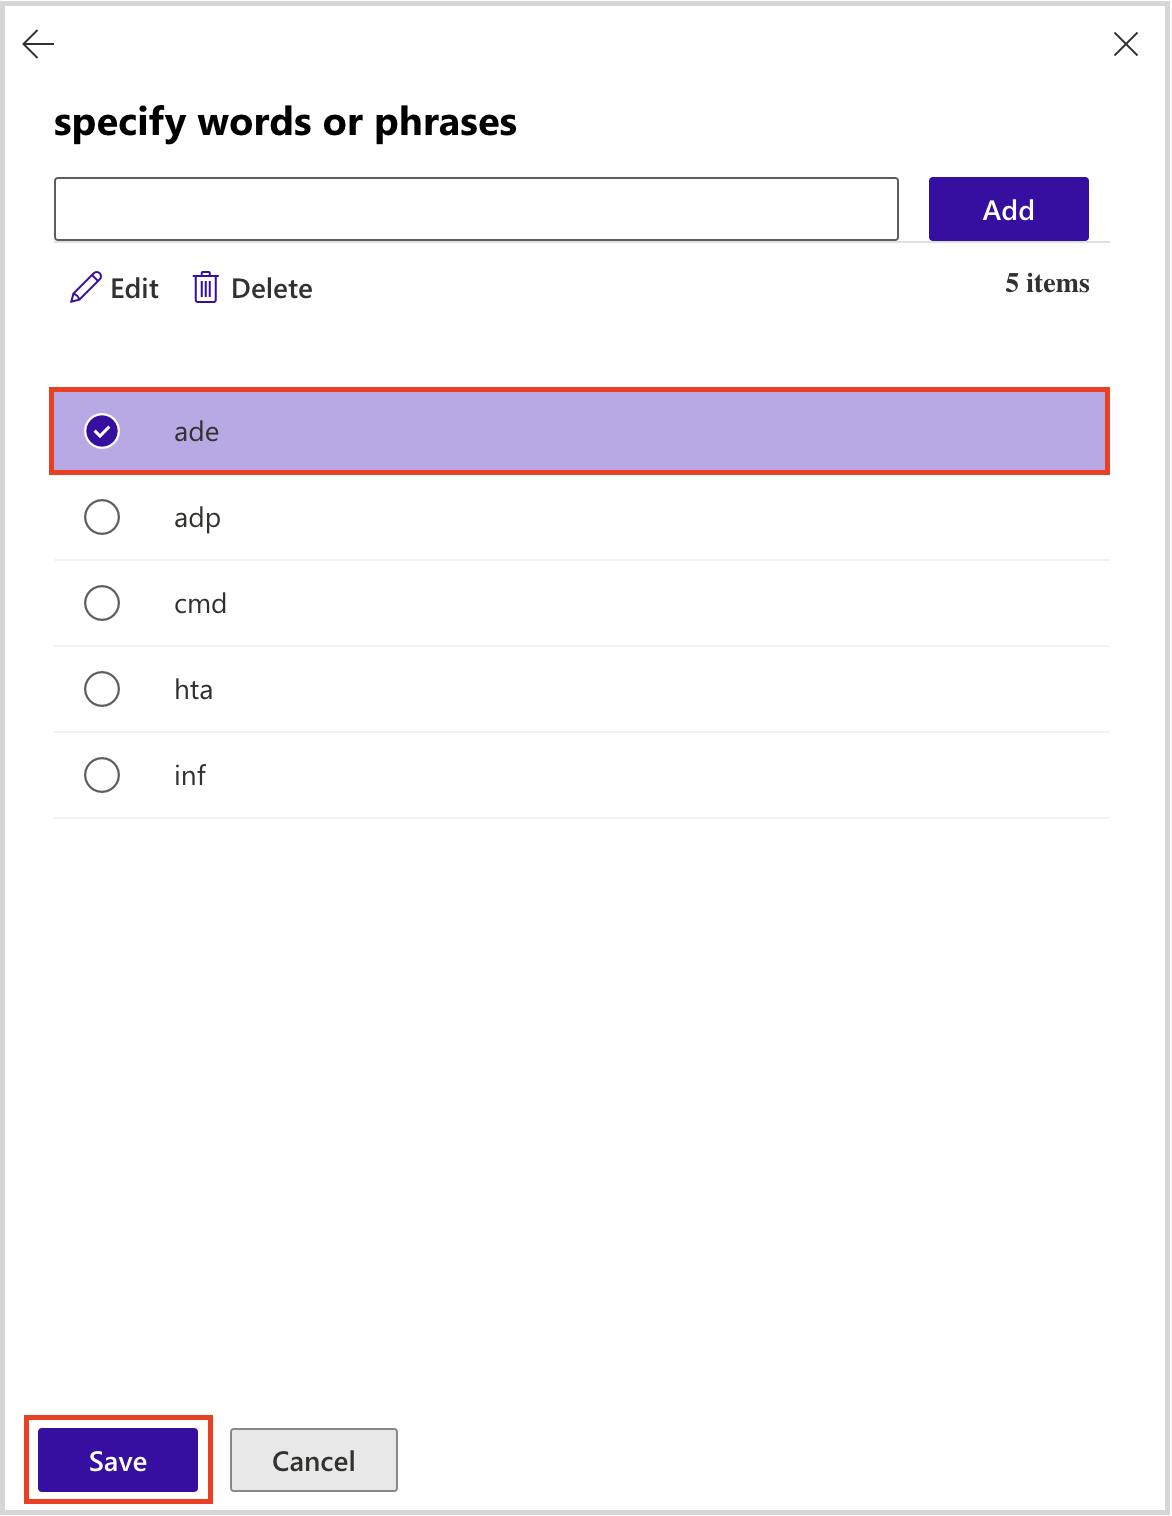
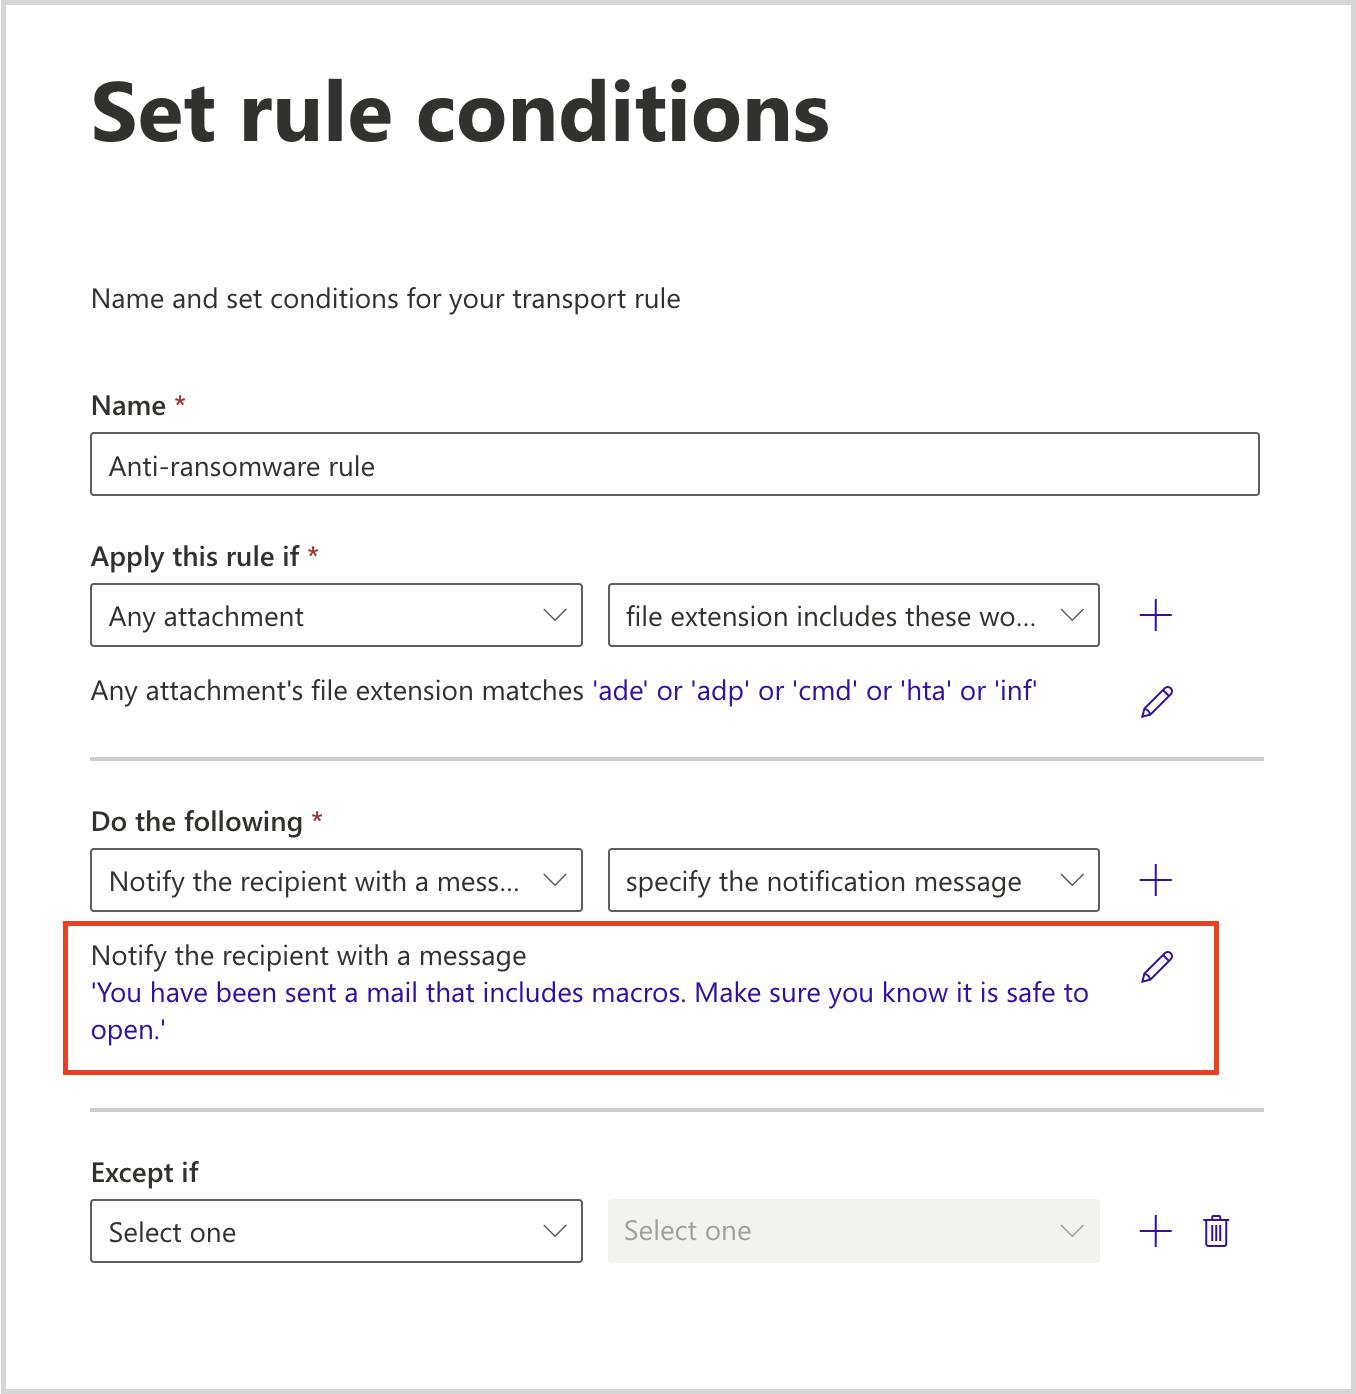
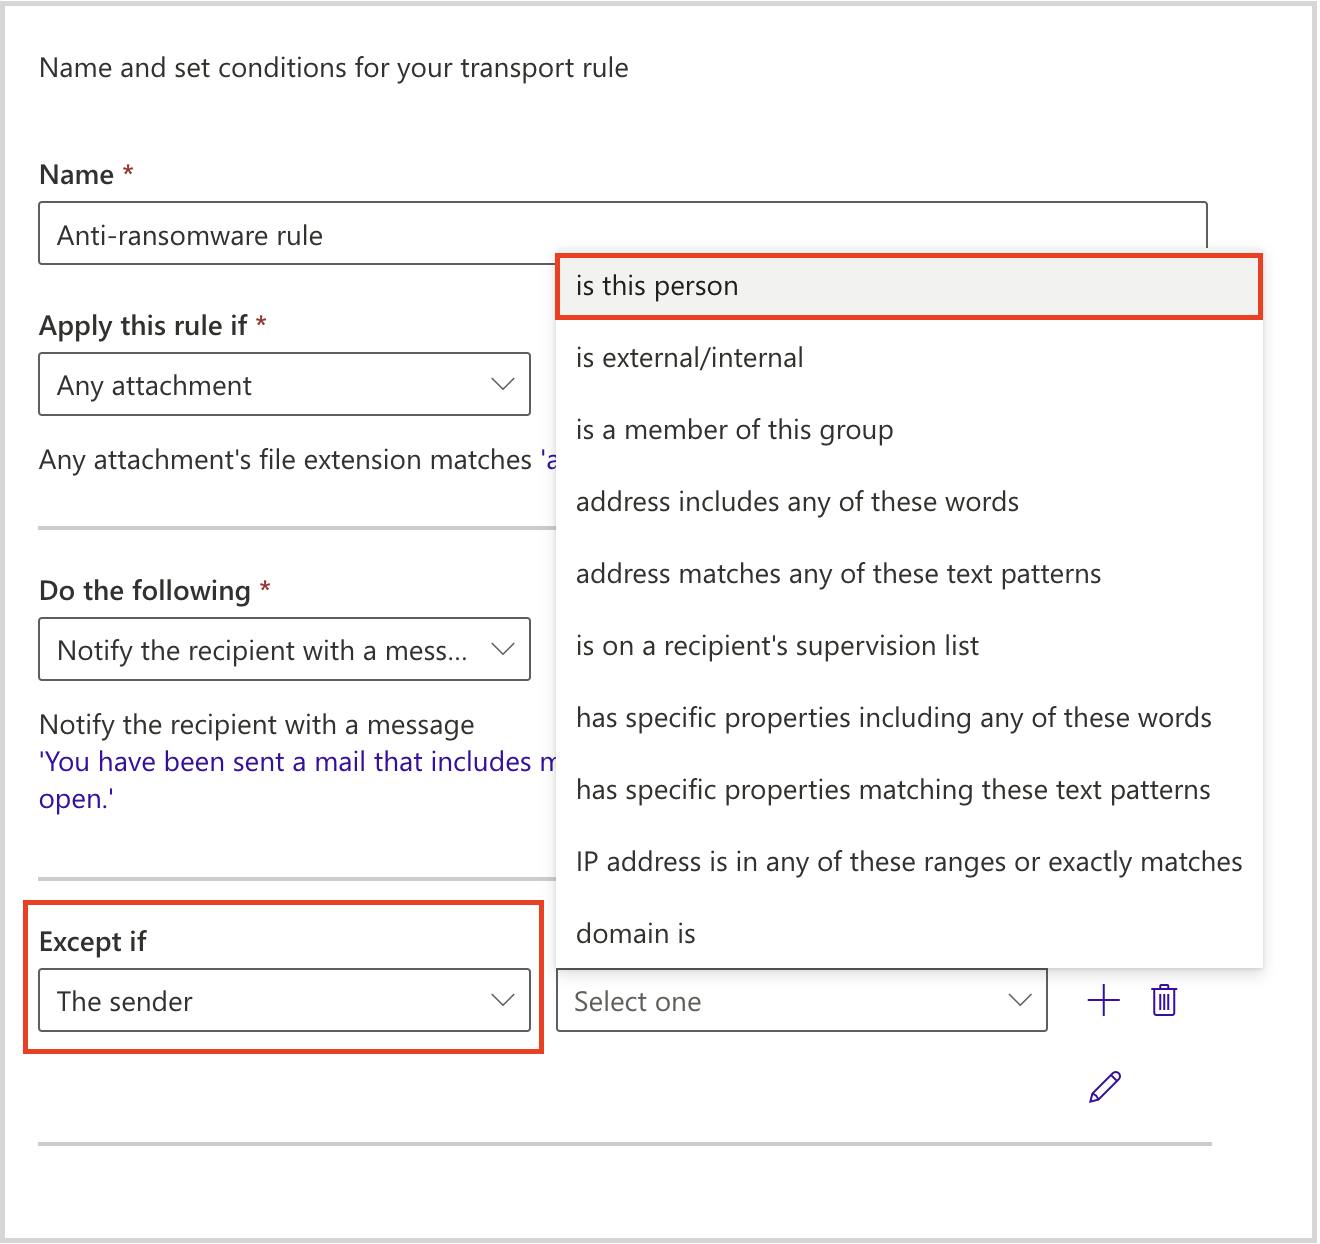
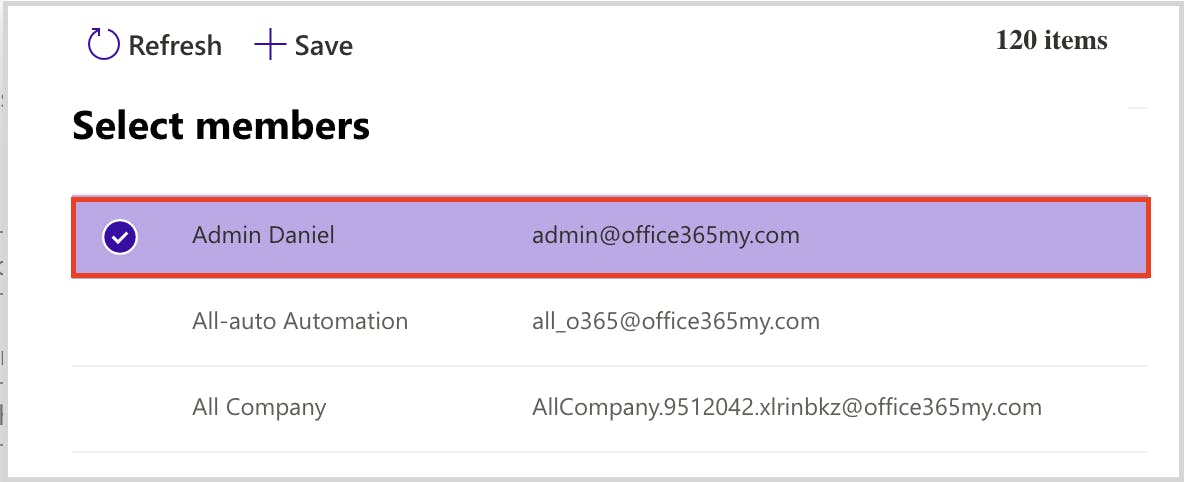
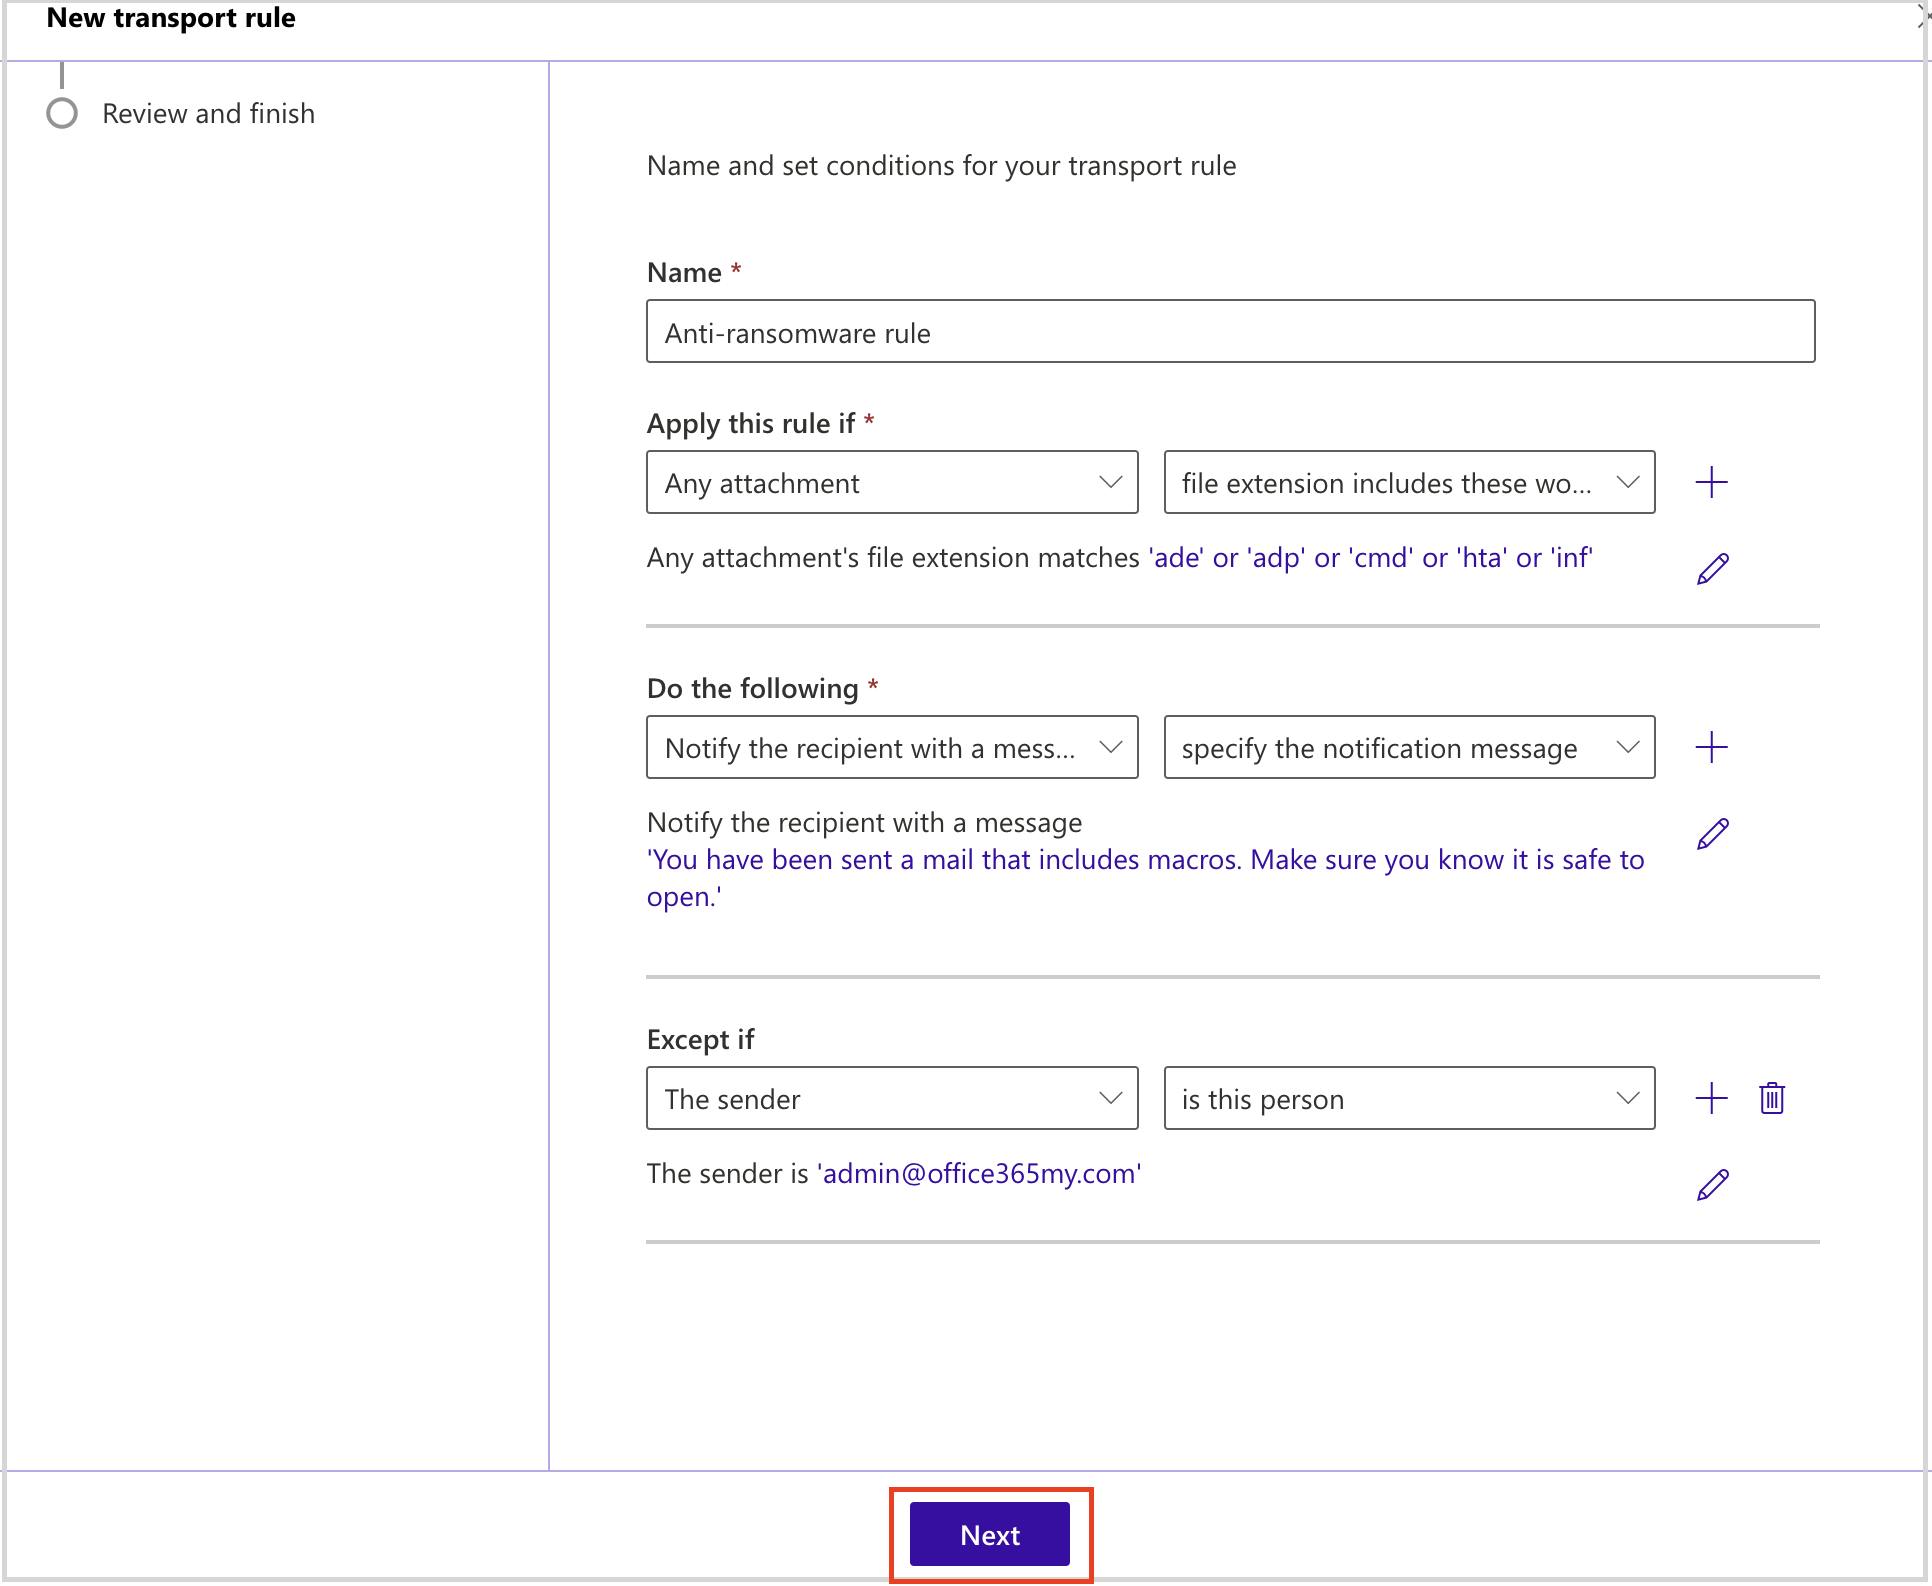
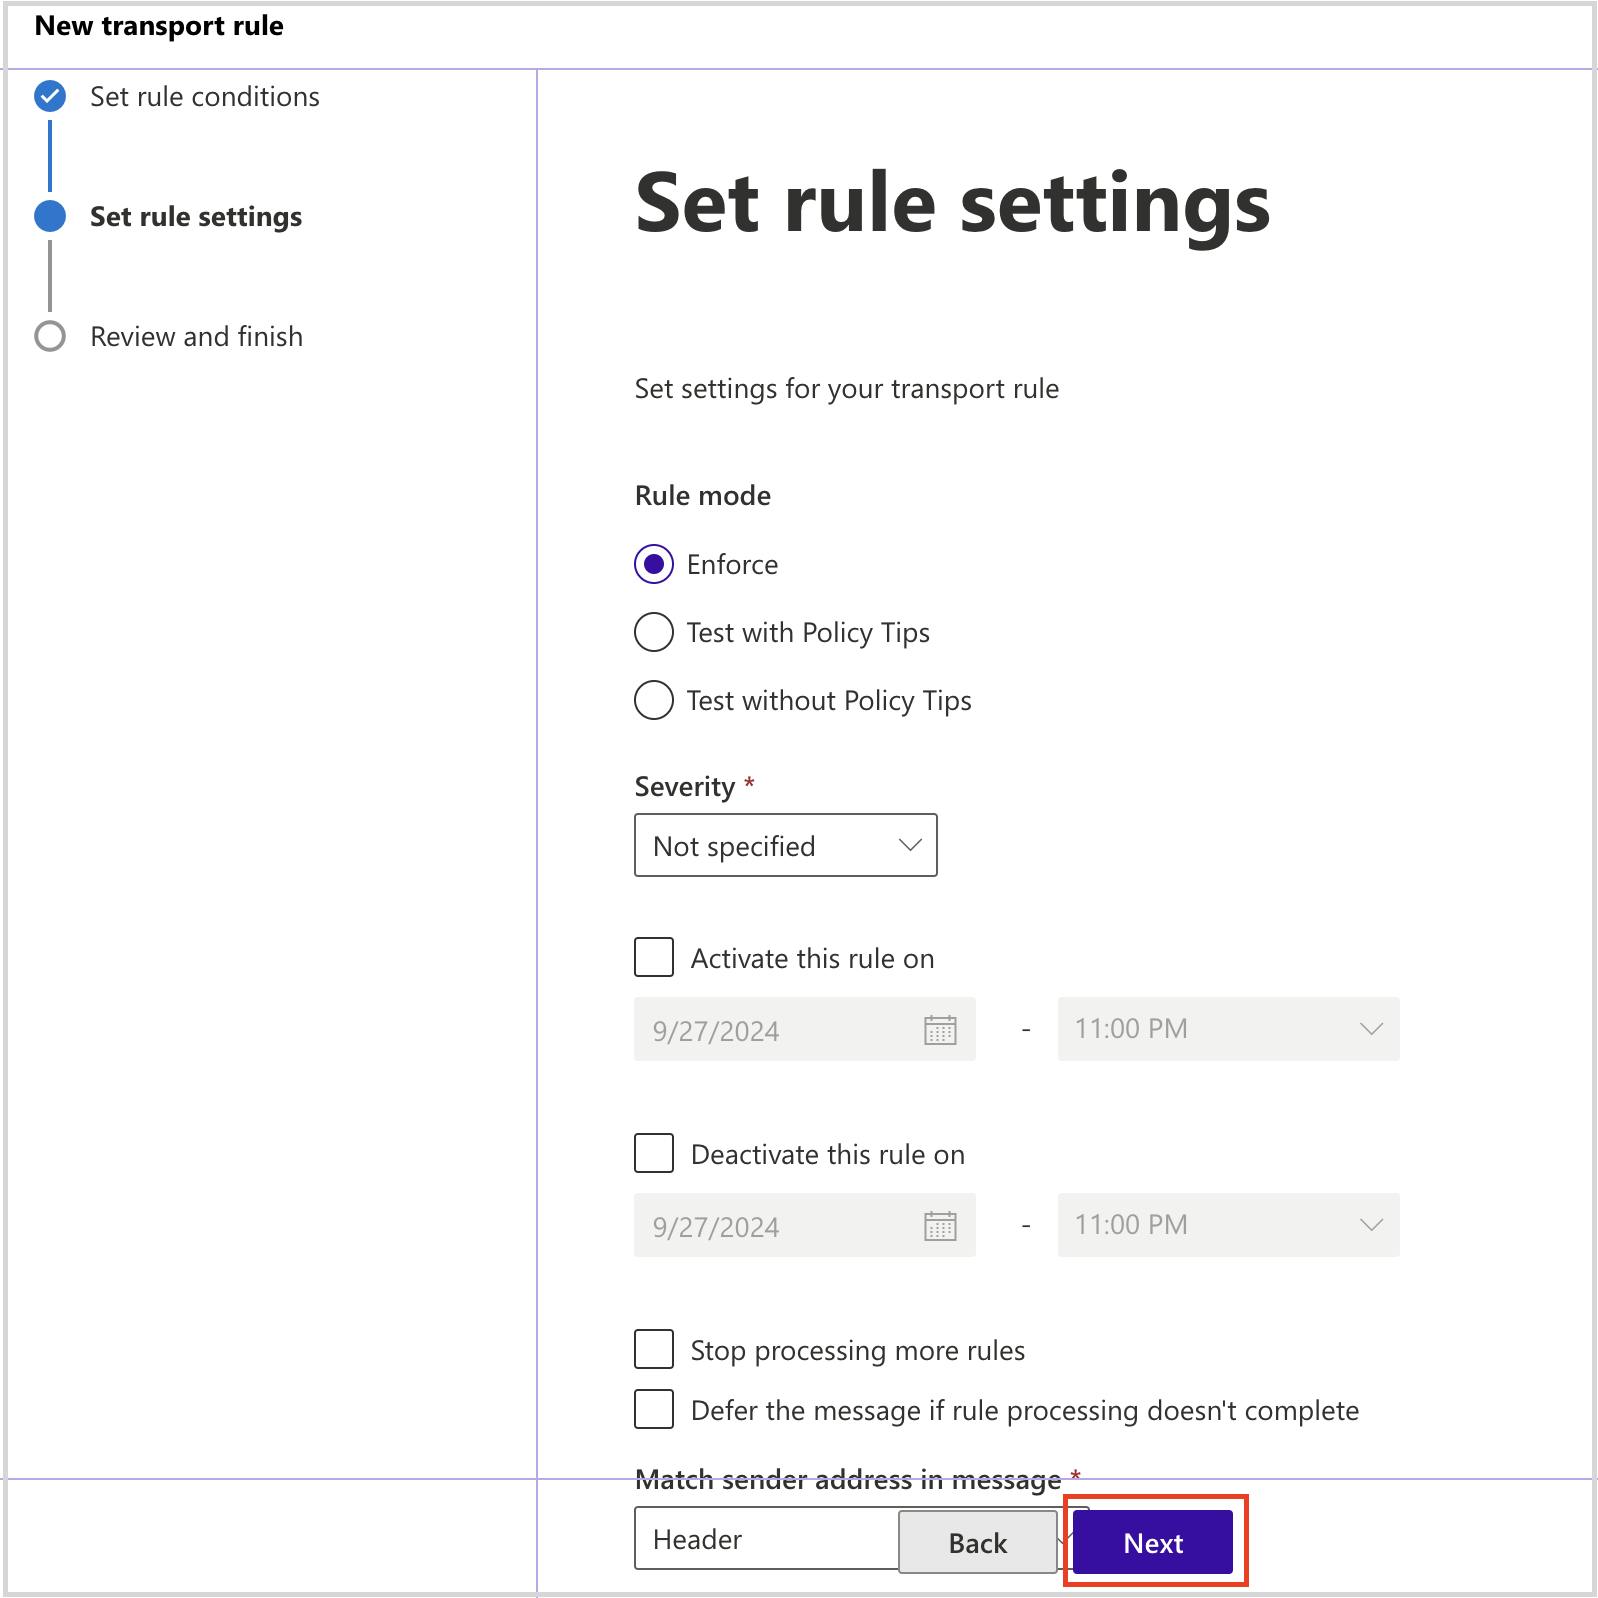
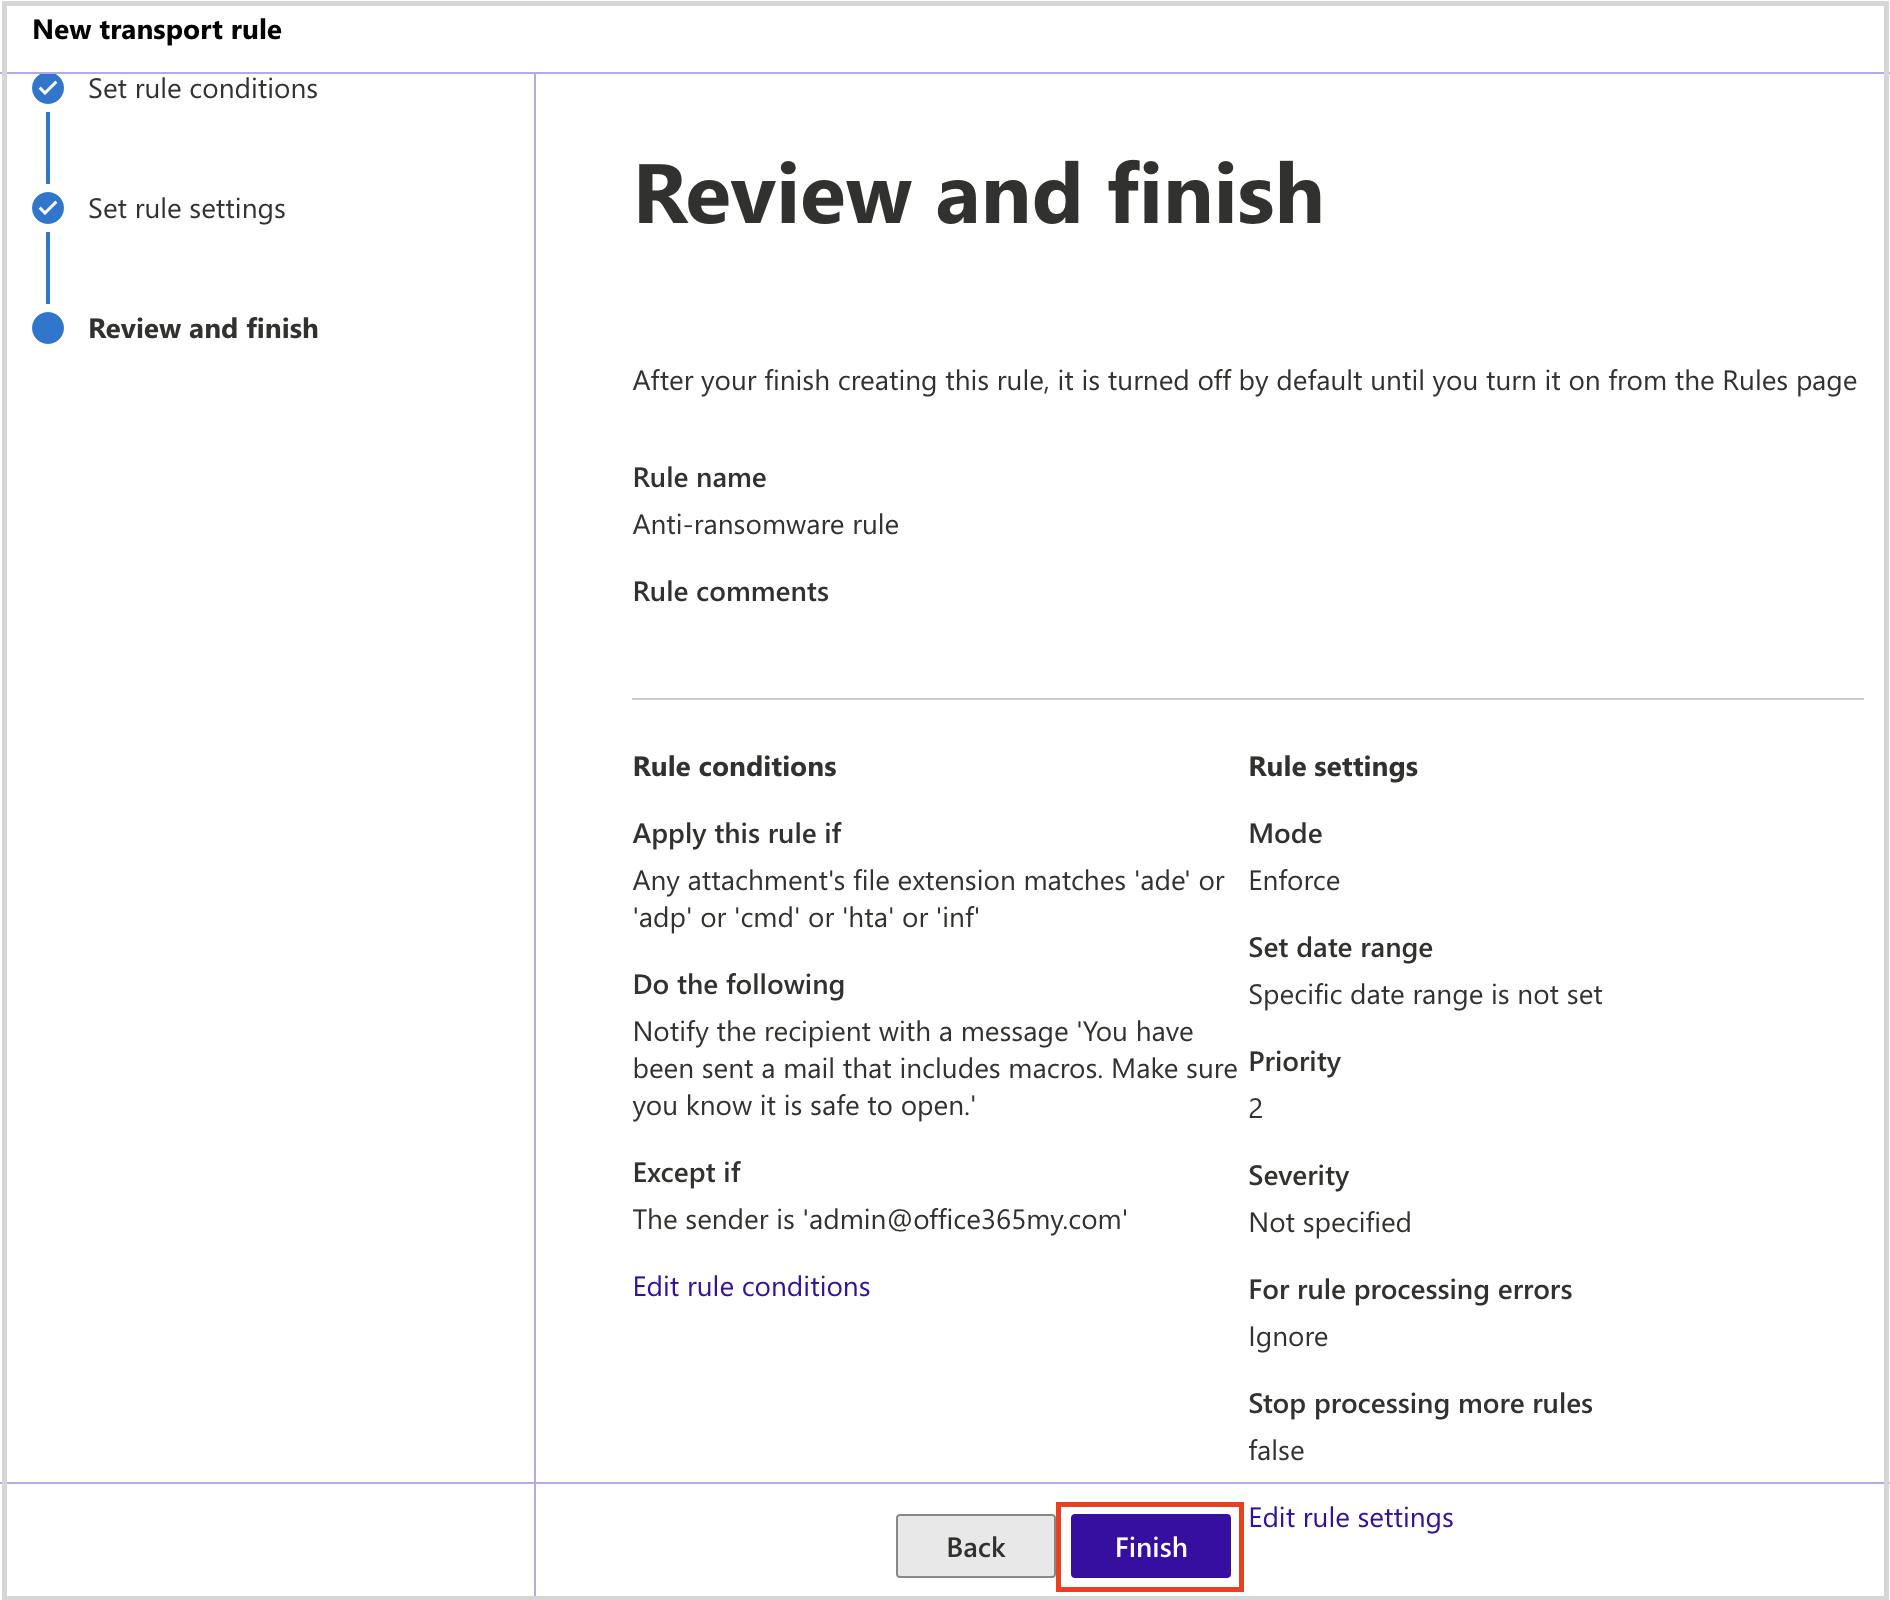
- Prevent voicemail phishing by creating mail flow rules to block suspicious attachments like .html files.
Read more
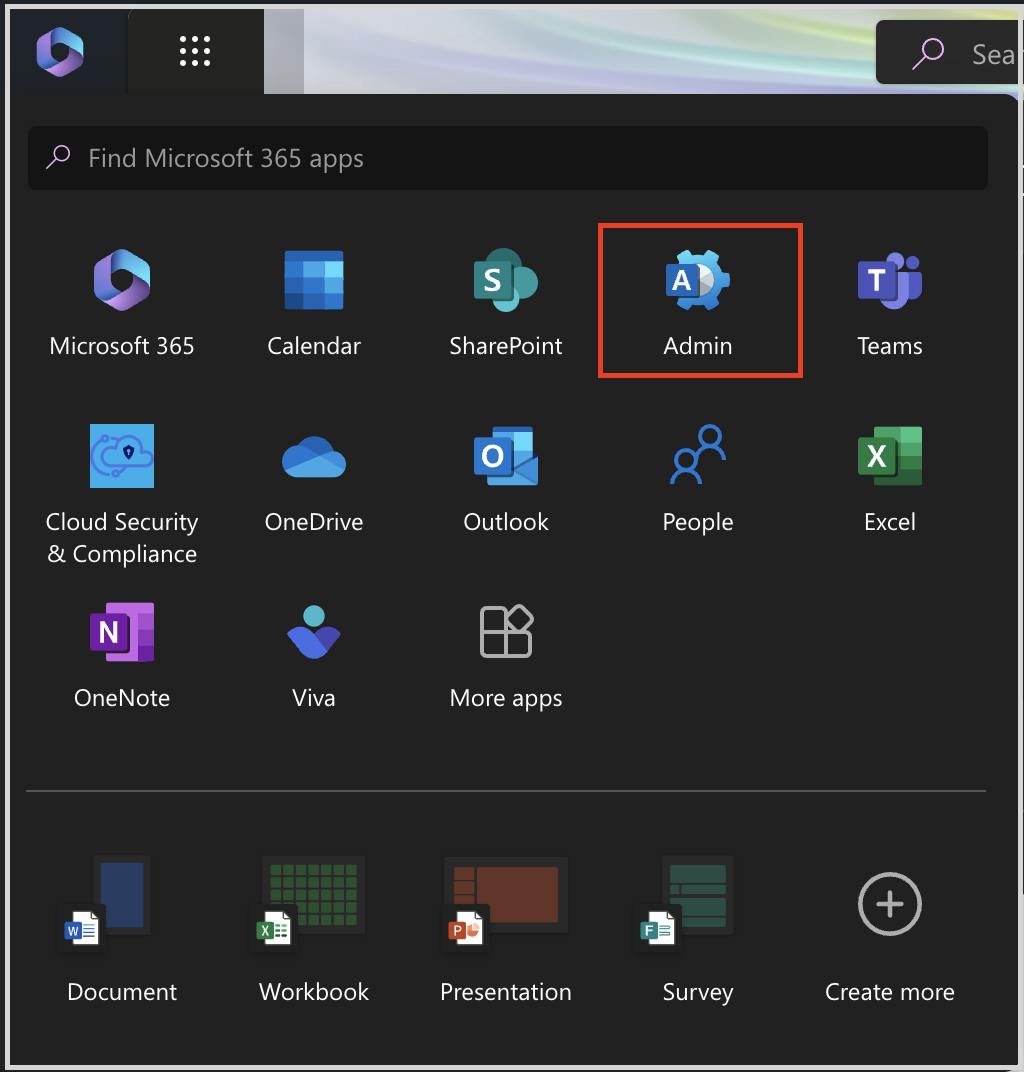
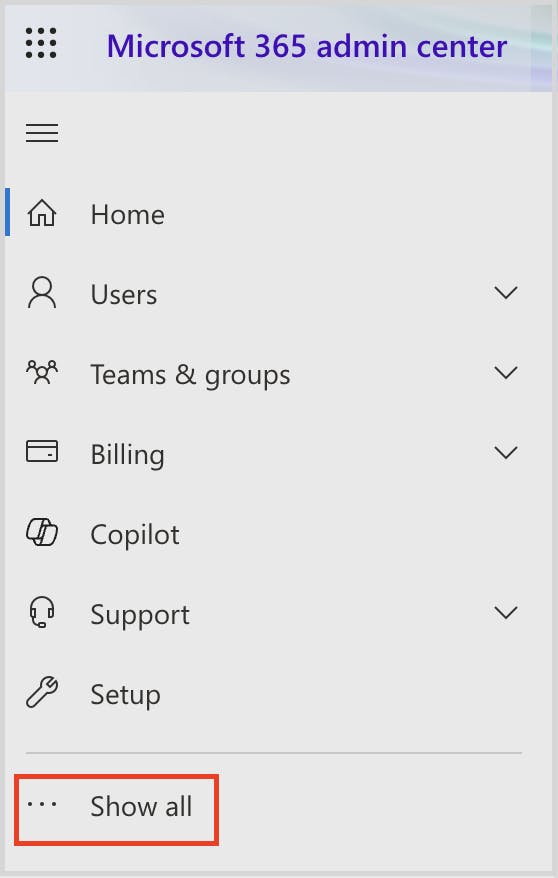
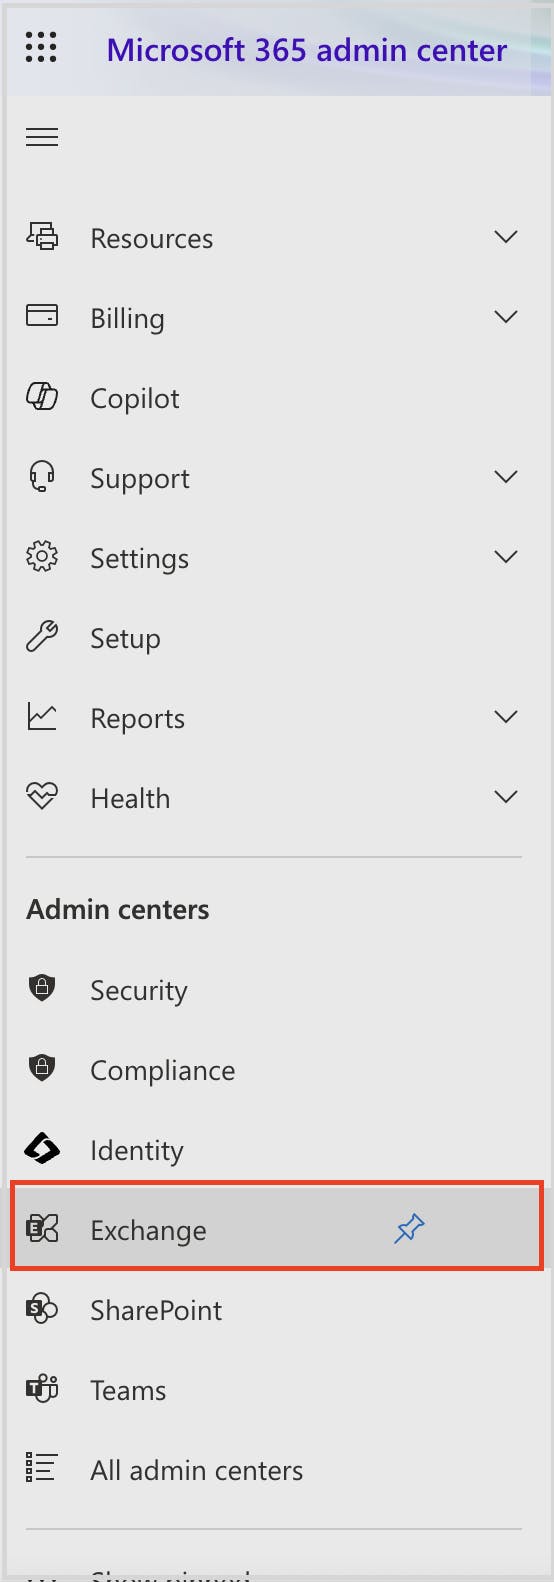
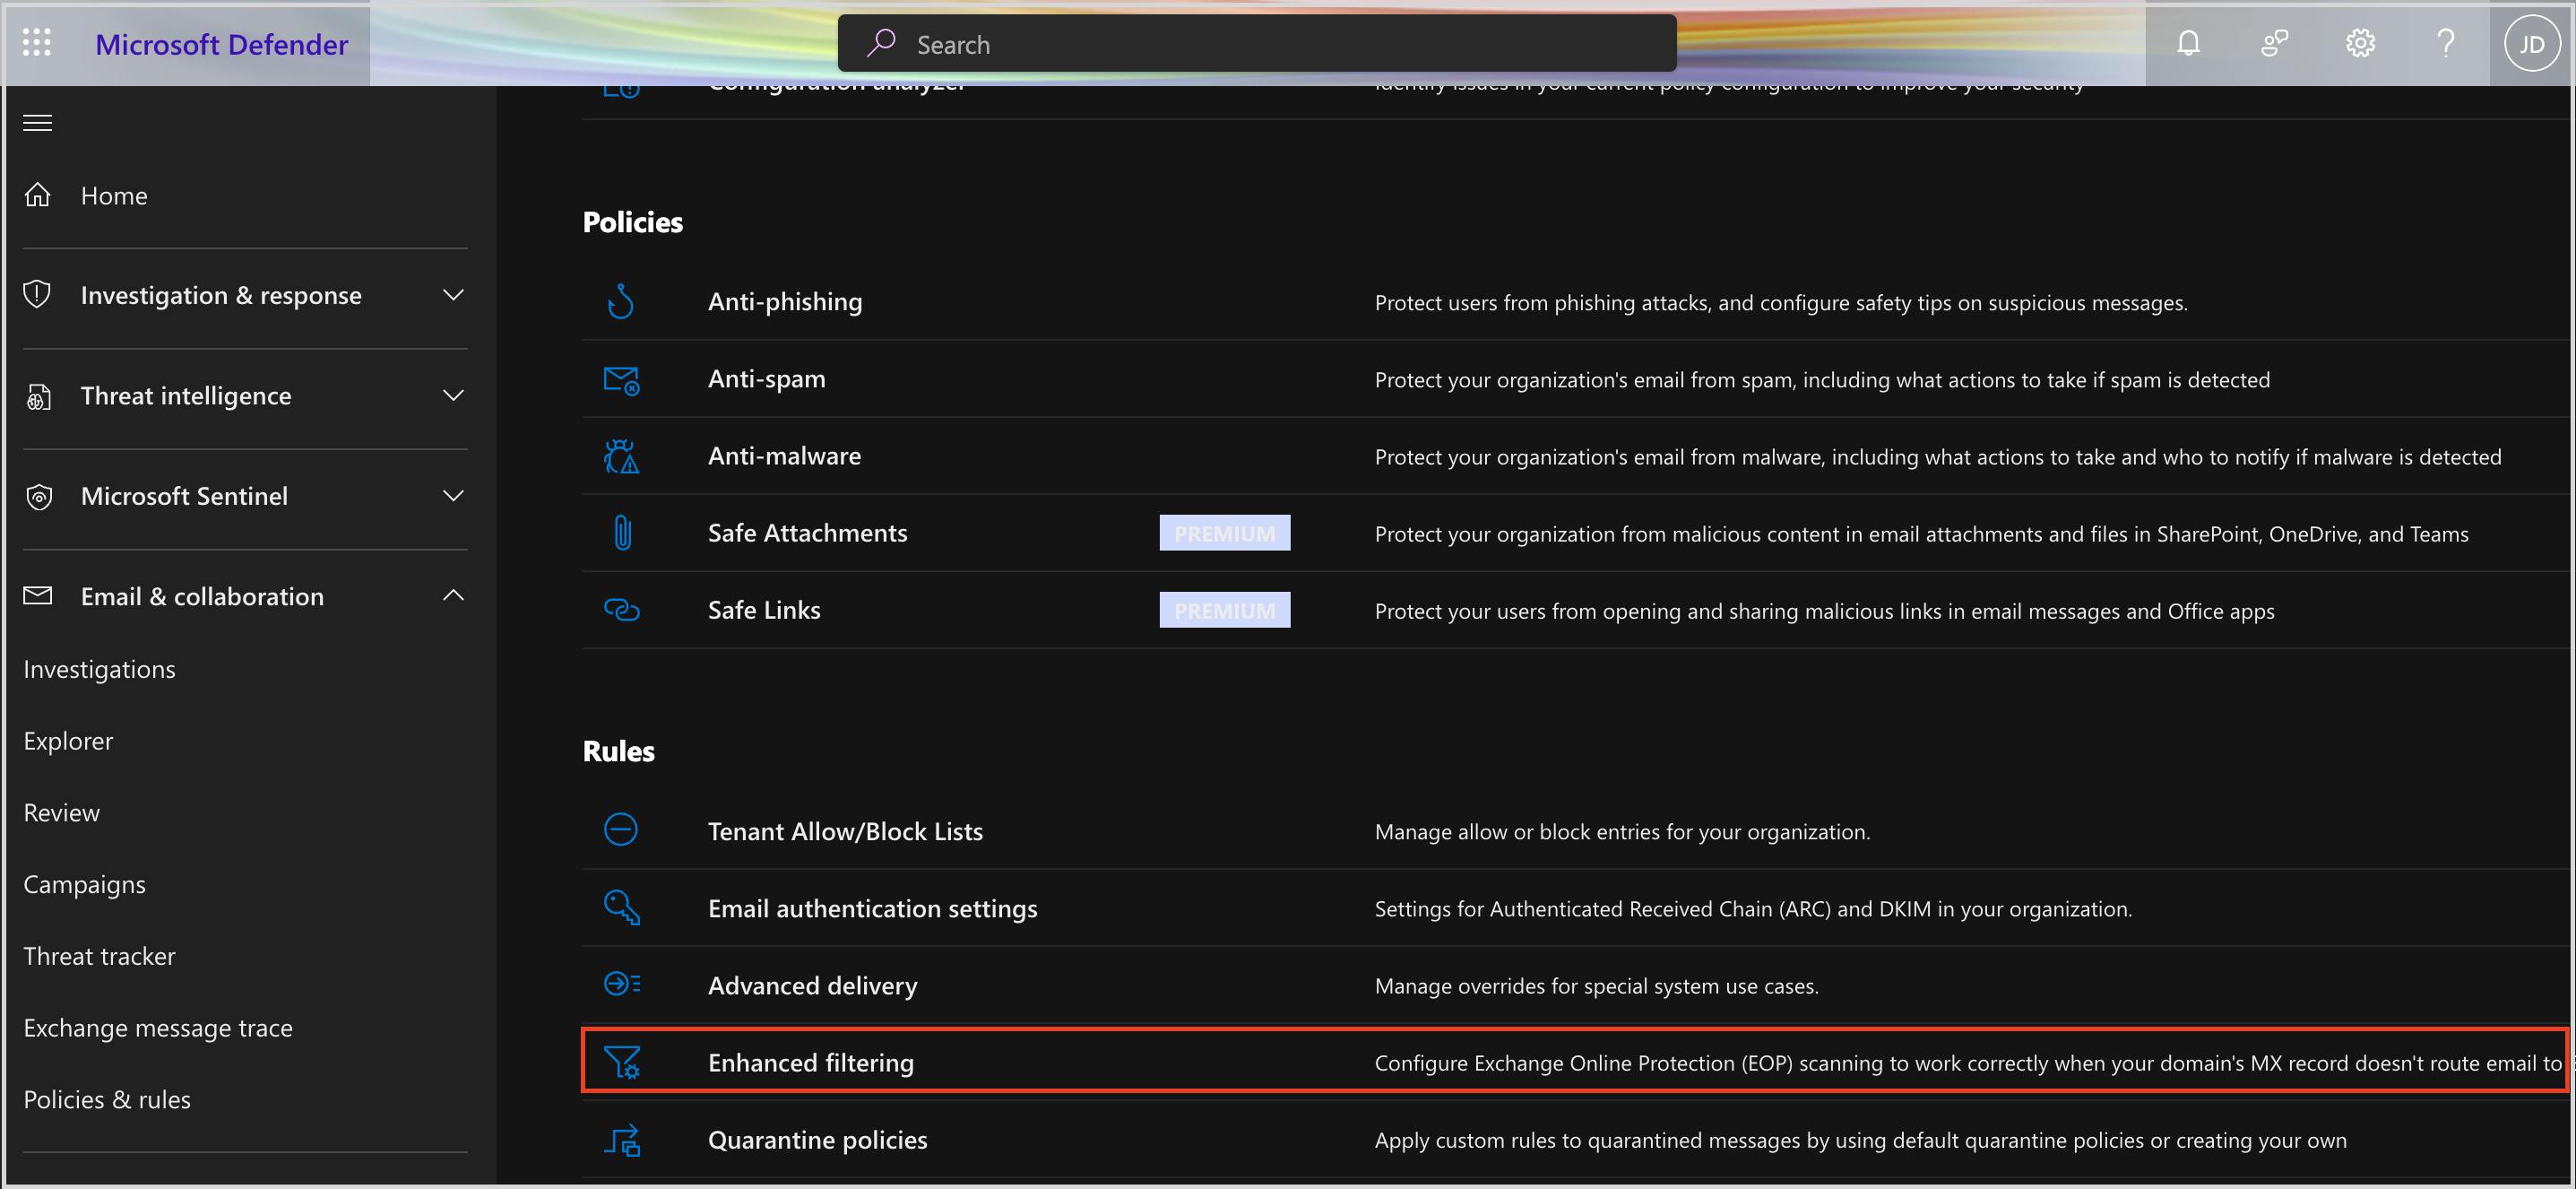
Microsoft 365 admin center Outlook security settings to prevent phishing attacks
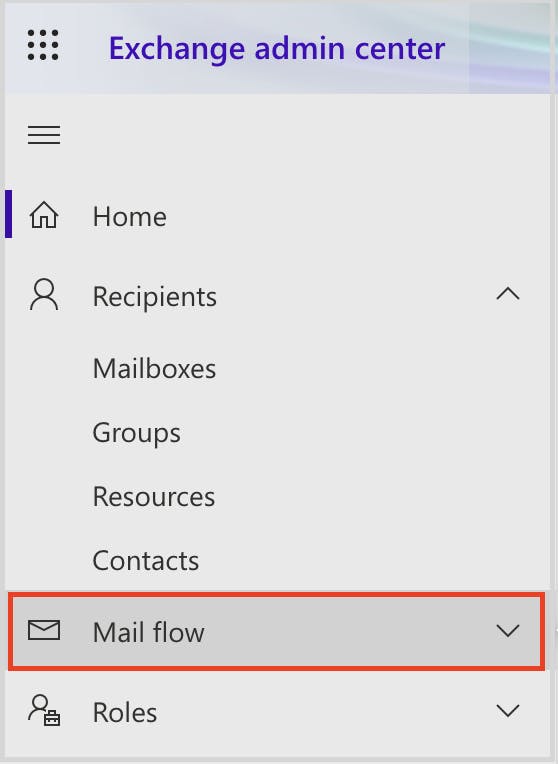
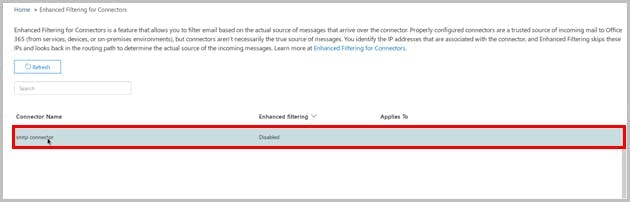
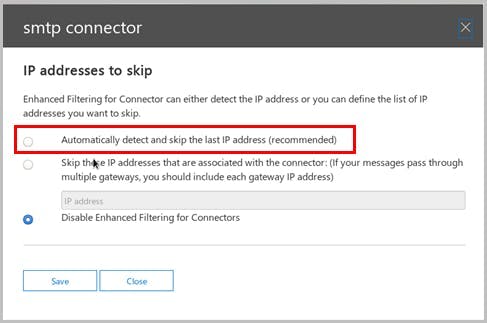
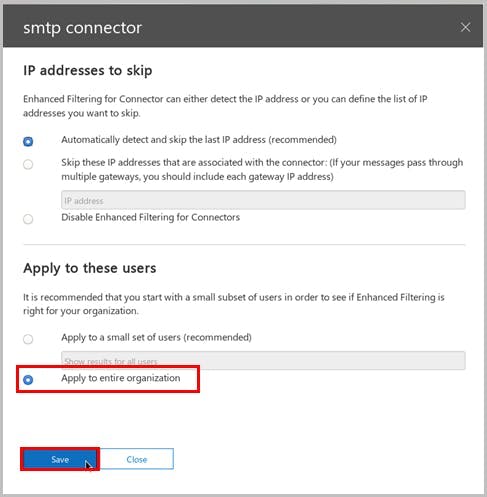
Exchange admin center settings
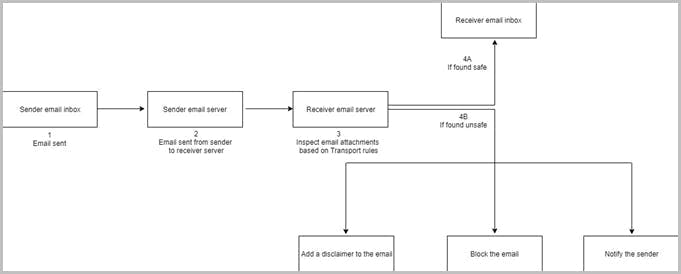
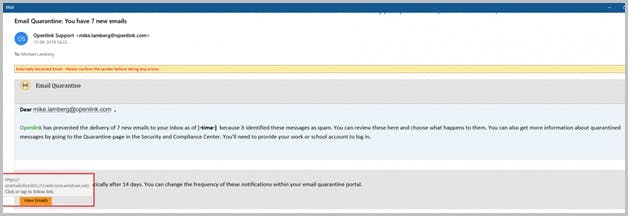
Stop voicemail phishing attacks using mail flow rule setting


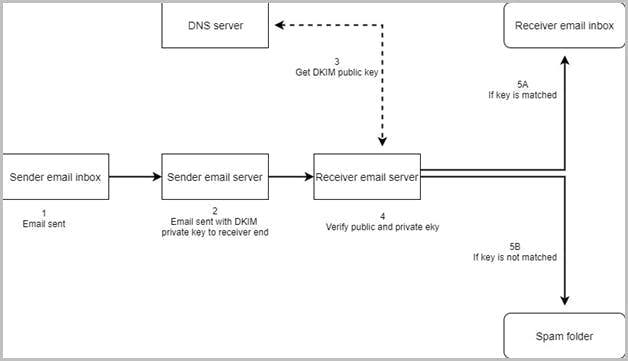
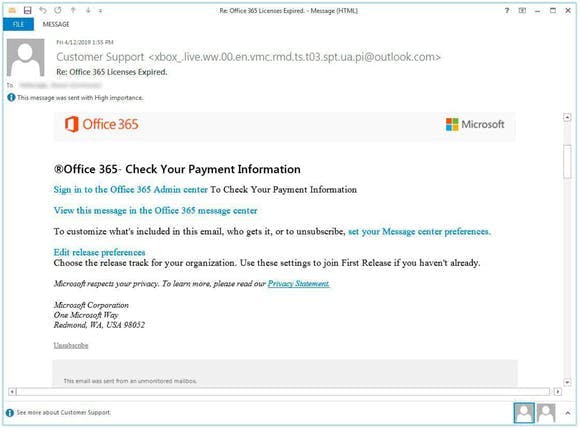
Stop pay raise phishing scan using dkim setting

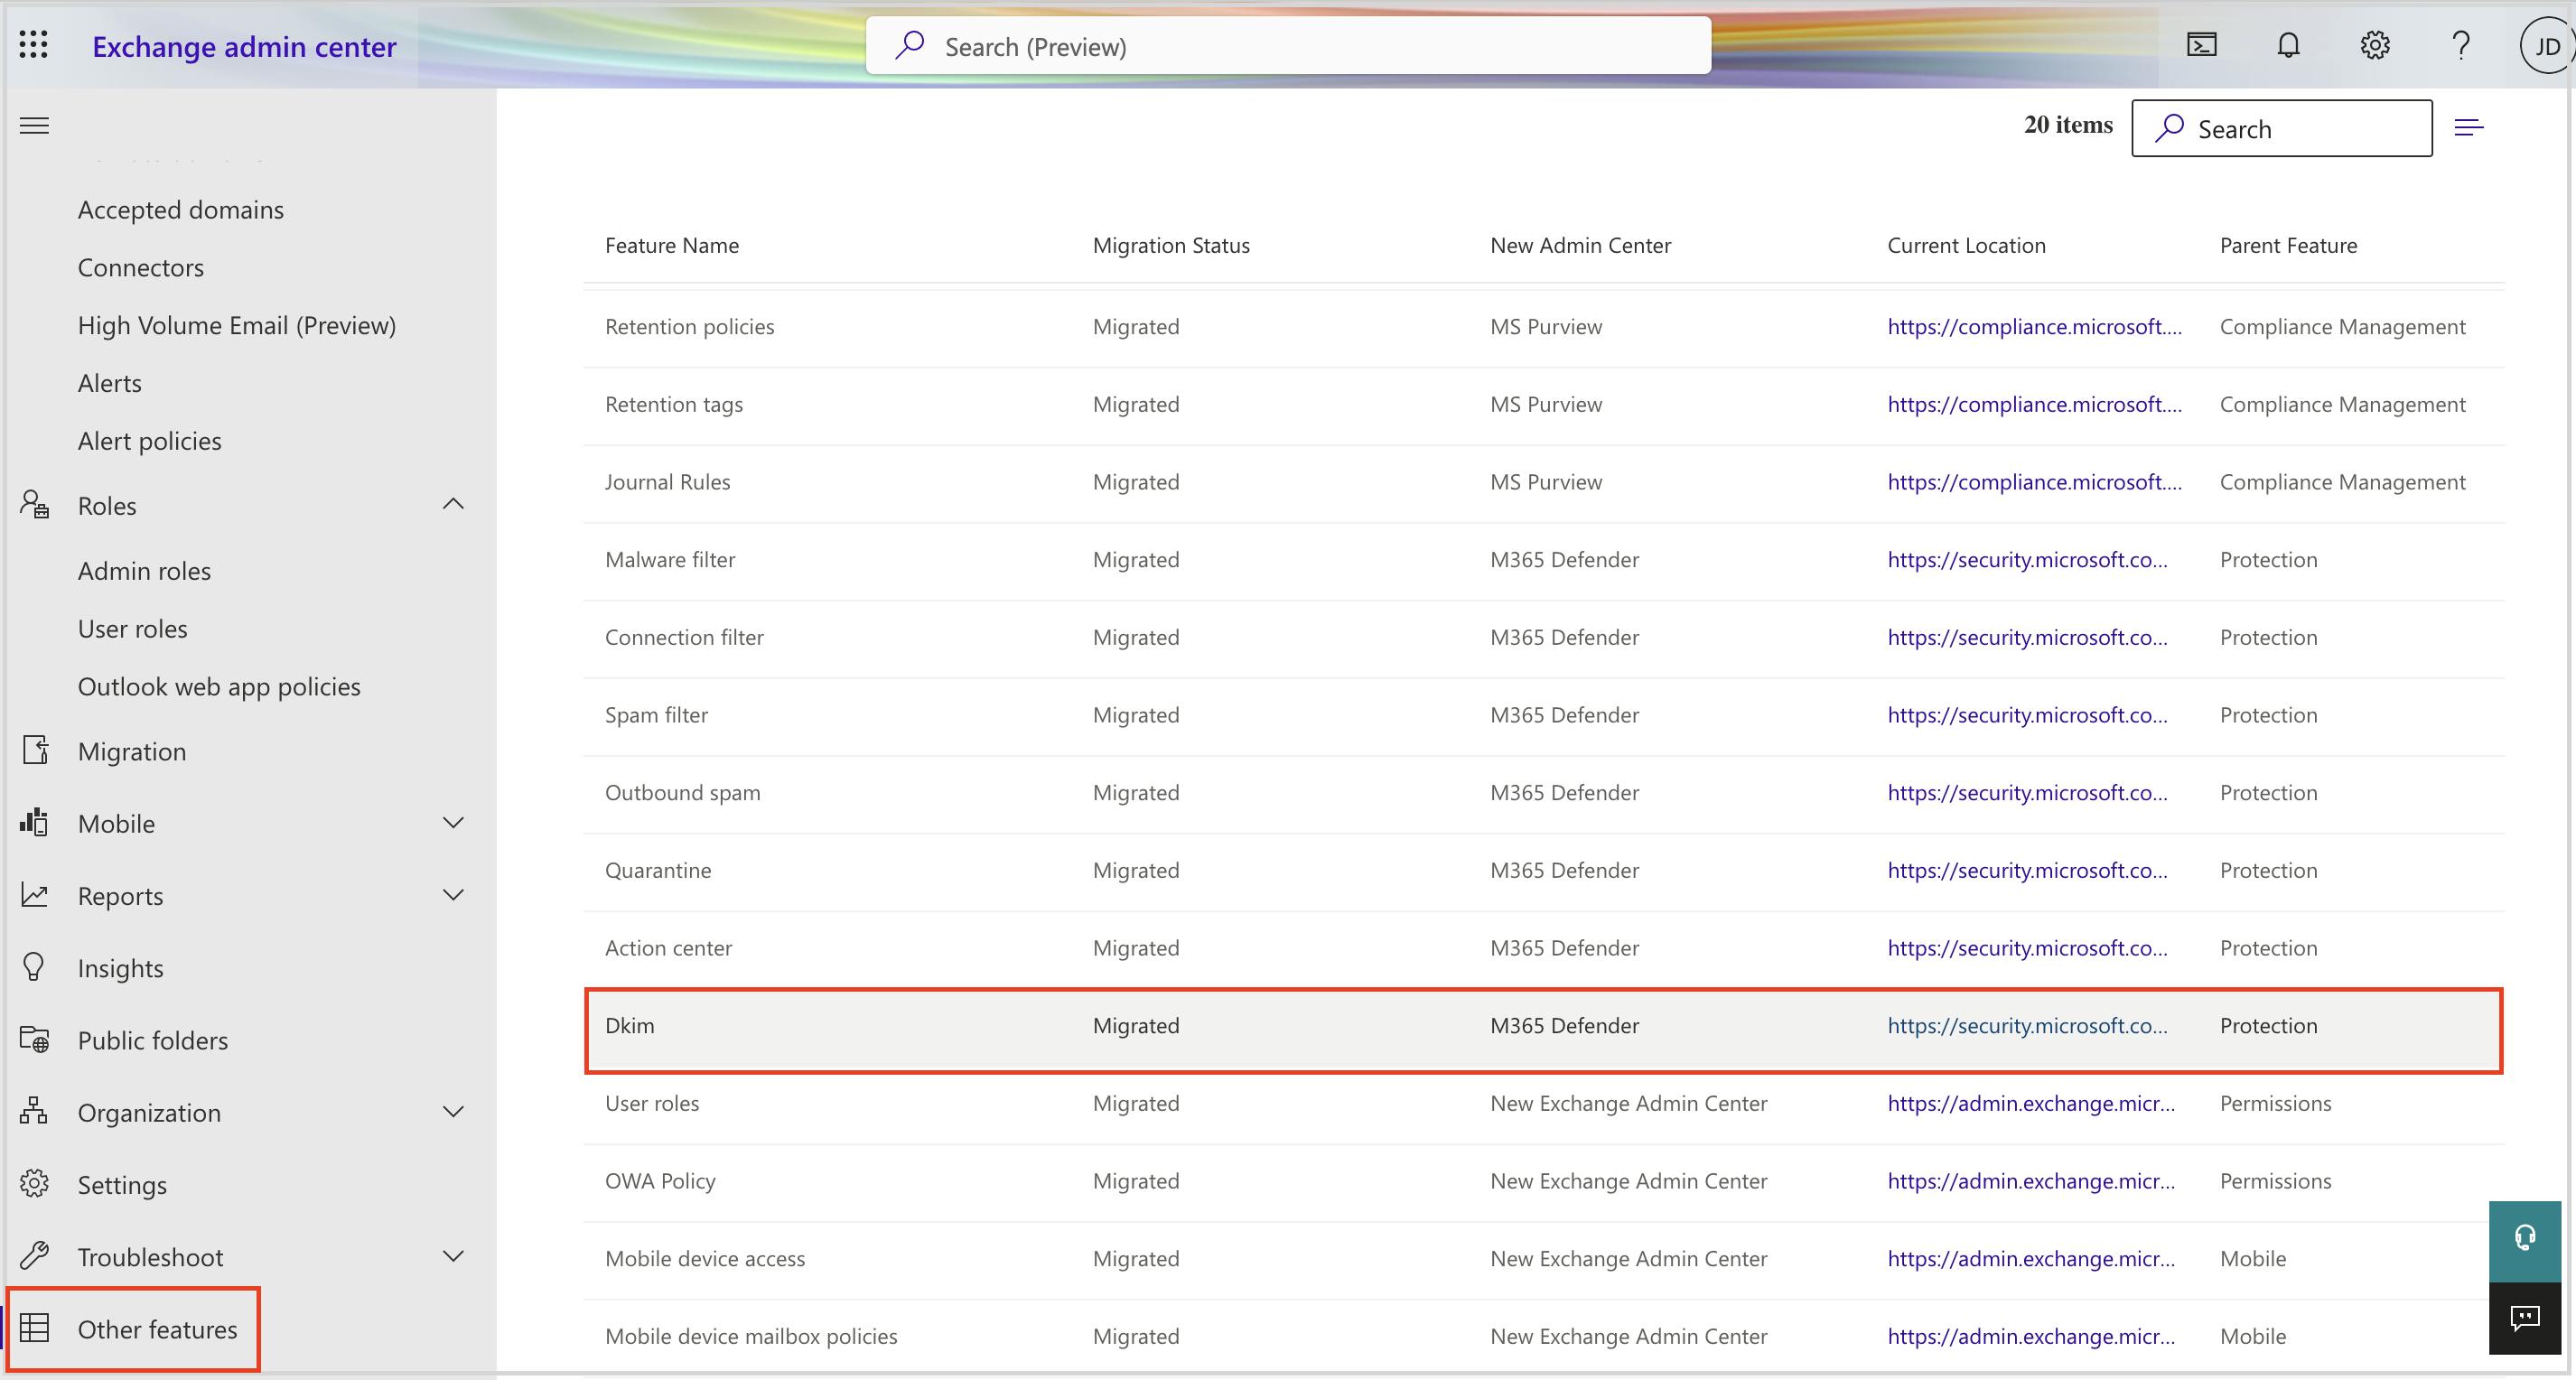
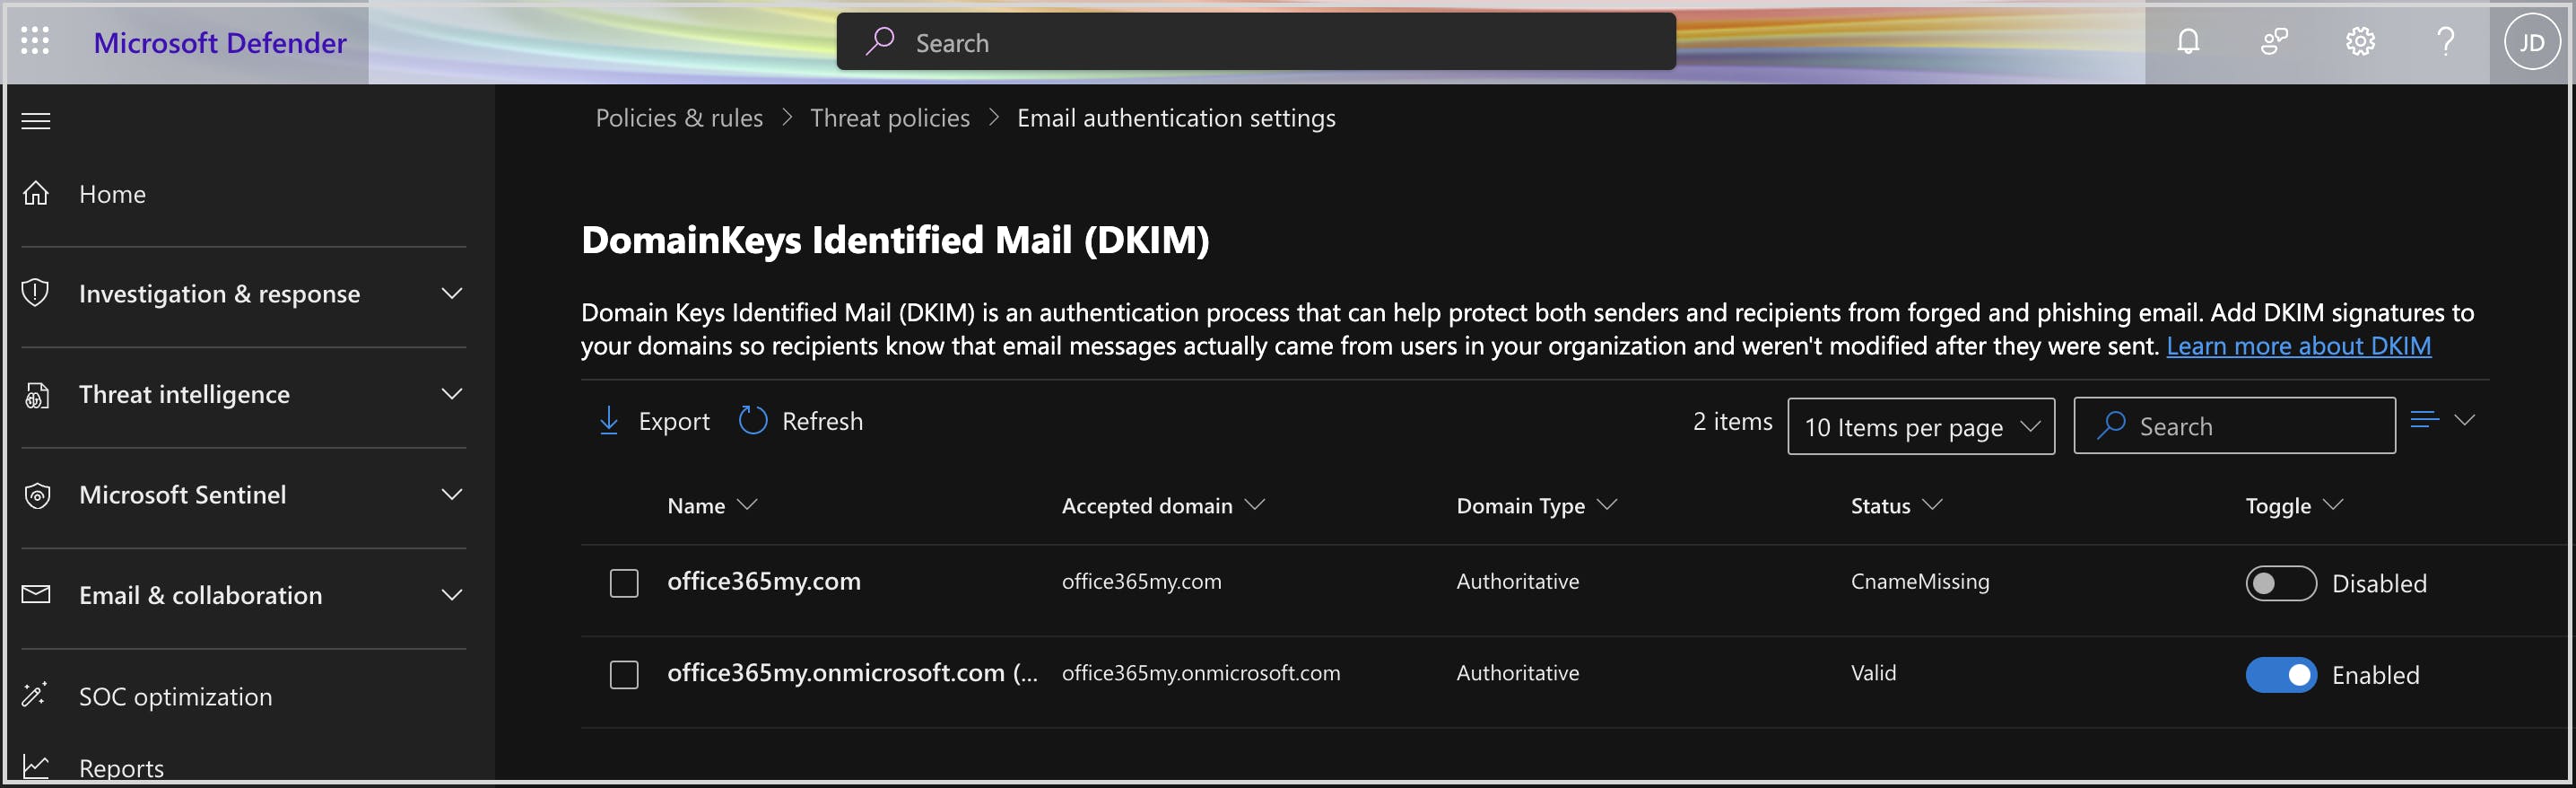

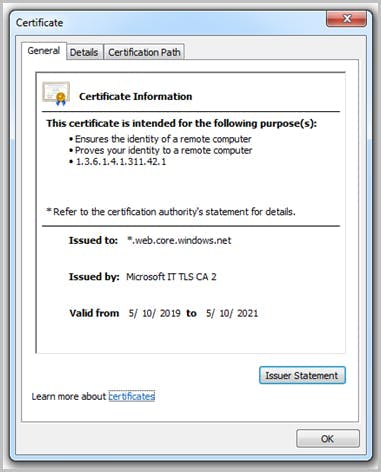
Stop Microsoft Azure custom domain attacks using DKIM setting
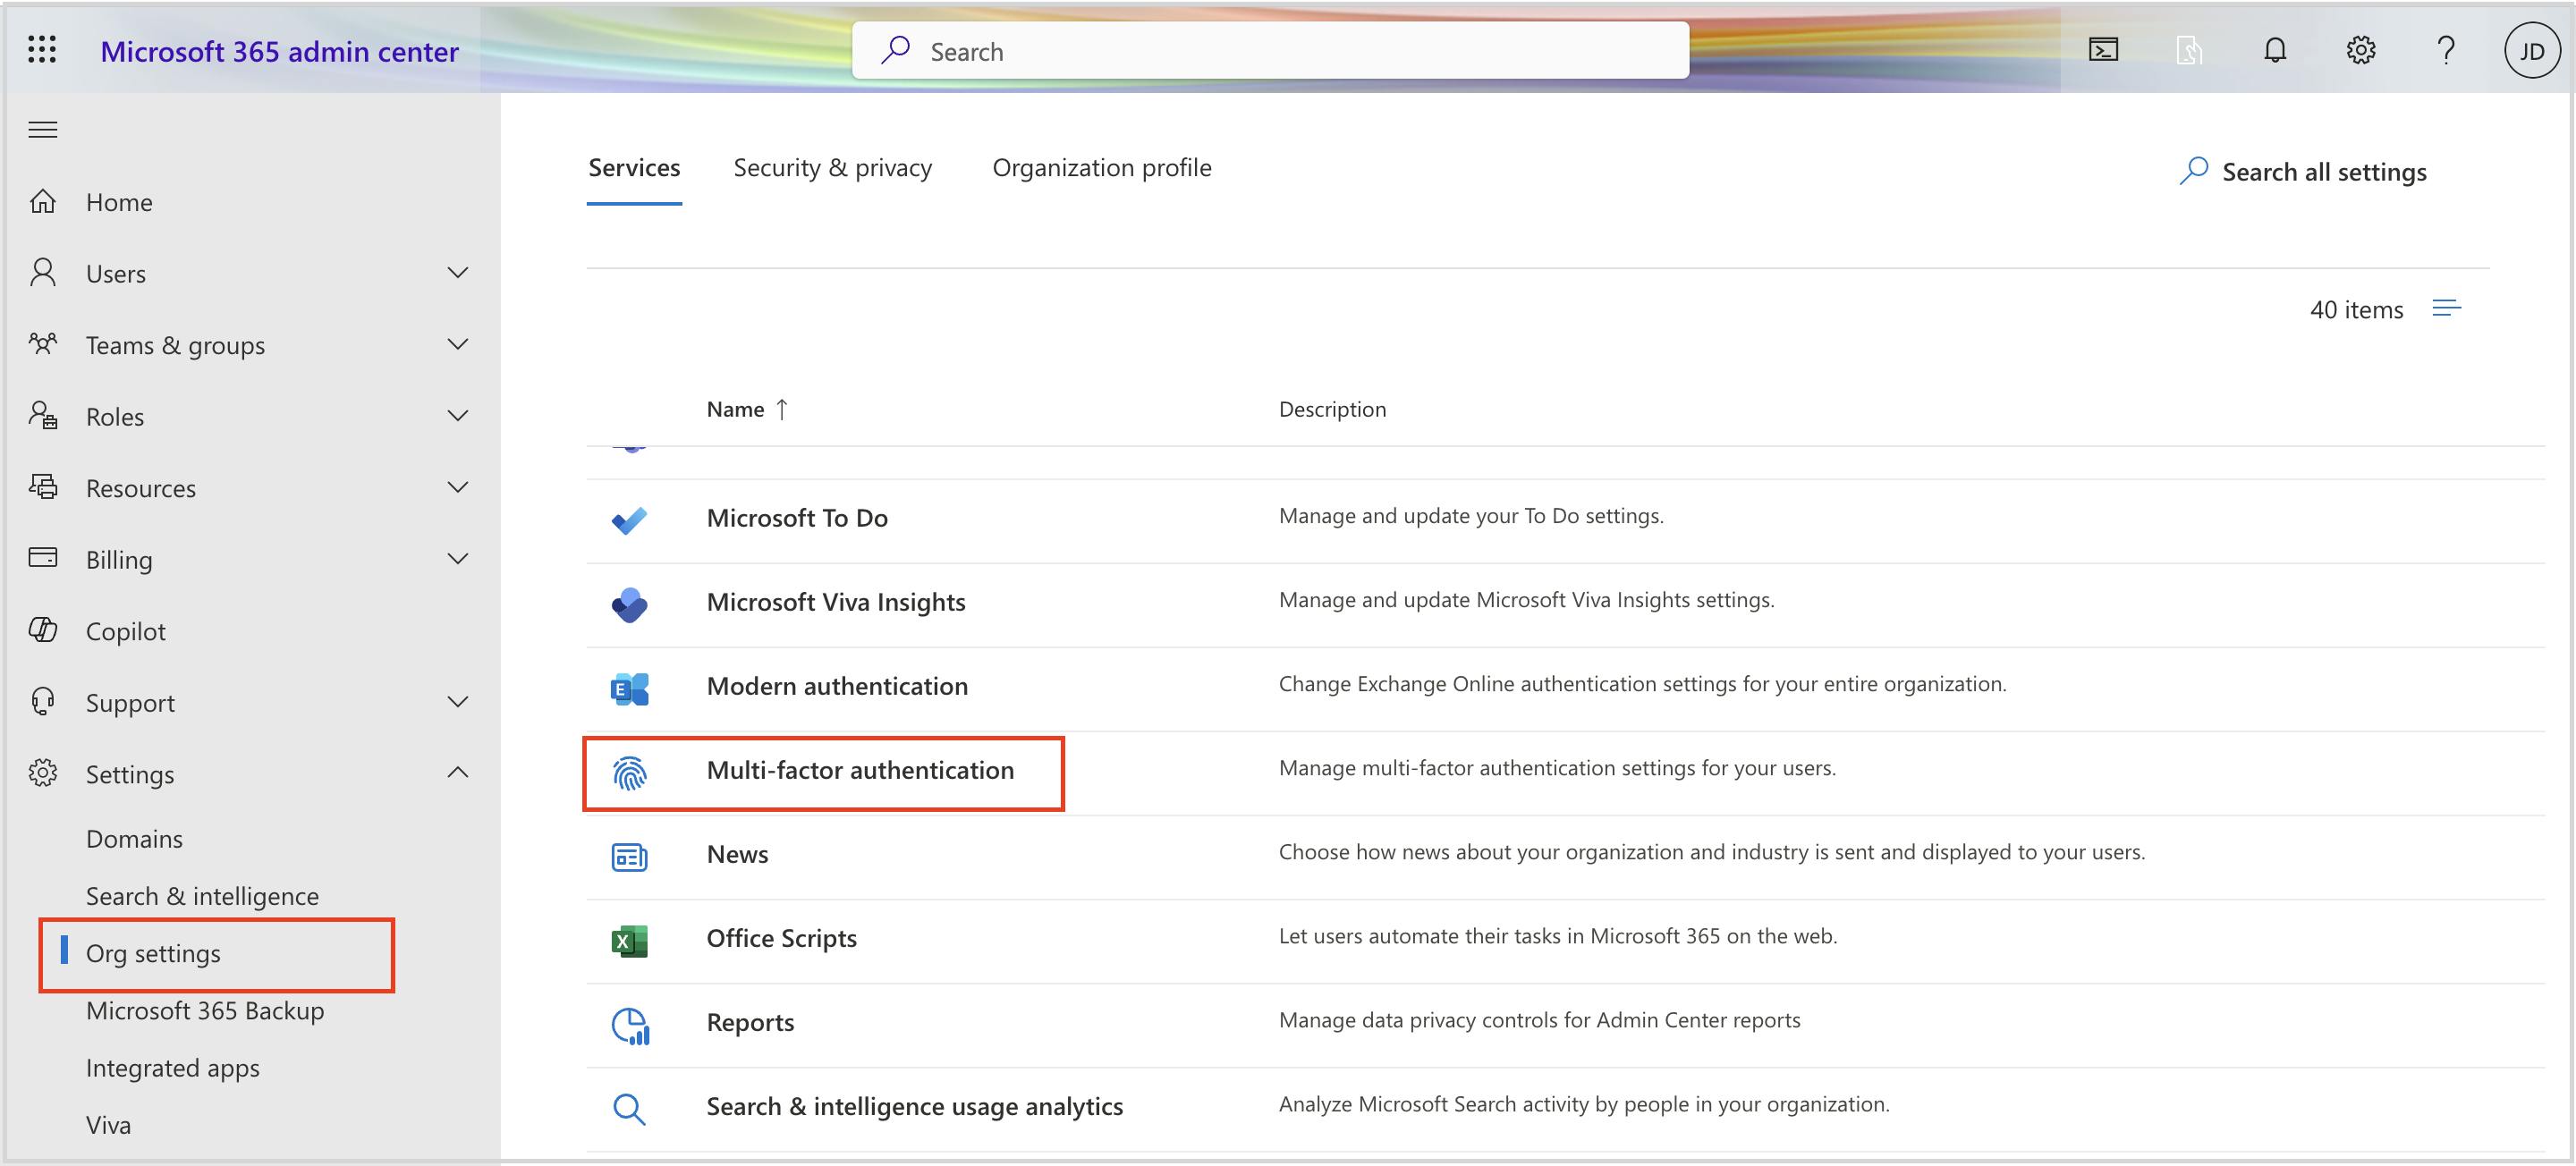
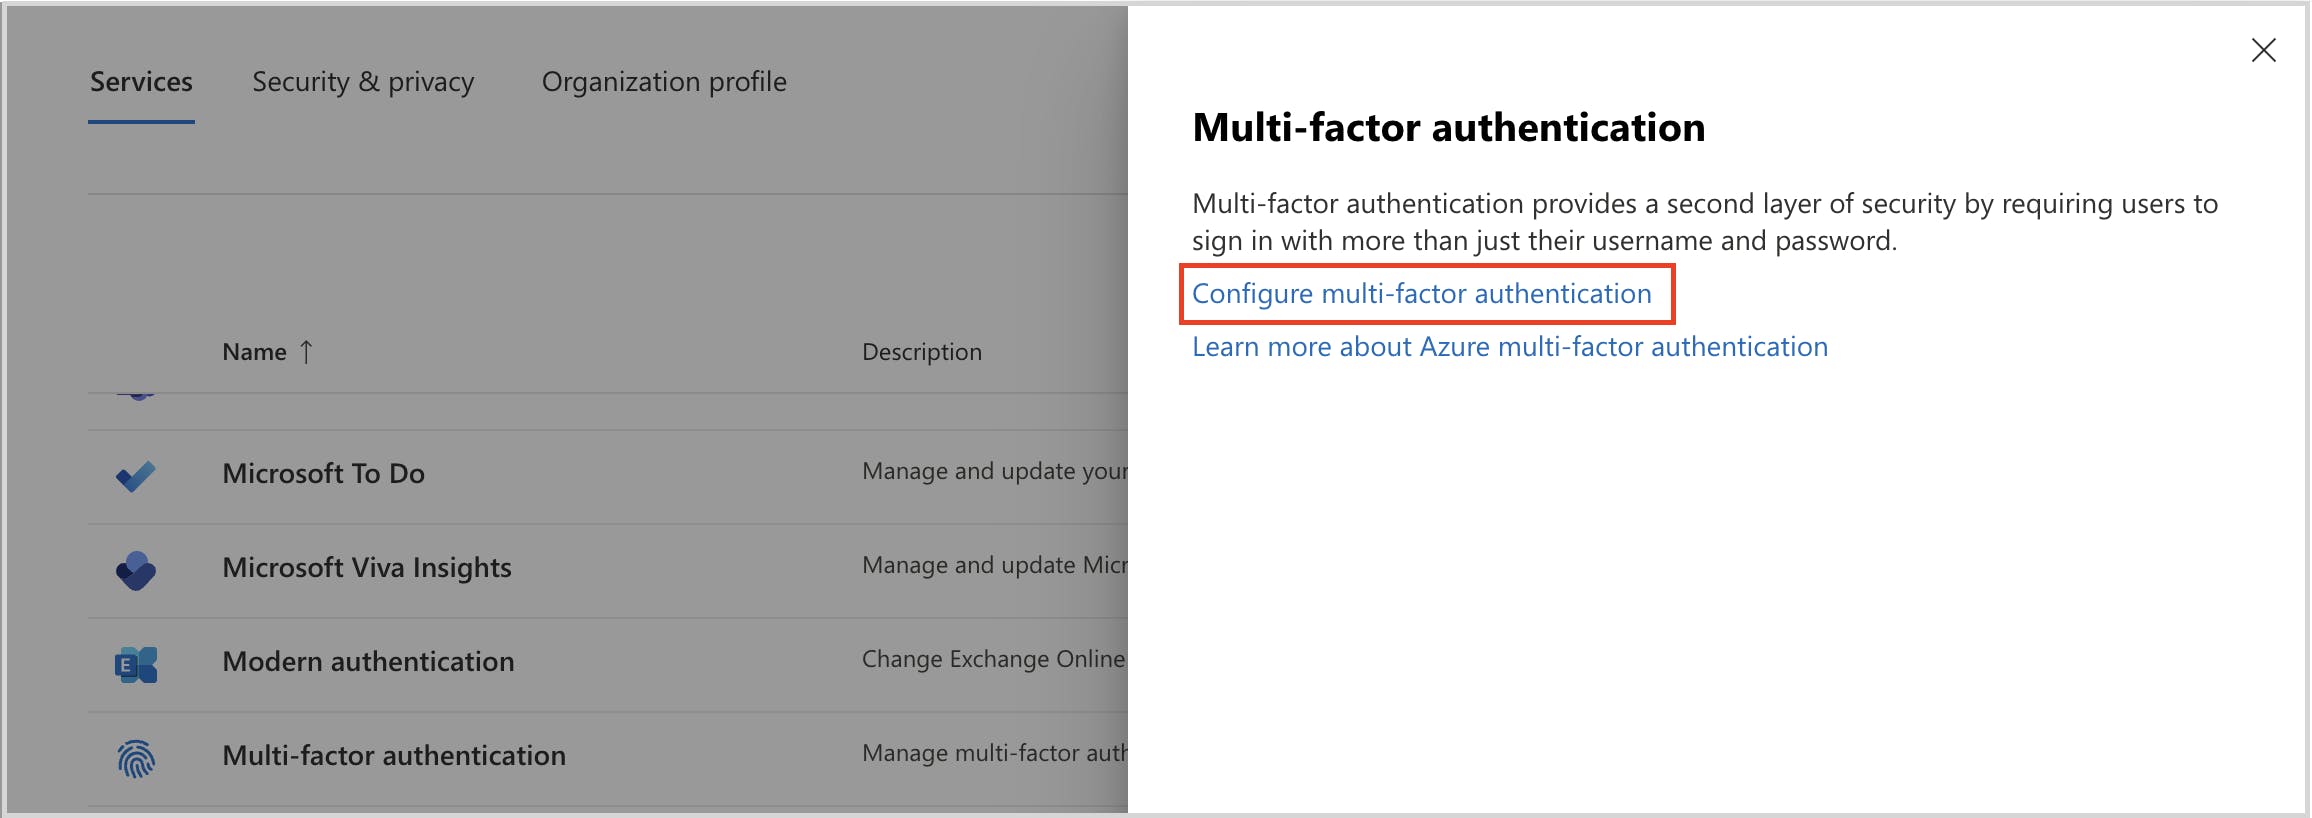
Services & add-ins settings
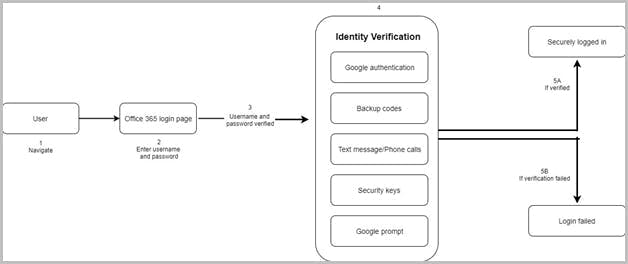
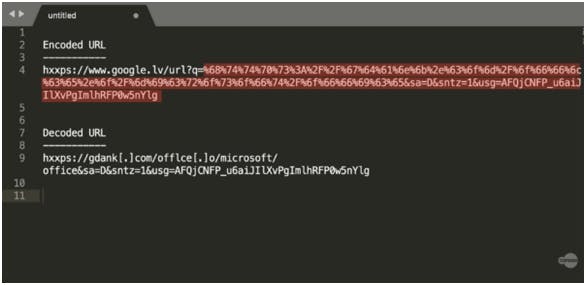
Stop Google redirect phishing attacks using MFA settings


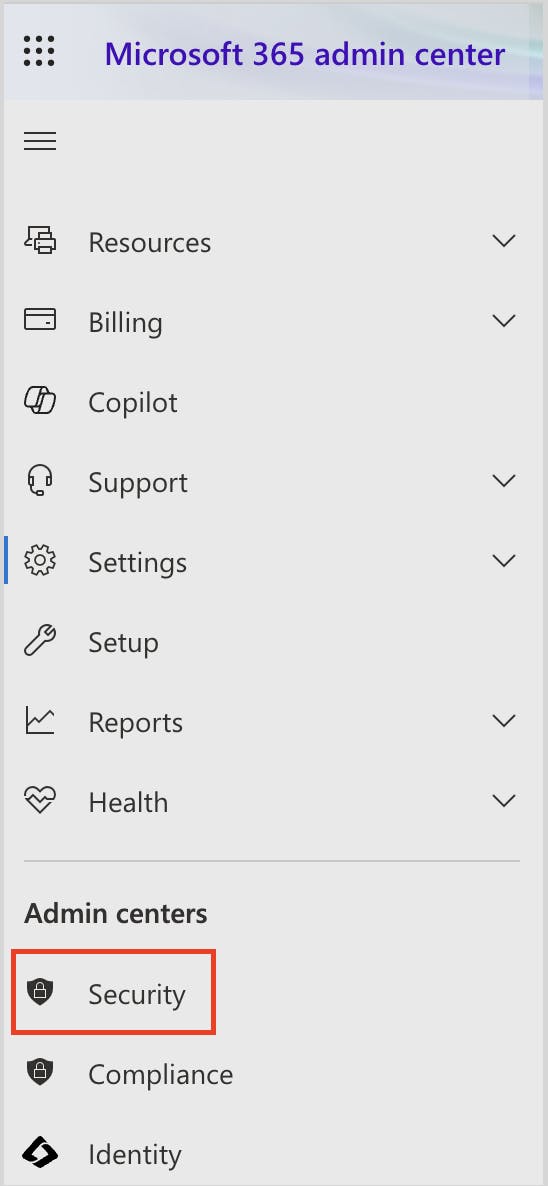
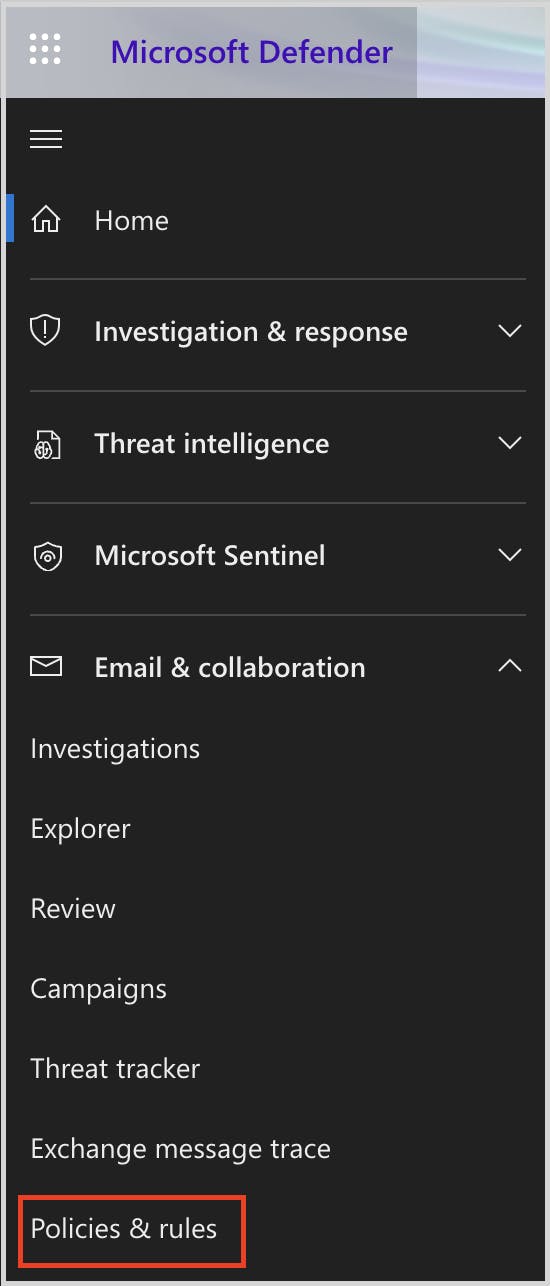
Admin center- security and compliance settings
Outlook security best practices
In this article

- Microsoft 365 Admin Center Outlook Security Settings to Prevent Phishing Attacks
- Exchange Admin Center Settings
- Services & Add-ins Settings
- Admin Center- Security & Compliance Settings
- COVid-19-Themed Phishing Attacks
- Outlook Security best practices