In this article
- Gmail backup for administrators
- How to back up Gmail emails using third-party cloud backup apps
- How to Backup Gmail Emails for Individual Users
- Final Thoughts
- Frequently Asked Questions (FAQs)
Gmail Backup: How to Backup Gmail Emails for Business (Step-By-Step Guide)
8 Apr 2025
|10 min read
|Jeena


Blog Articles
Gmail backup at a glance
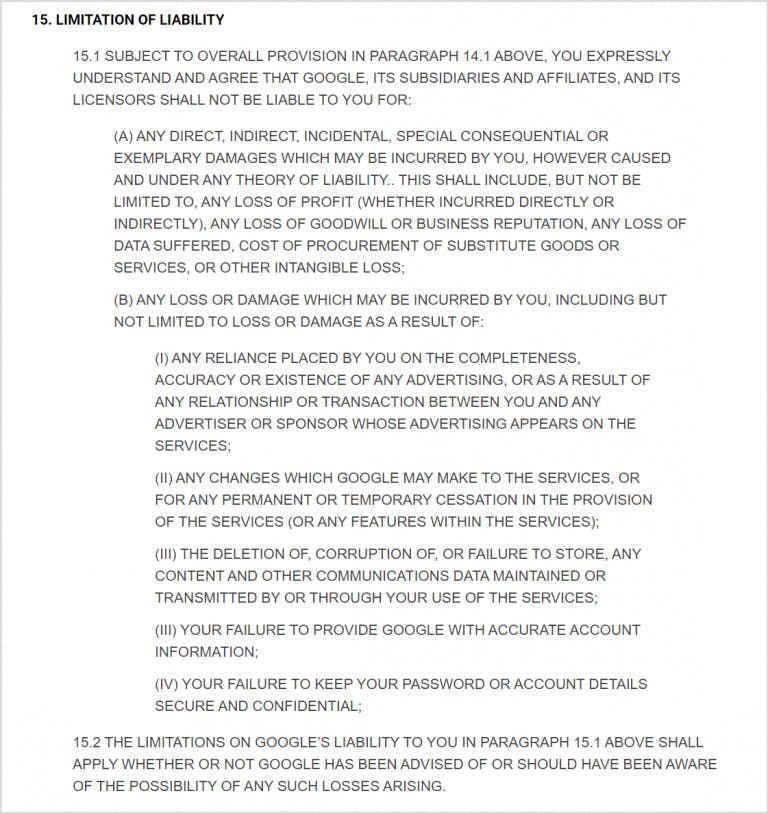
Backing up Gmail emails is essential as Google does not take responsibility for lost data.
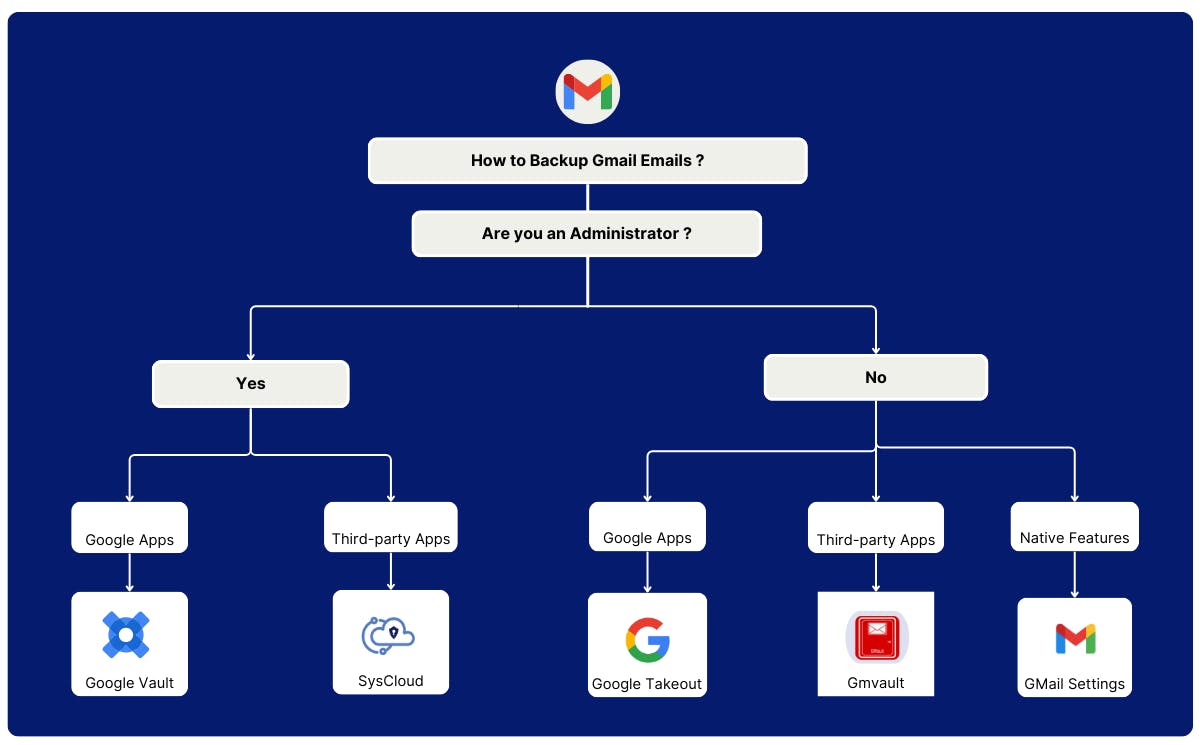
- Use native features like email forwarding, POP, or IMAP to store email copies in another account or client.
- Google Takeout allows manual downloads of Gmail data but requires regular updates.
- Gmvault offers automated backups via a command-line tool but requires technical expertise.
- Google Vault archives data for business plans but does not serve as a full backup solution.
What is the solution?
SysCloud provides a secure, automated cloud backup solution for Gmail, ensuring that emails and attachments are continuously backed up and easily restored whenever needed.
Gmail backup for administrators
How to back Up Gmail data using Google Vault
How to use Google Vault
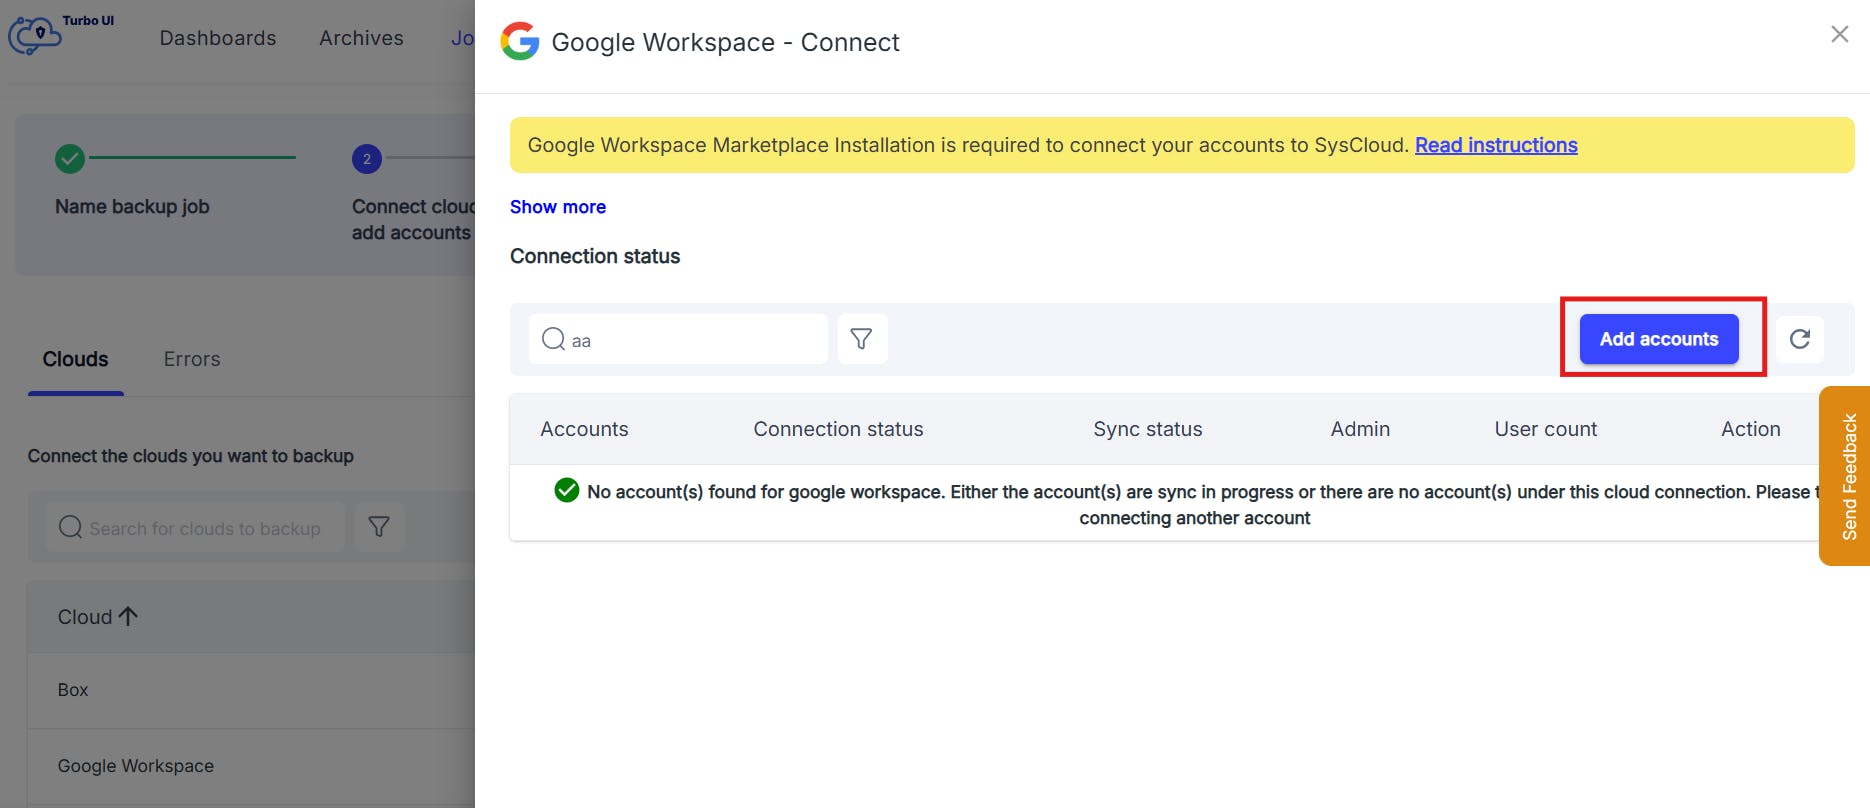
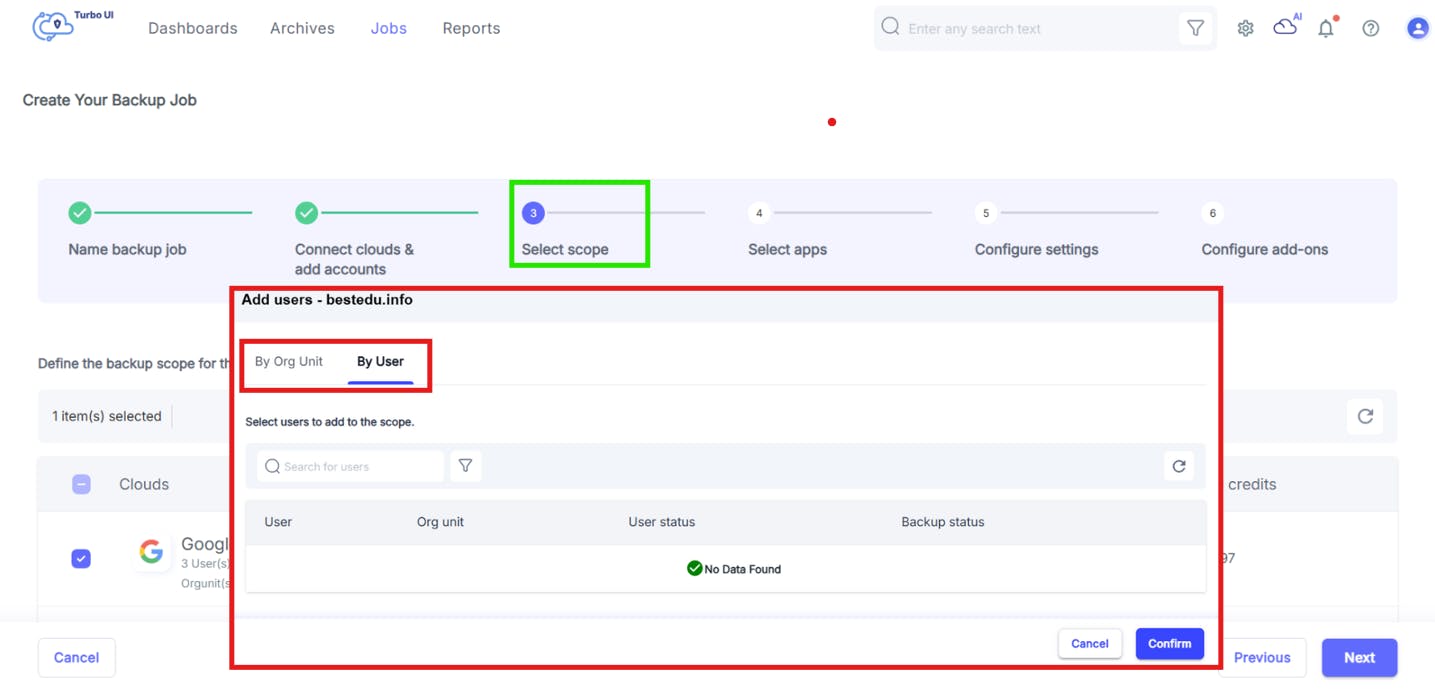
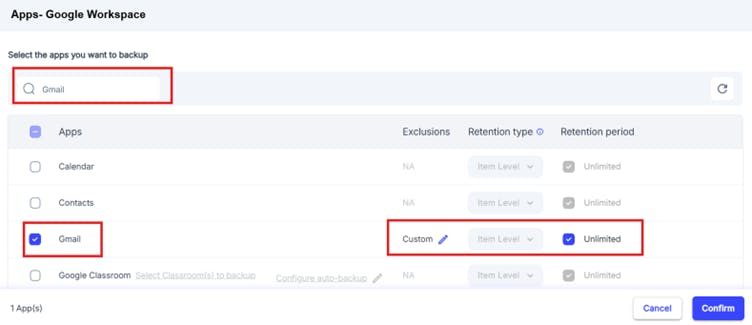
How to back up Gmail emails using third-party cloud backup apps
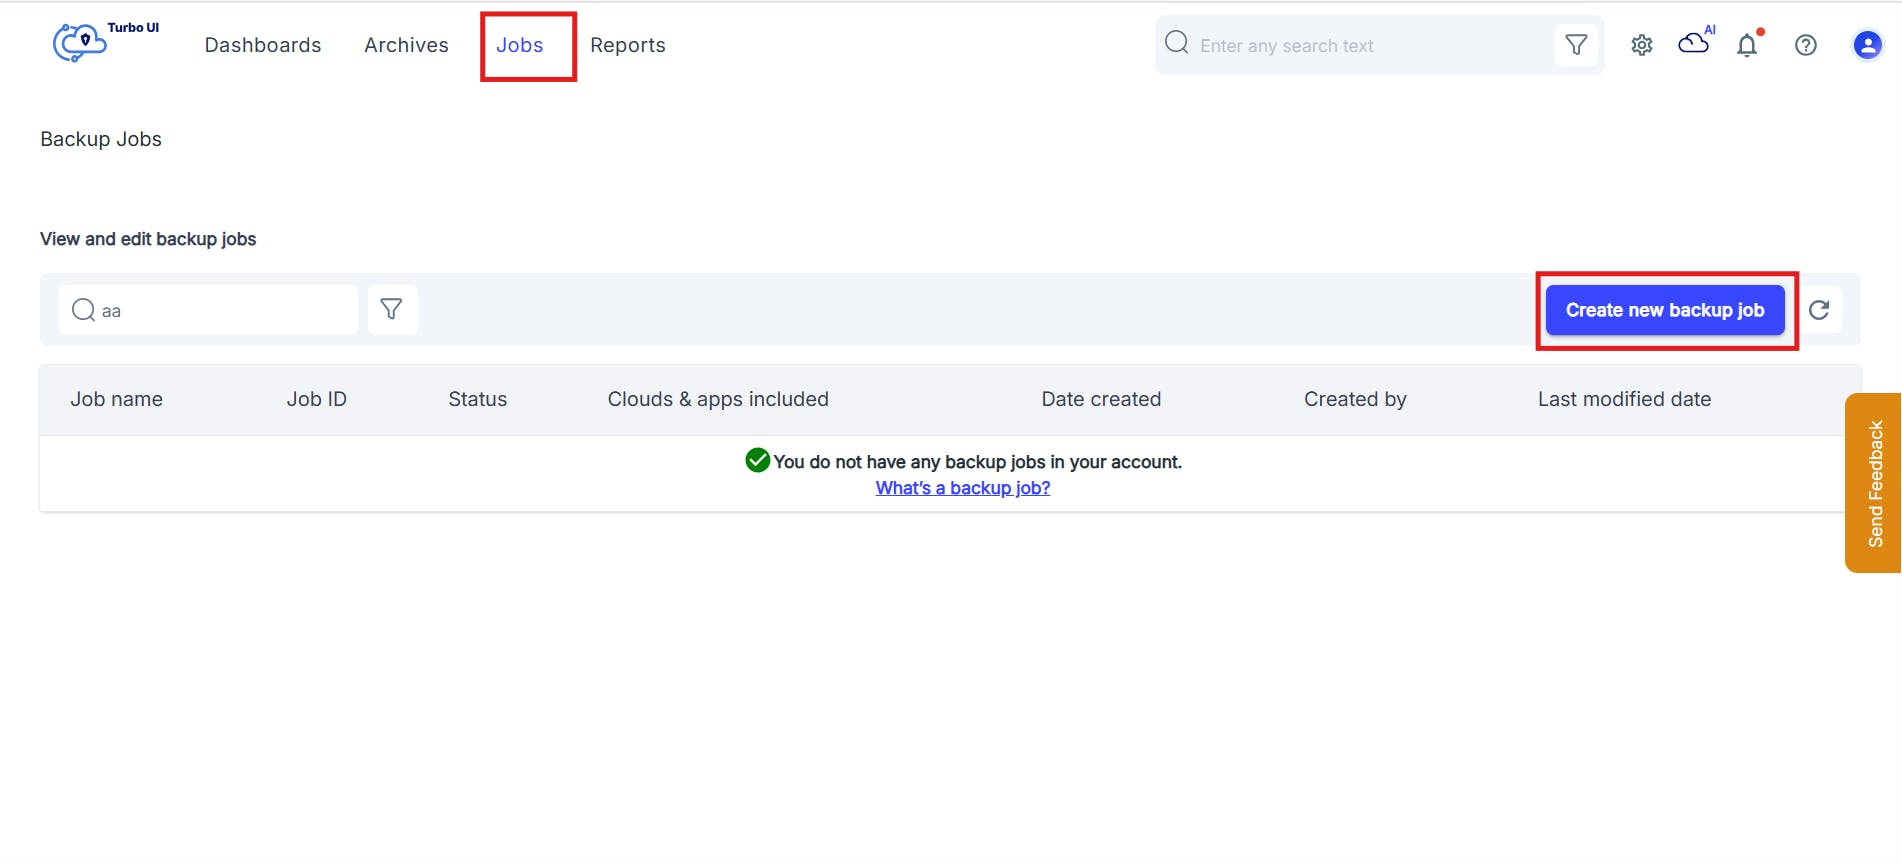
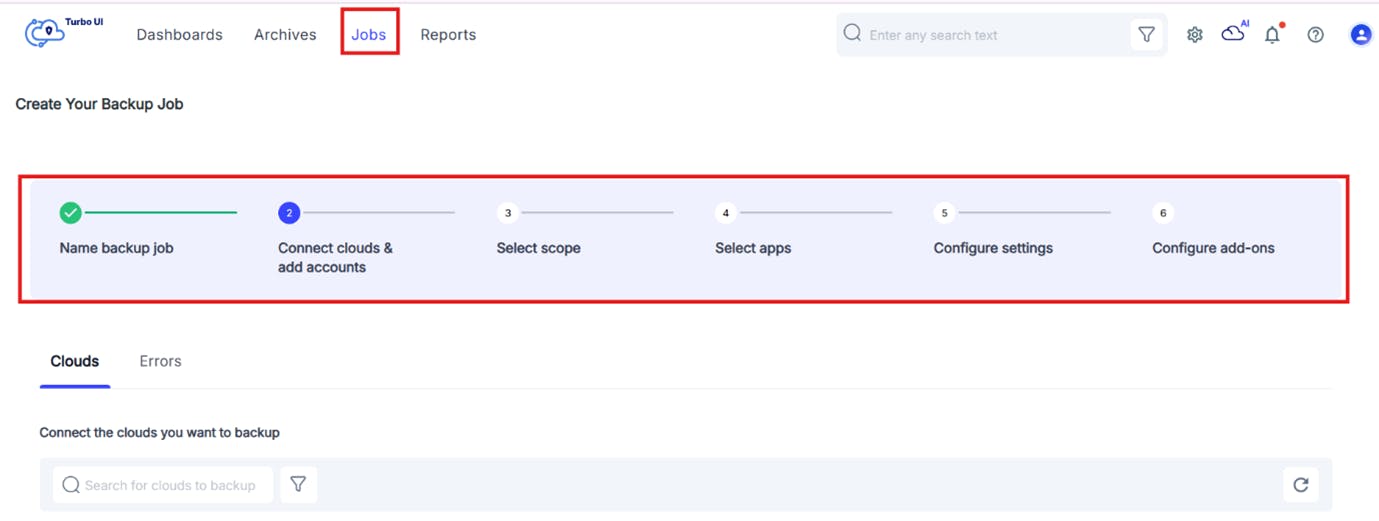
Gmail backup using SysCloud

How to Backup Gmail Emails for Individual Users
How to Backup Gmail Emails with Google Takeout
Backup Gmail Emails Using Gmvault
How to Backup Gmail Emails Using built-in Gmail settings
How to Backup Gmail Emails with Email Forwarding
How to Backup Gmail Emails Using POP Settings
Using IMAP to Backup Gmail Emails
Final Thoughts
Frequently Asked Questions (FAQs)
In this article

- Gmail backup for administrators
- How to back up Gmail emails using third-party cloud backup apps
- How to Backup Gmail Emails for Individual Users
- Final Thoughts
- Frequently Asked Questions (FAQs)