In this article
- How to Export Outlook Emails Using Microsoft 365 eDiscovery
- How to Back Up Outlook Emails with SysCloud
- How to Back Up Outlook Emails with Native Tools
- Frequently Asked Questions (FAQs)
How to Back Up Outlook Emails: A Step-by-Step Guide
8 Apr 2025
|10 min read
|Jeena


Blog Articles
Article at a glance
Outlook lacks comprehensive backup options, putting critical email data at risk of permanent loss.
Limited native backup options: Export, auto-archive, and email forwarding are manual processes that don't support automated recovery or restore folder structures.
Read more
Why should you back up Outlook emails
How to back up Outlook emails
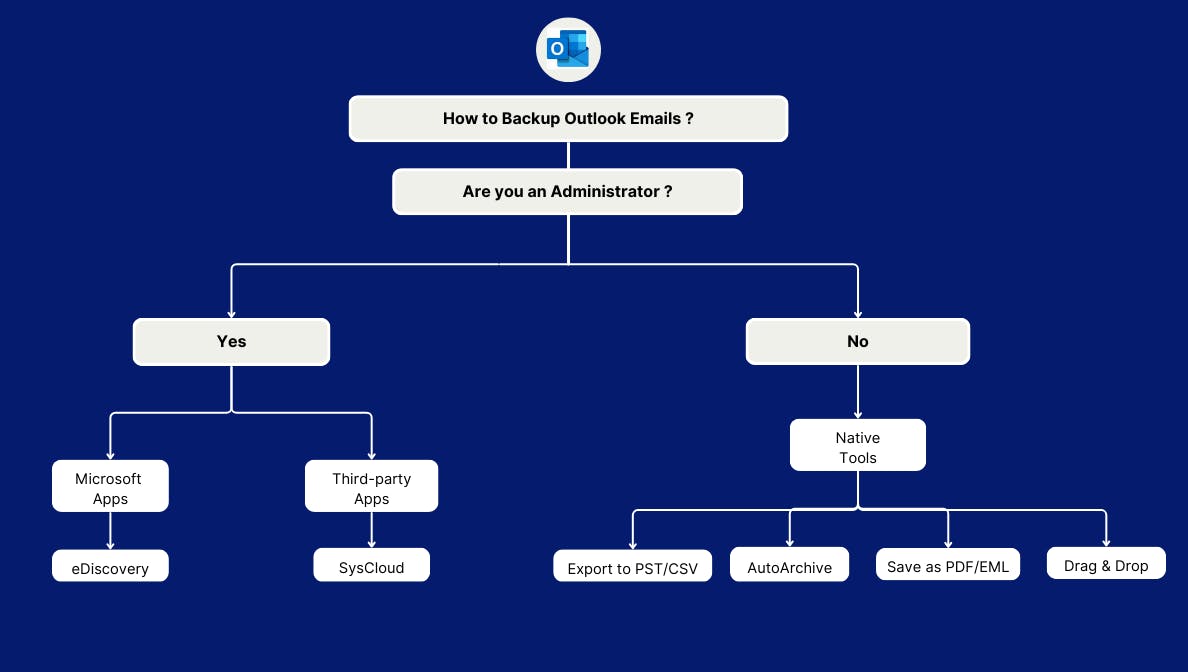
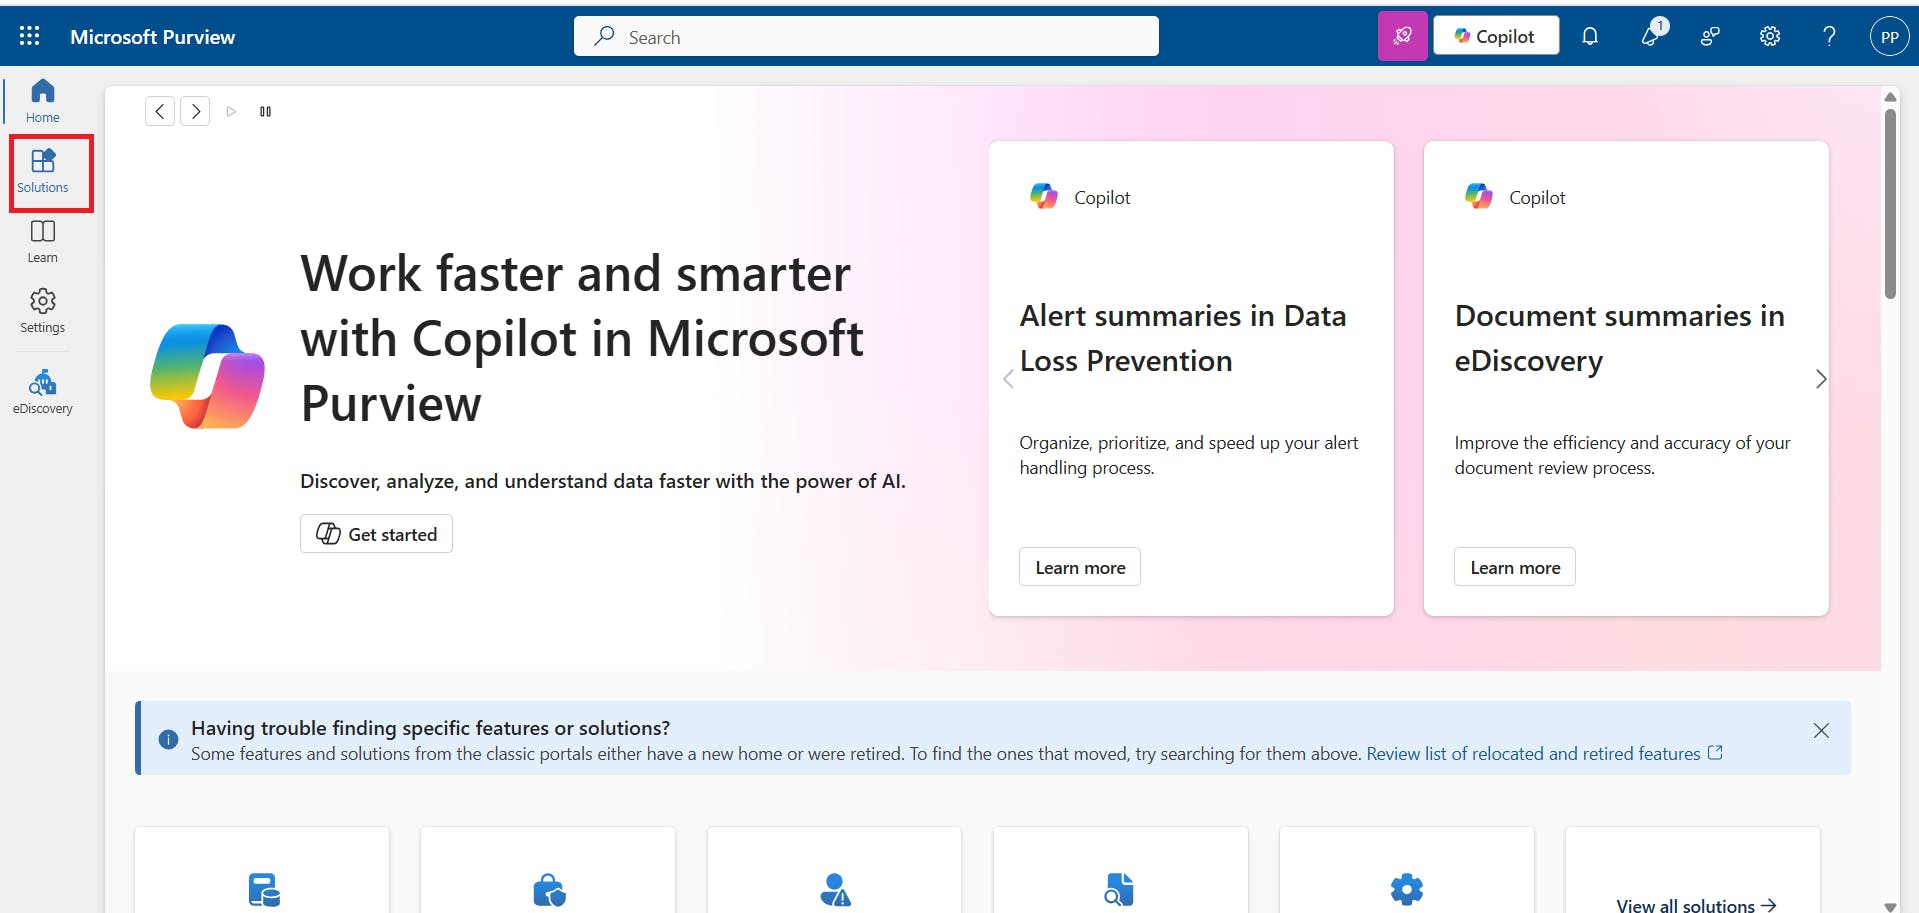
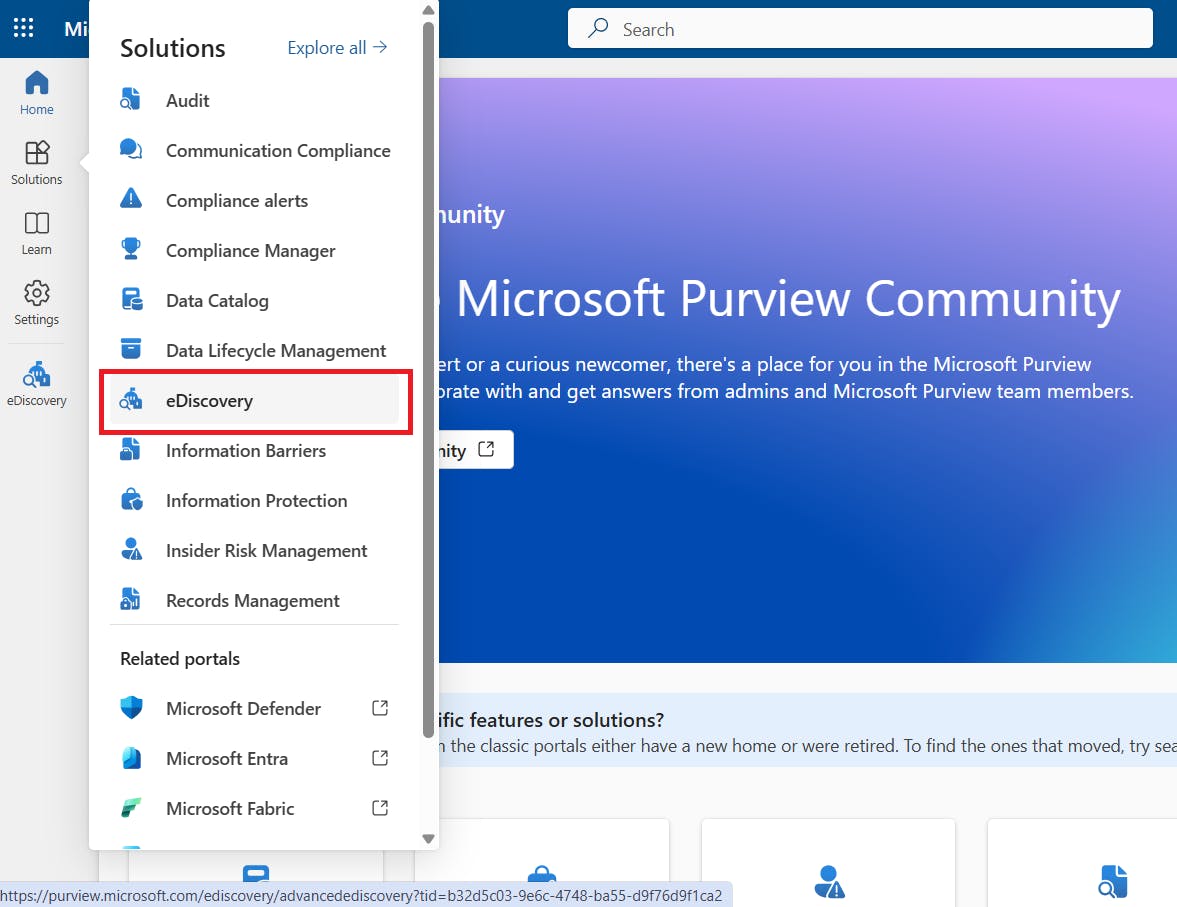
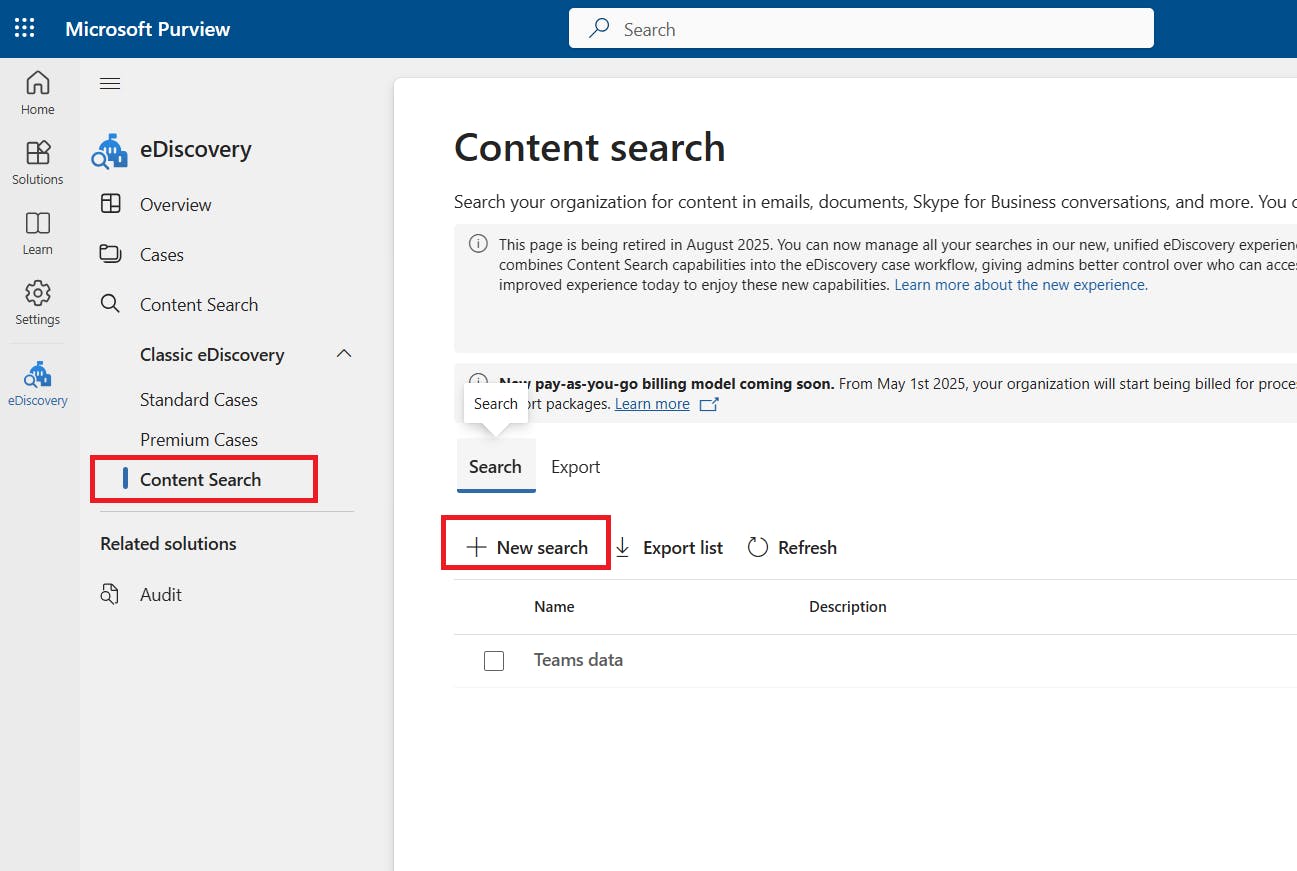
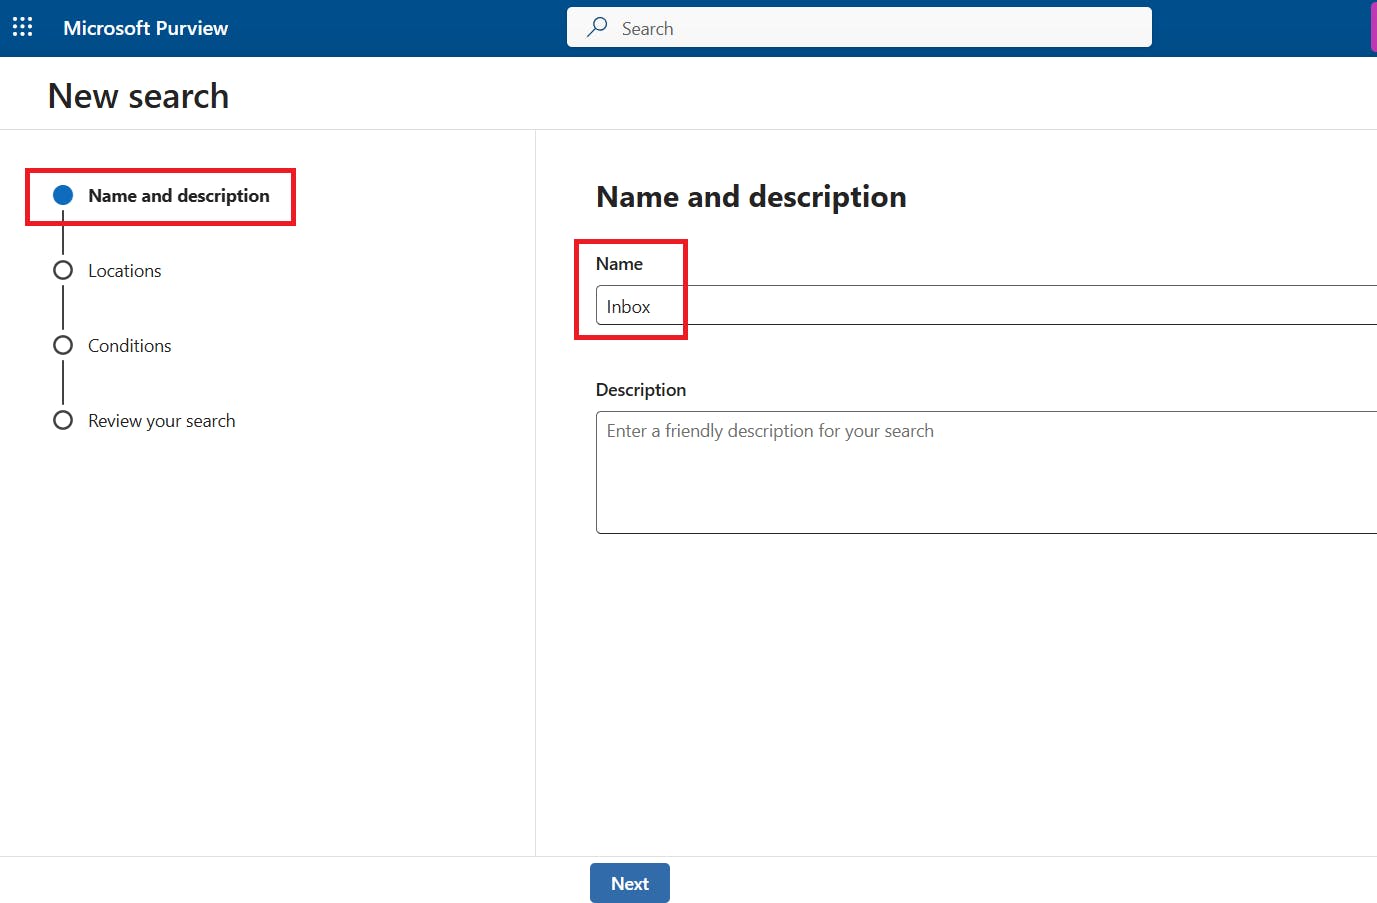
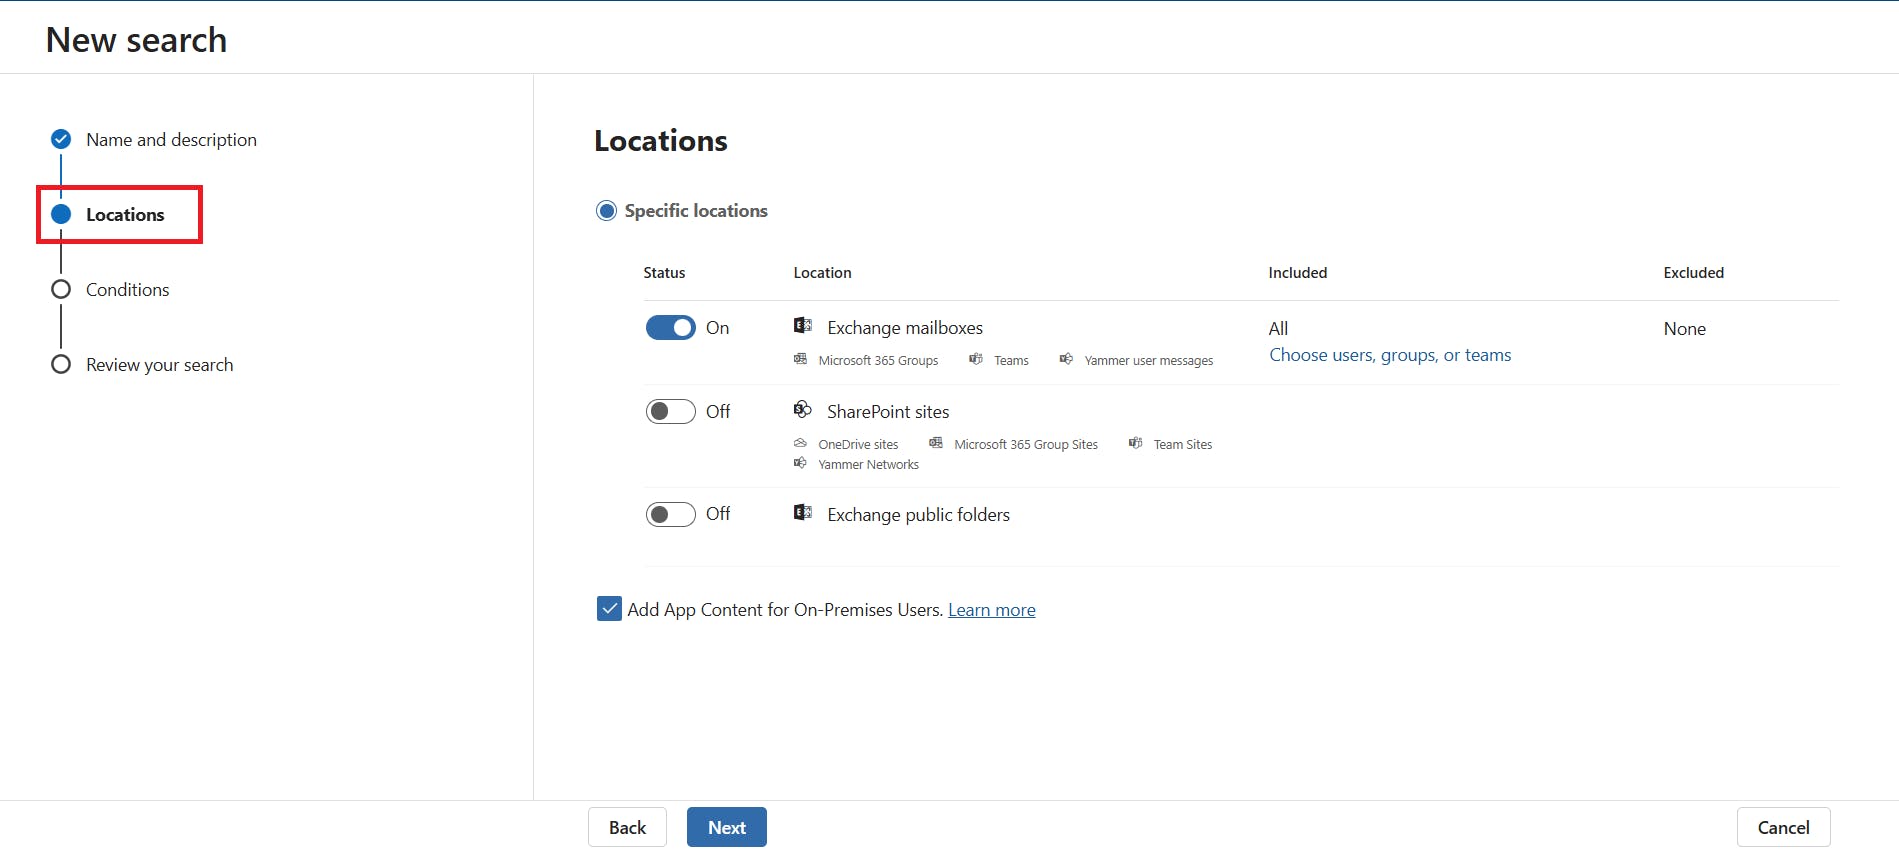
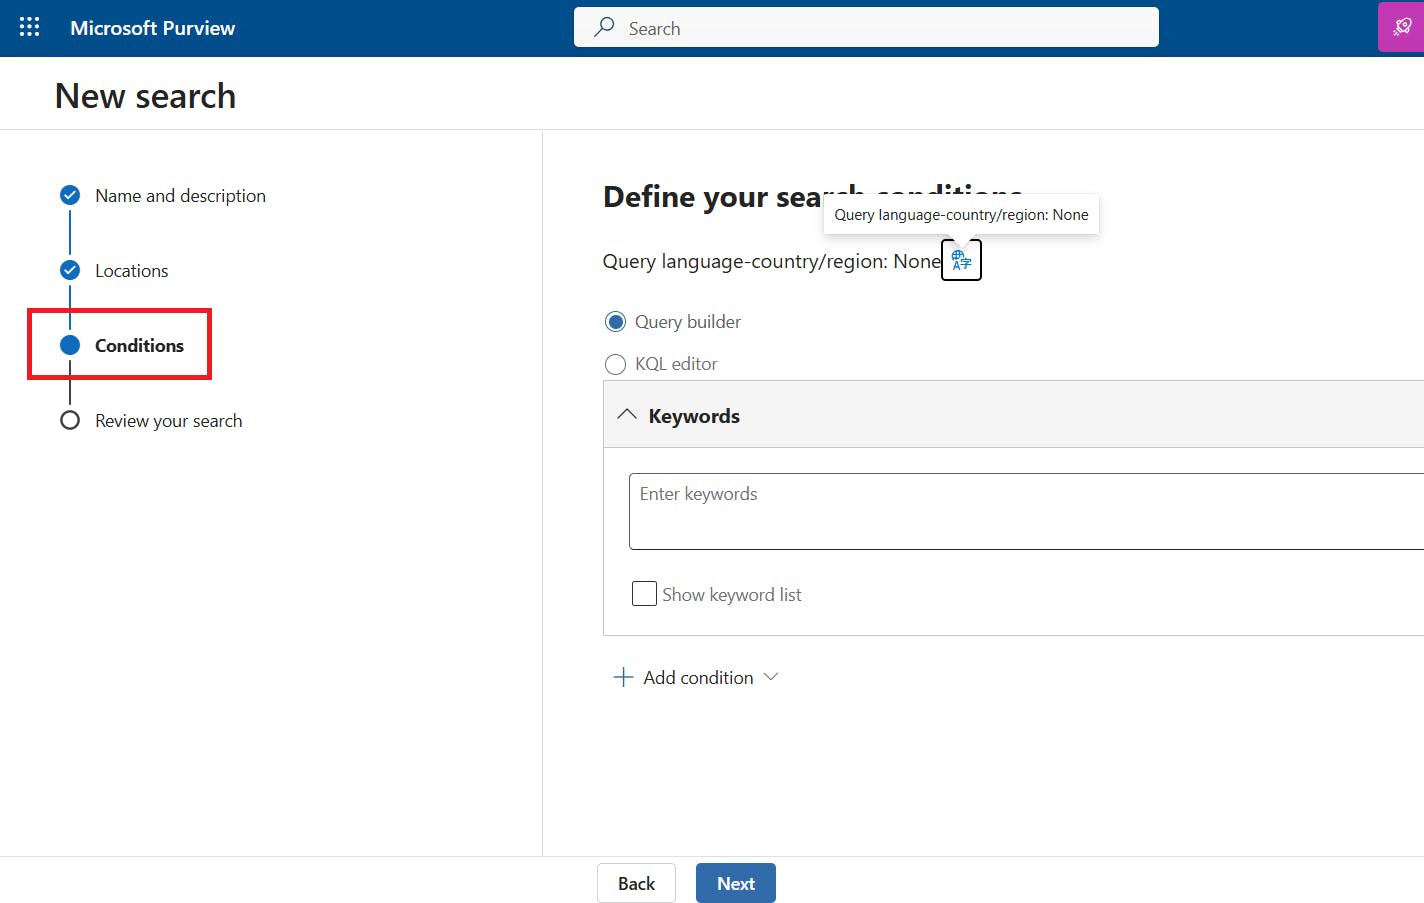
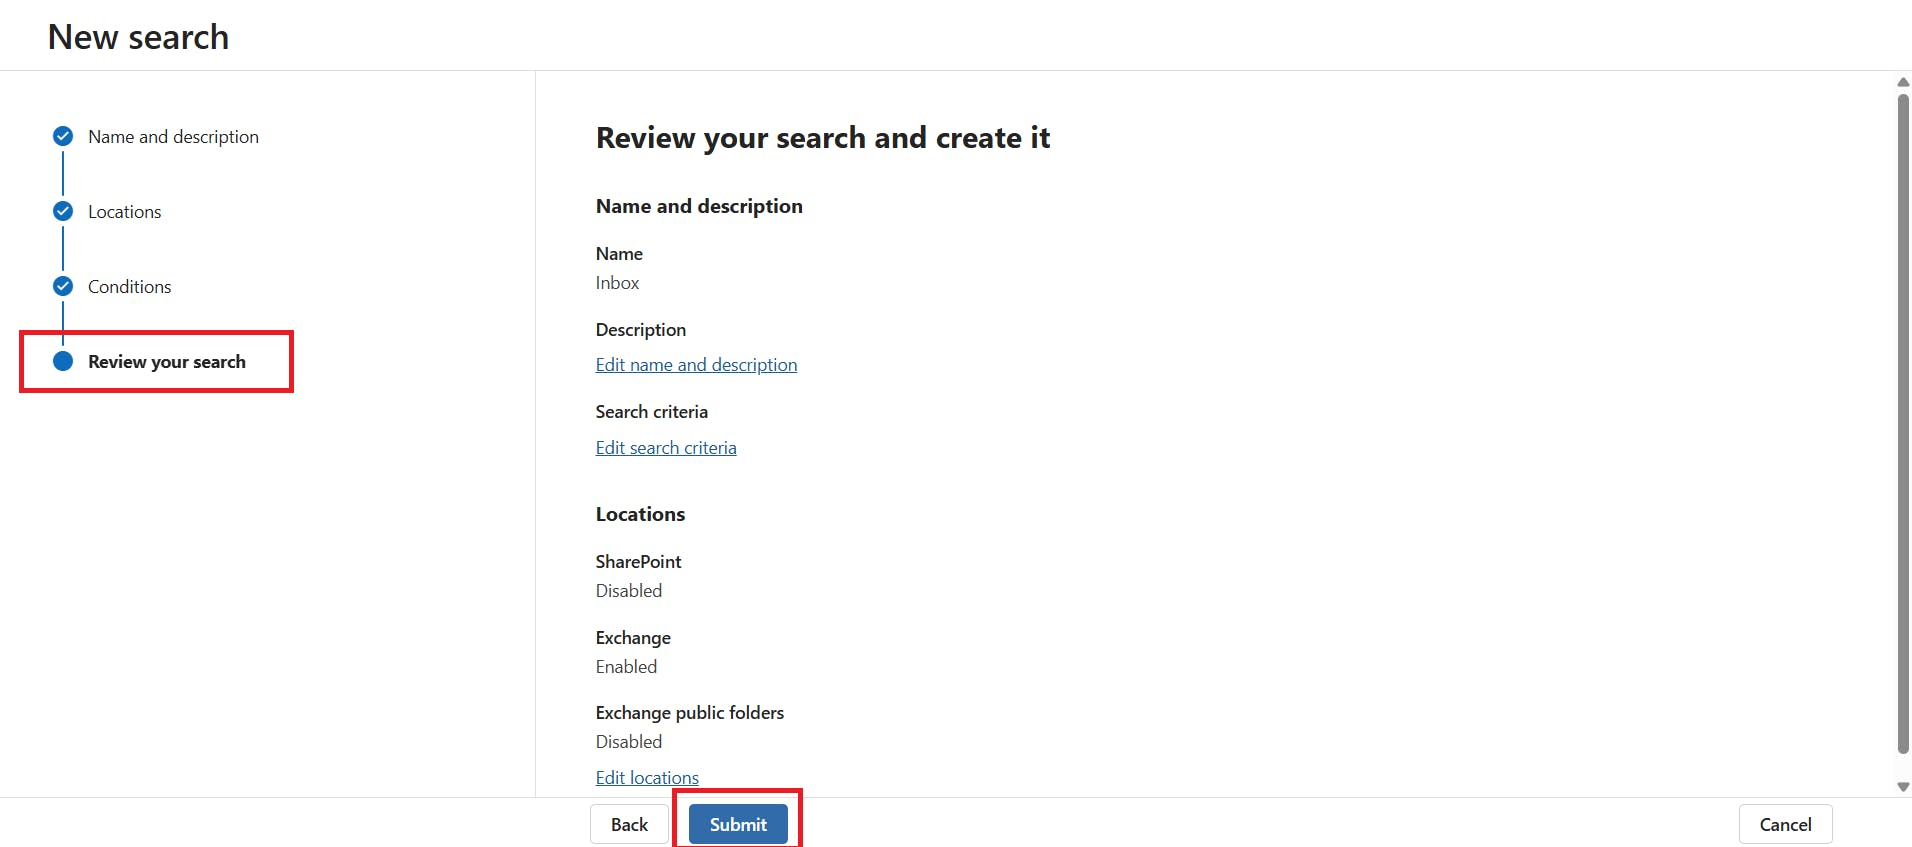
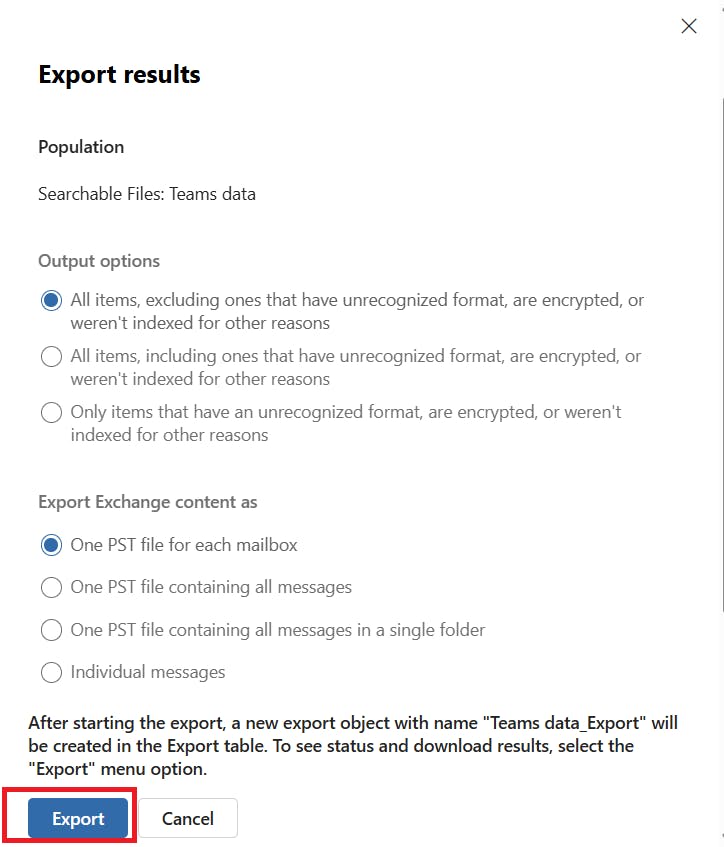
How to export Outlook emails using Microsoft 365 eDiscovery
Pre-requisites:

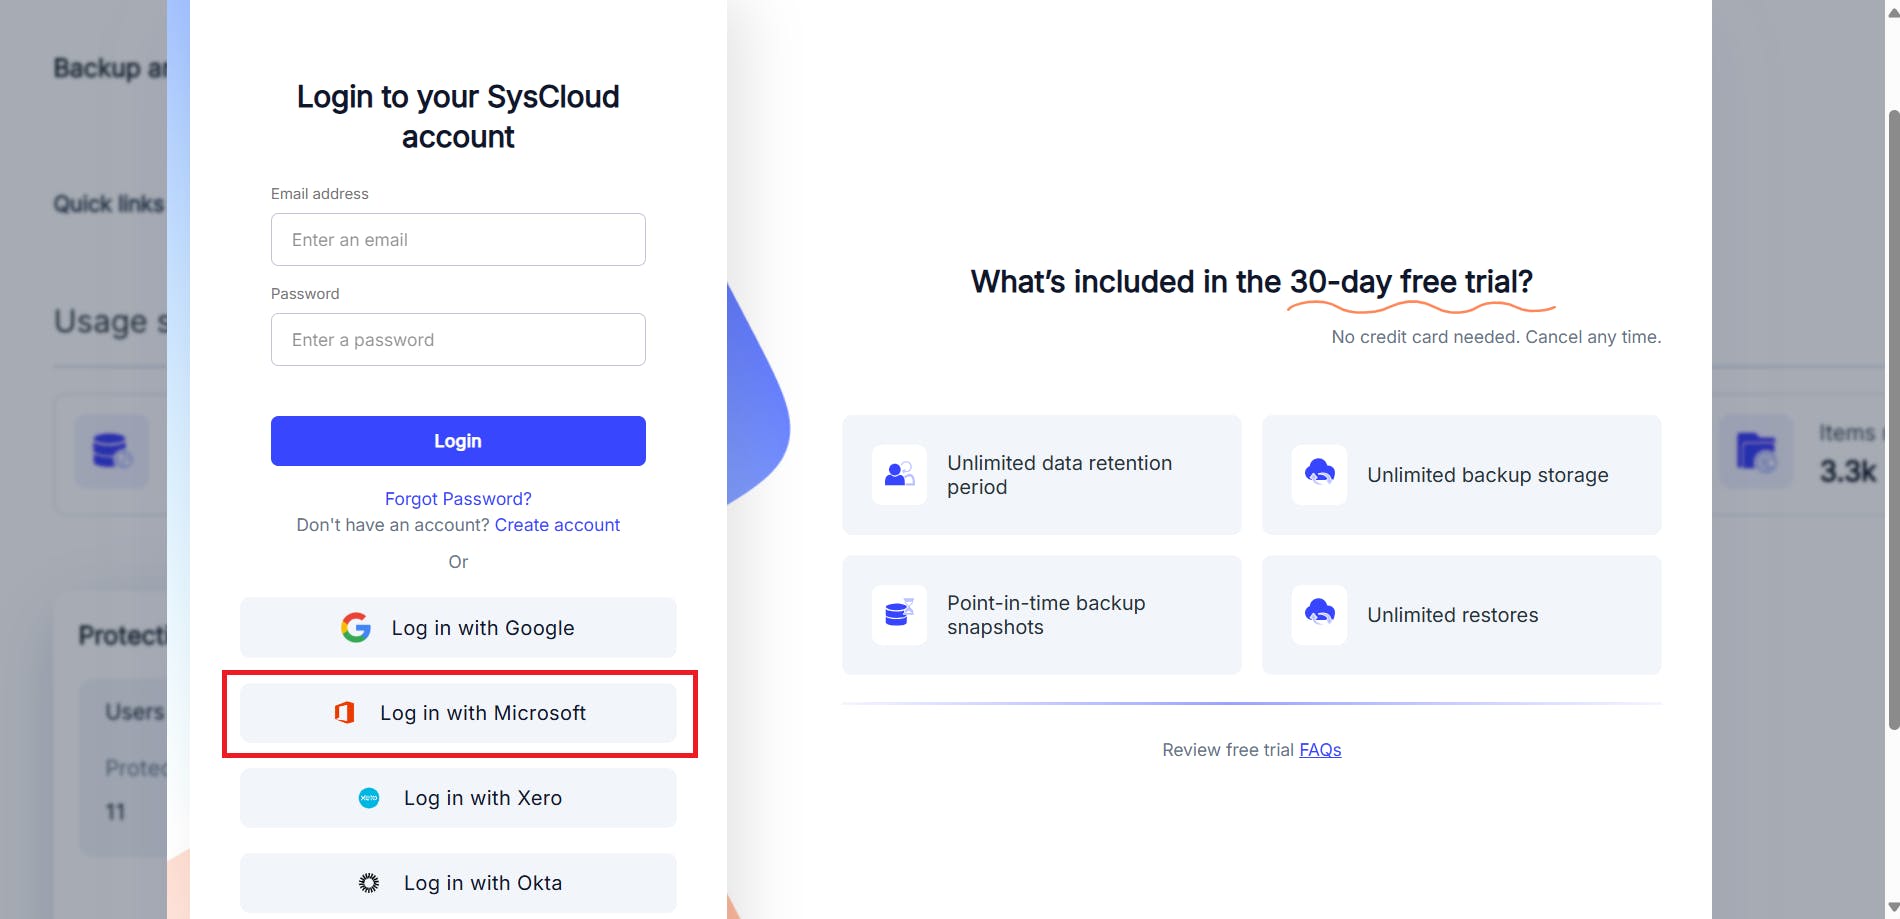
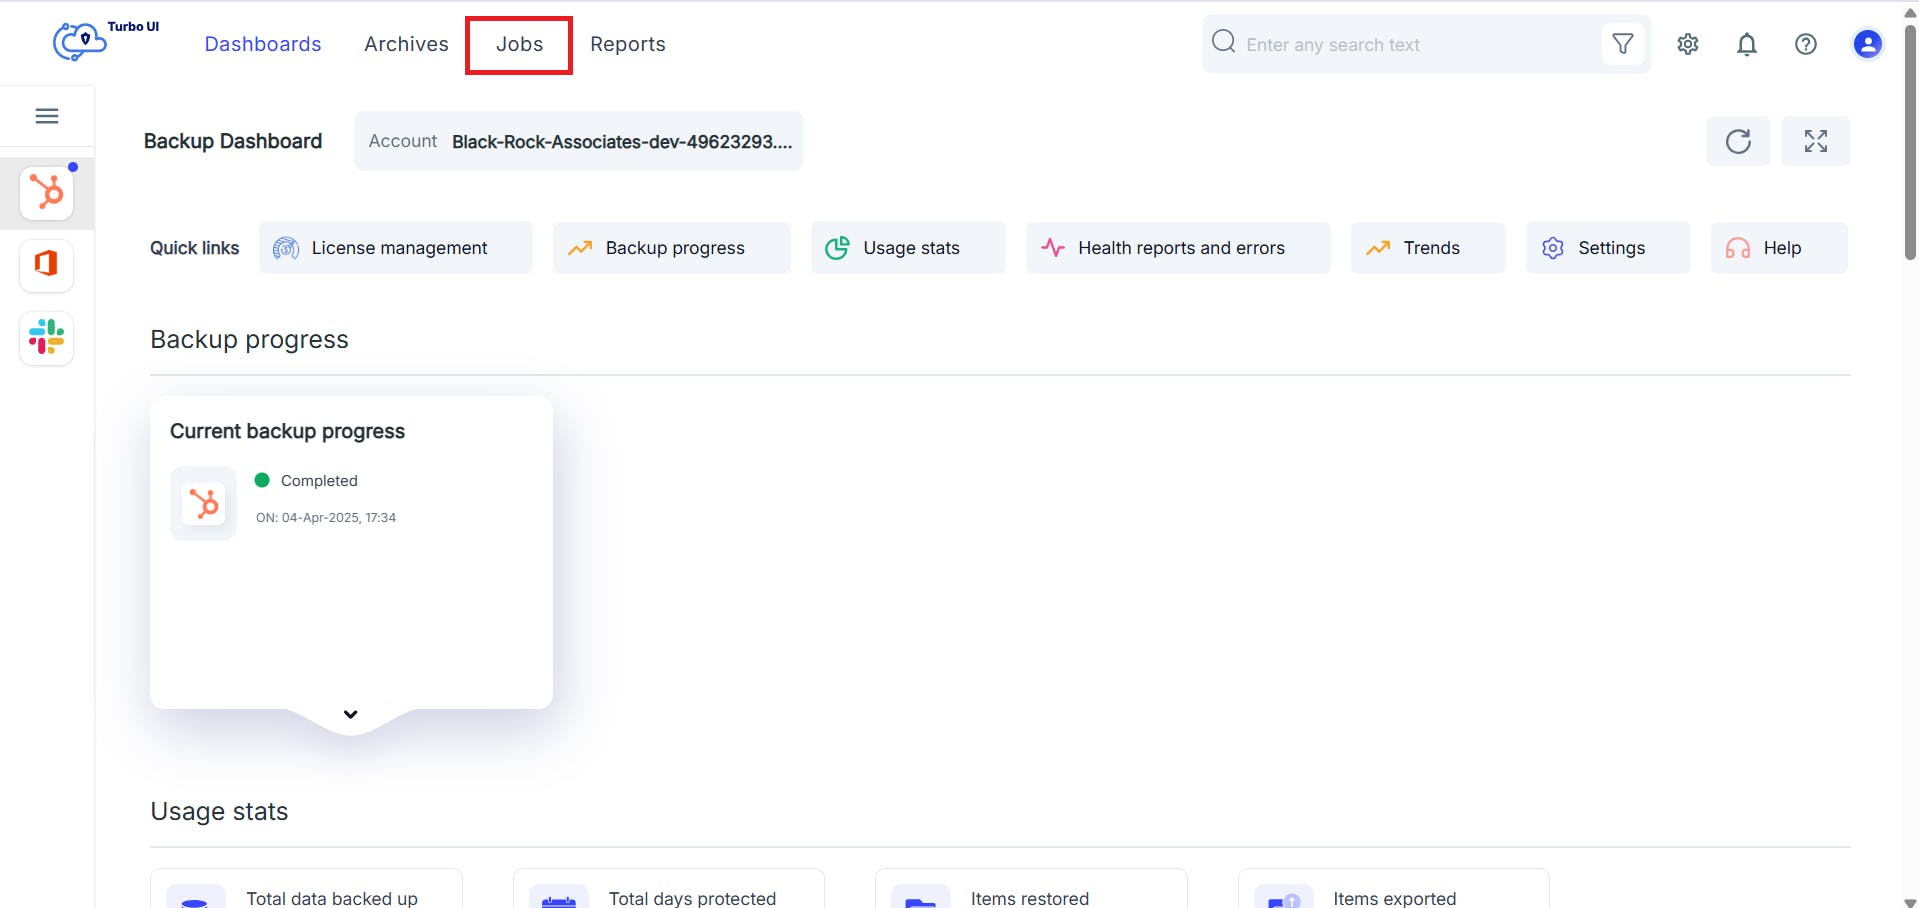
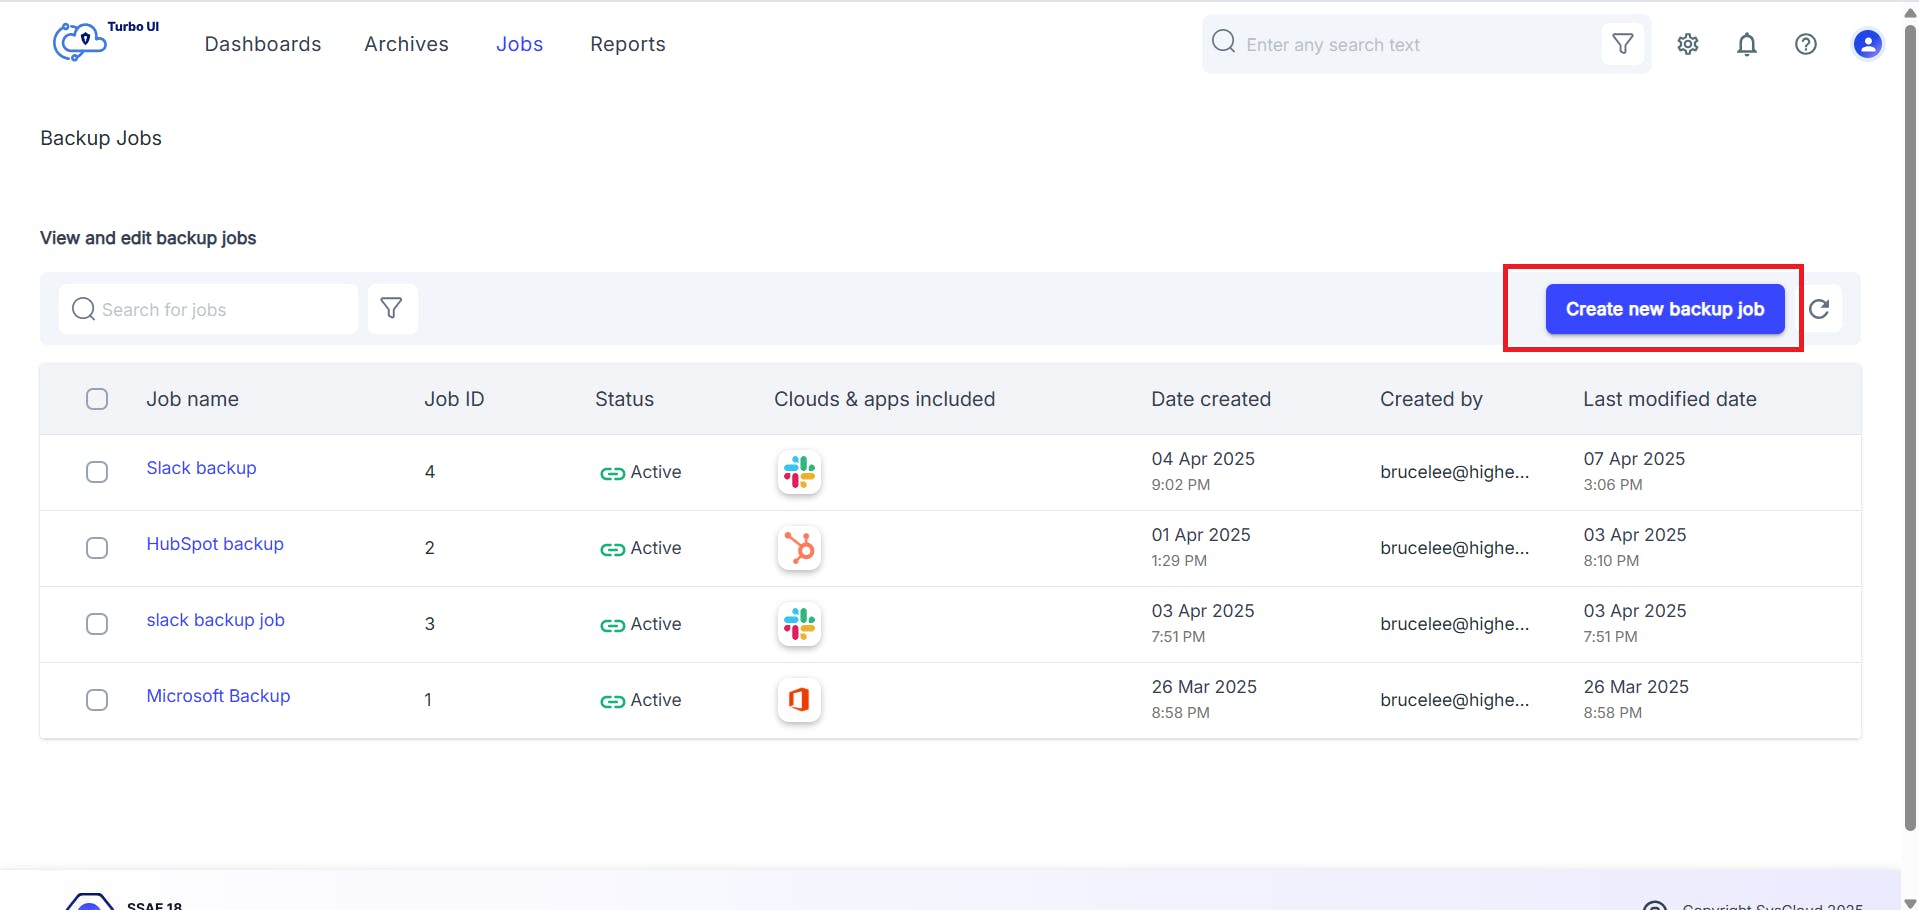
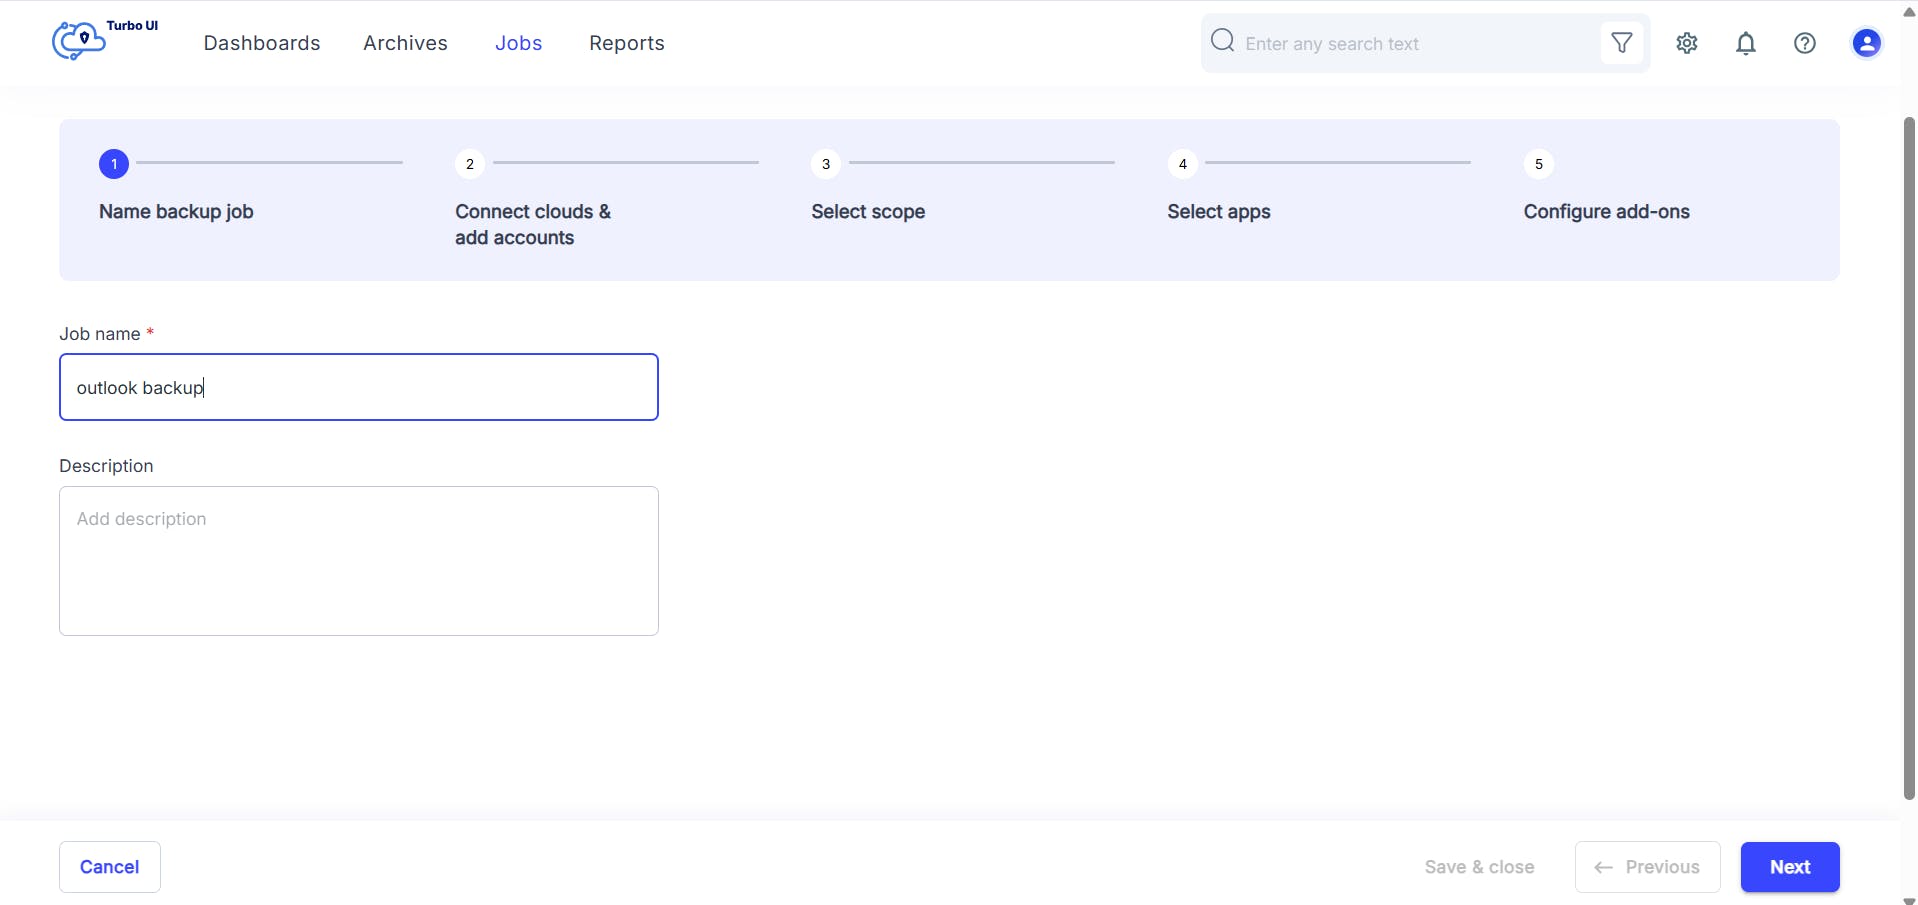
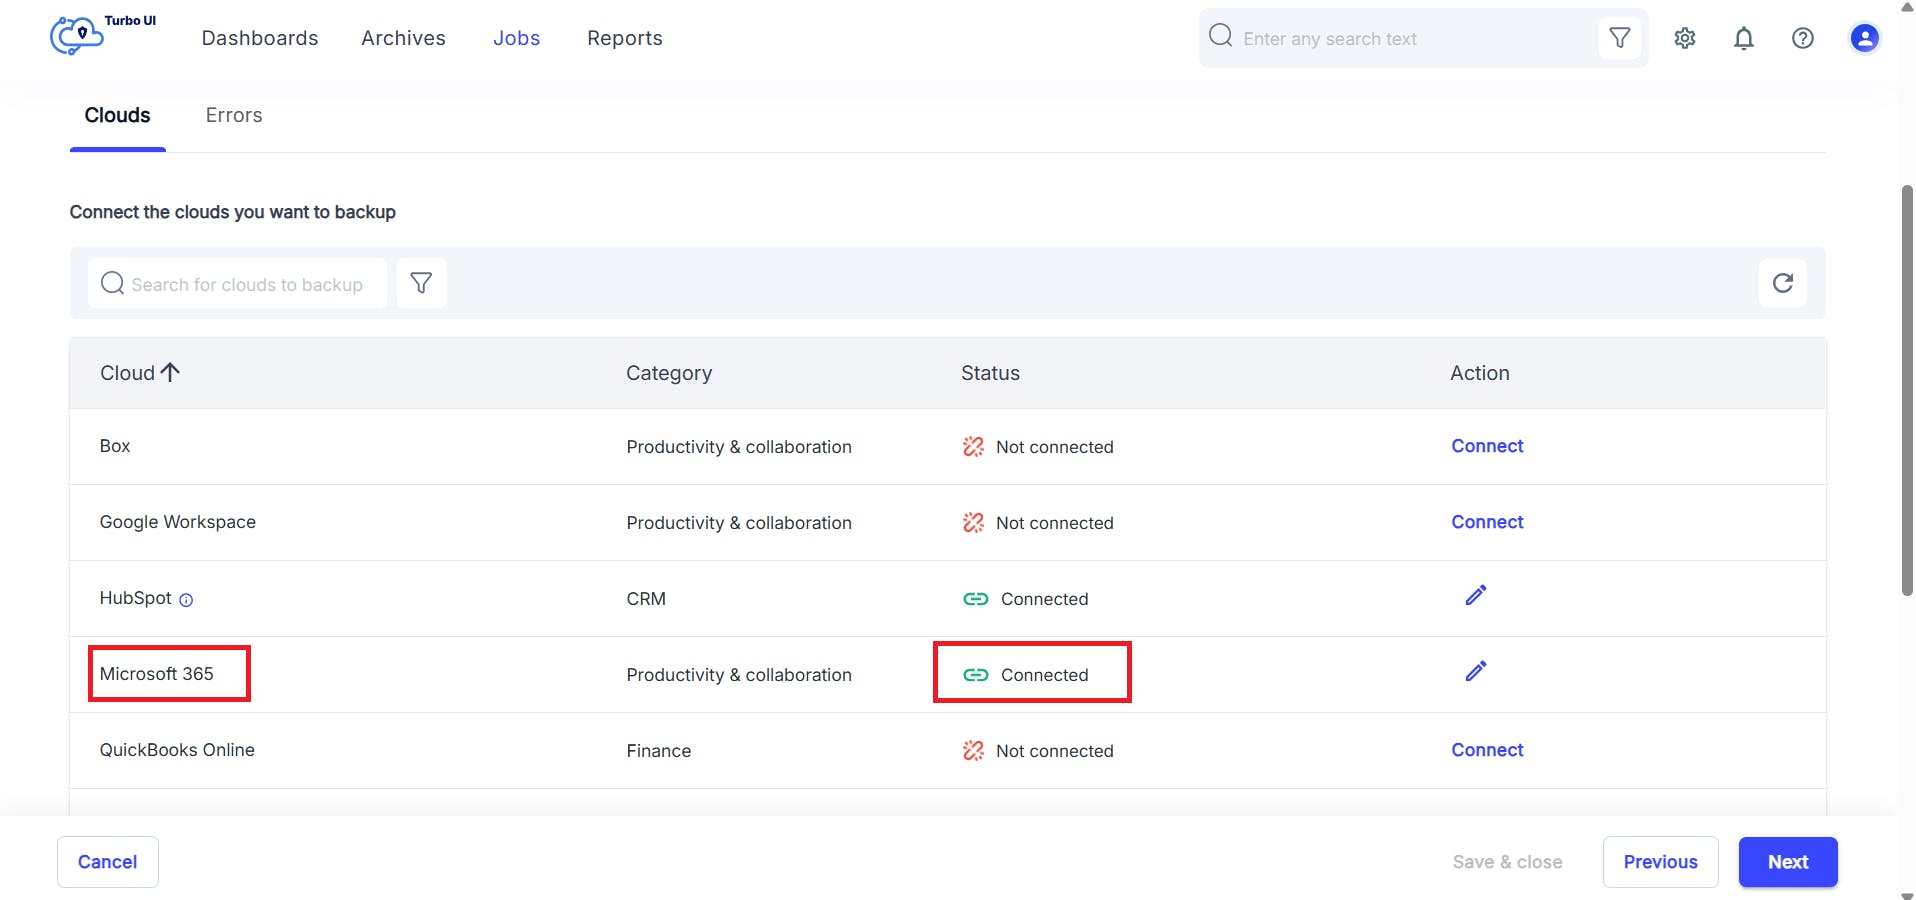
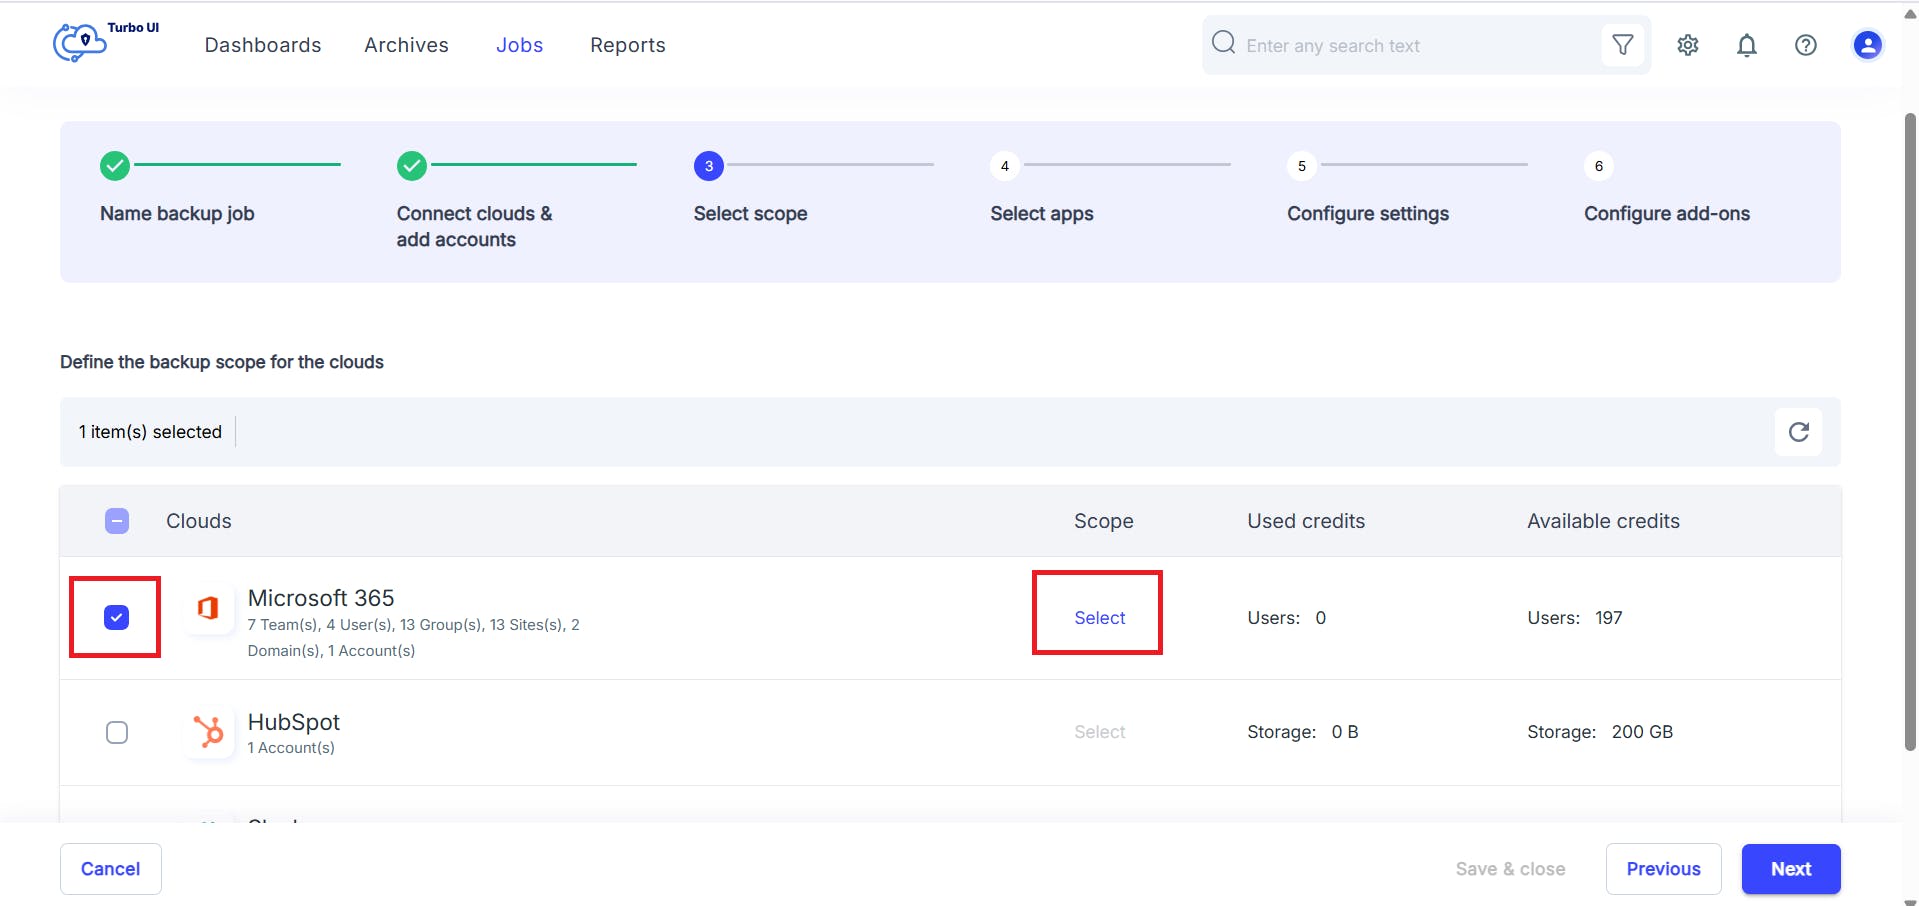
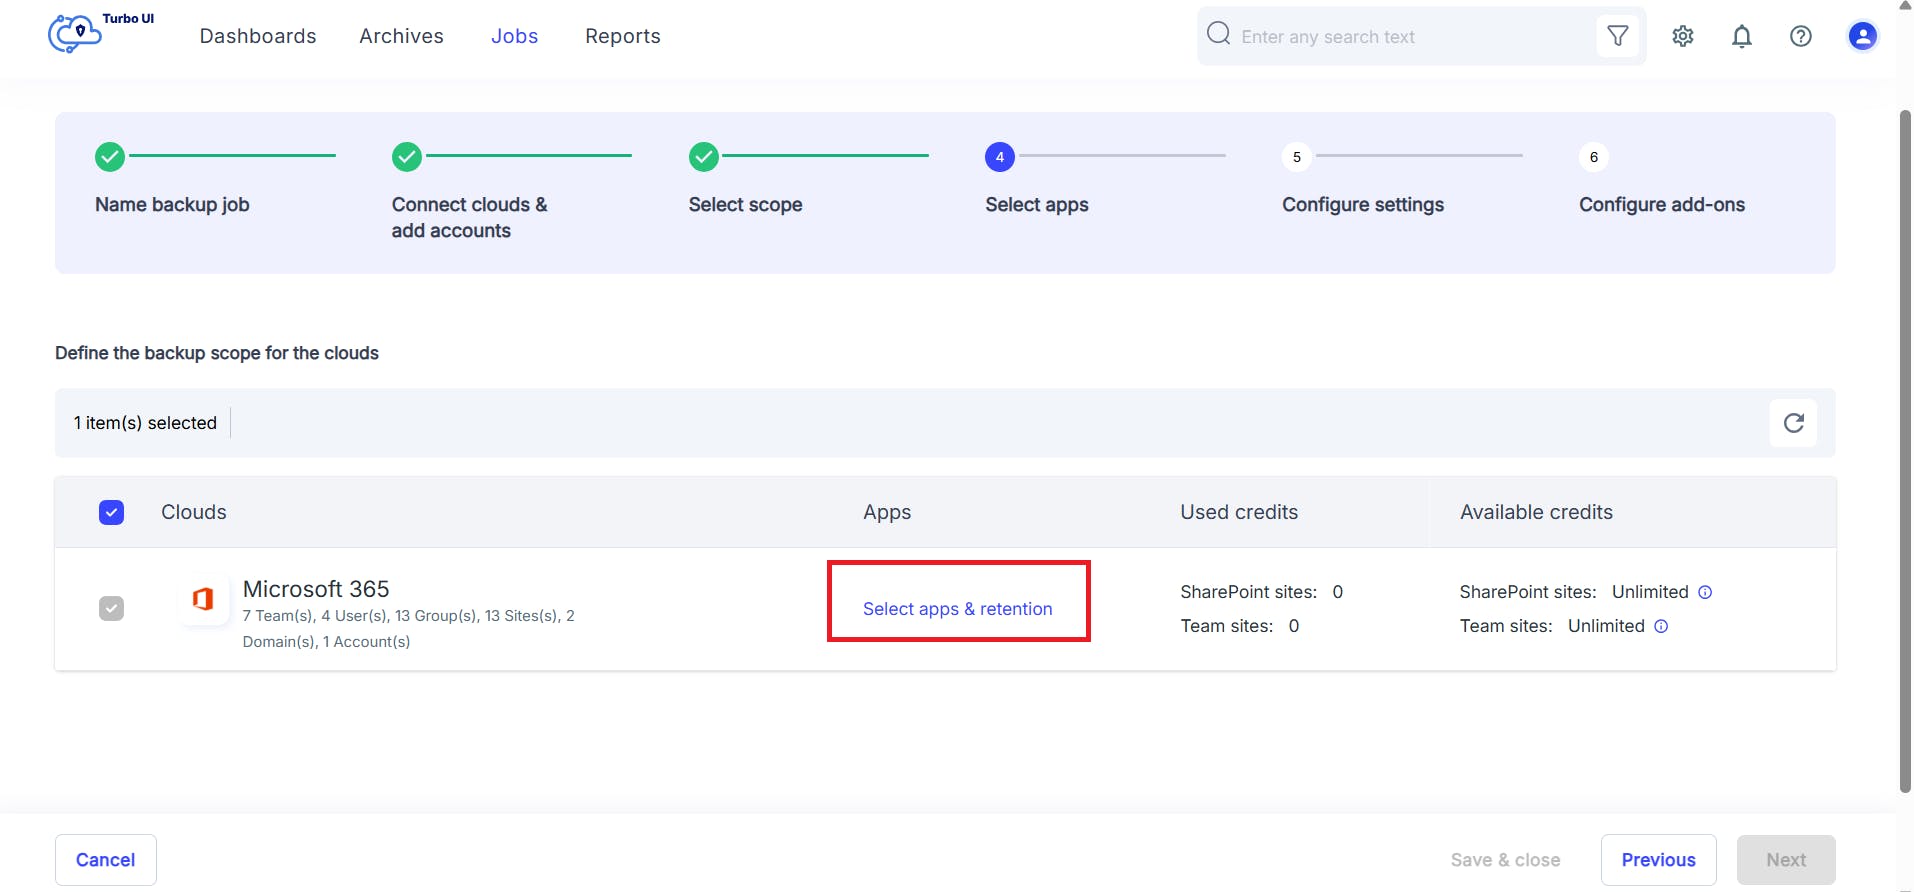
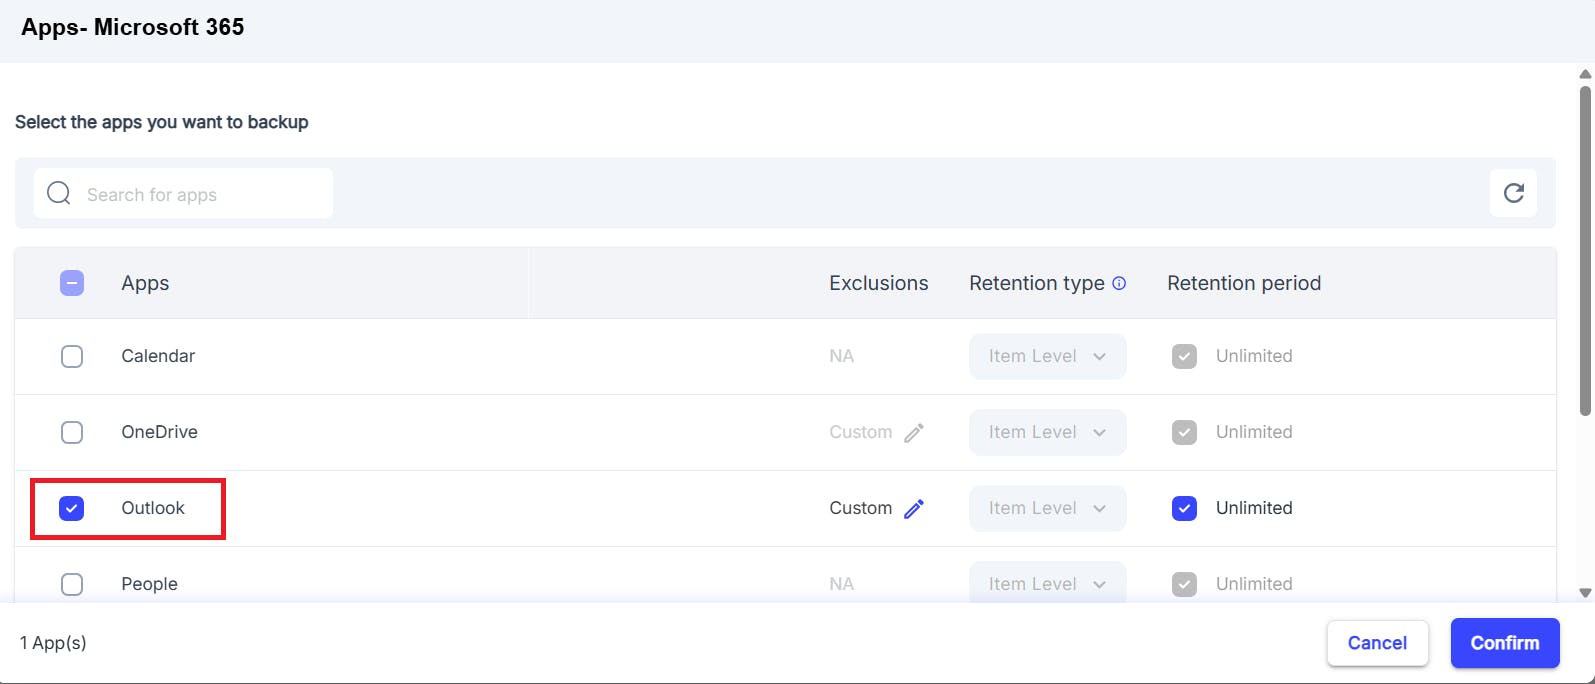
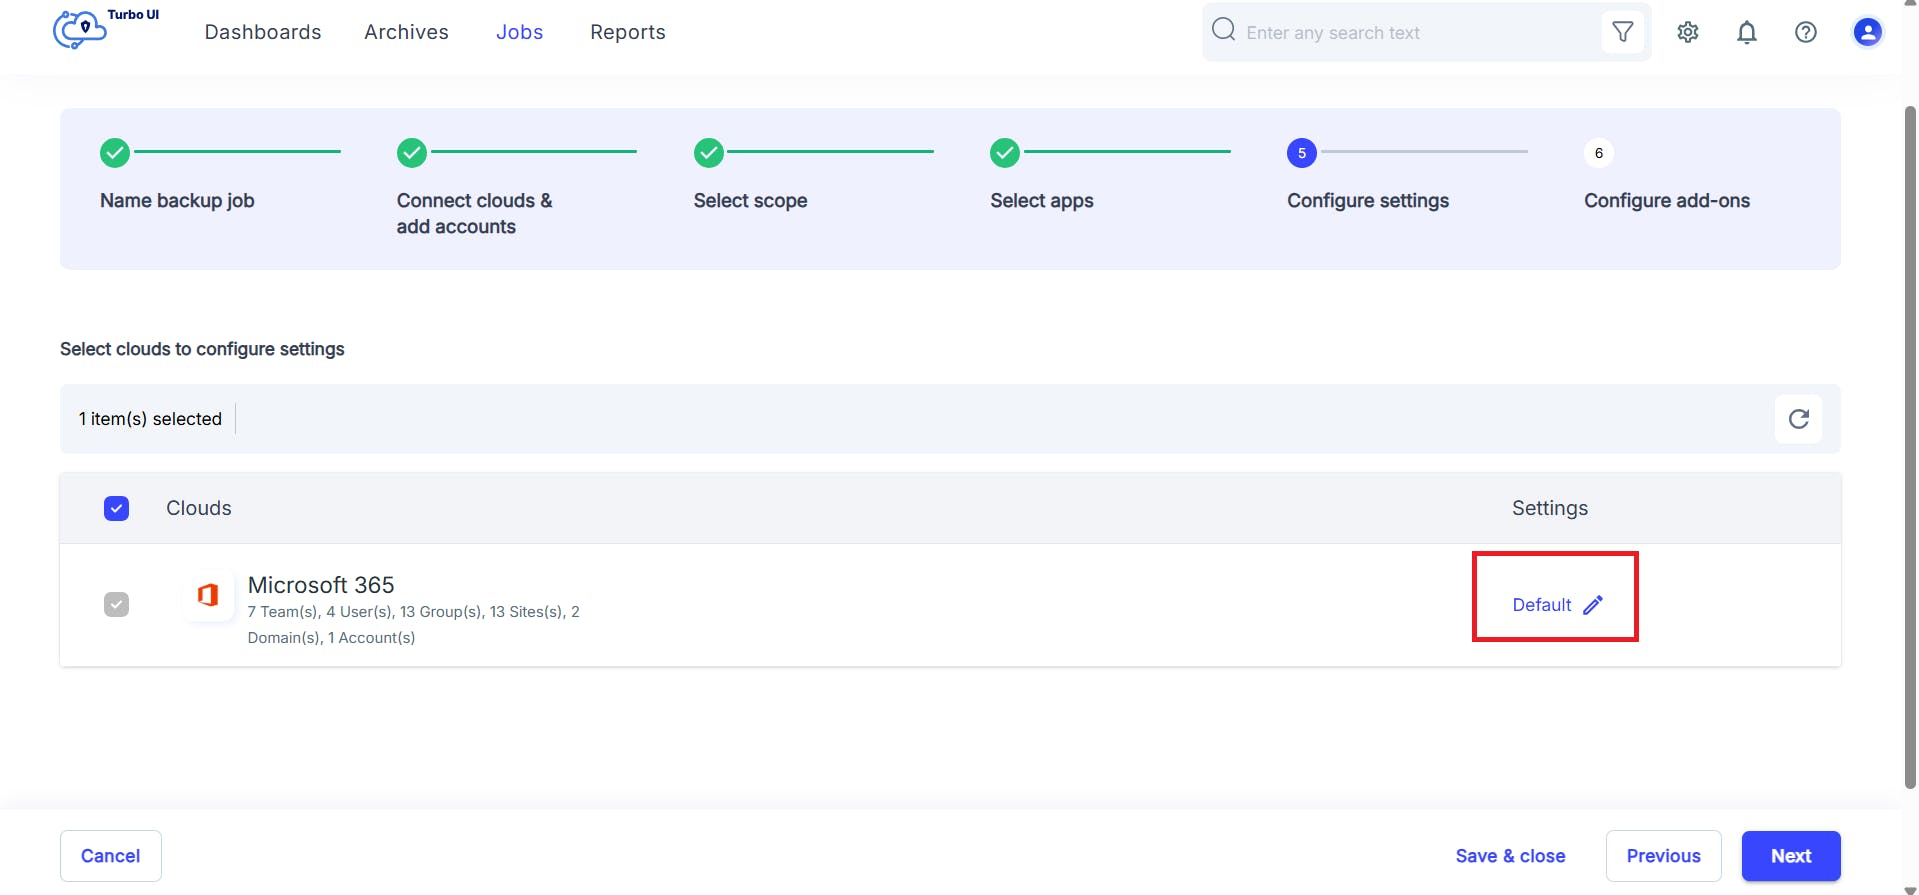
How to back up Outlook emails with SysCloud
Key features of SysCloud for Outlook backup

How to back up Outlook emails with native tools
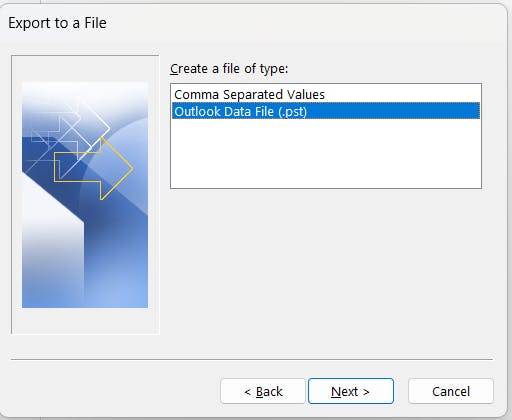
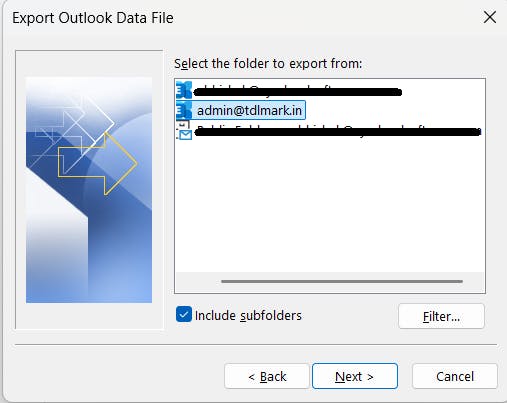
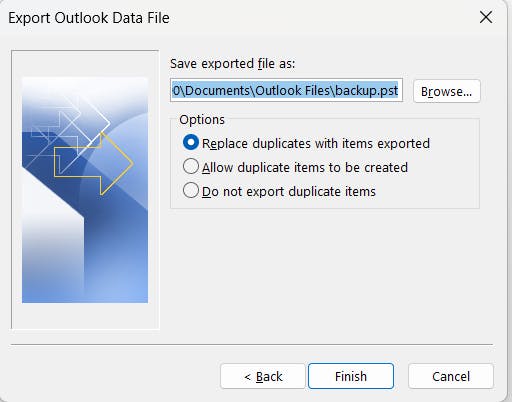
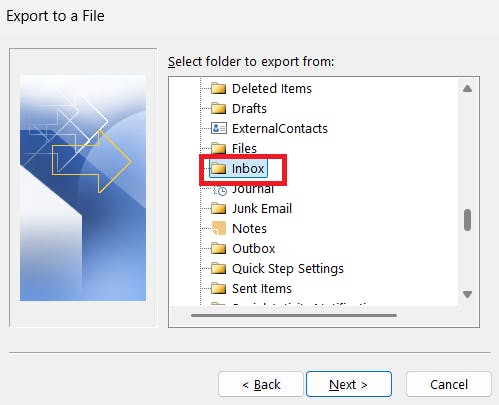
How to back up Outlook emails by exporting to PST or CSV

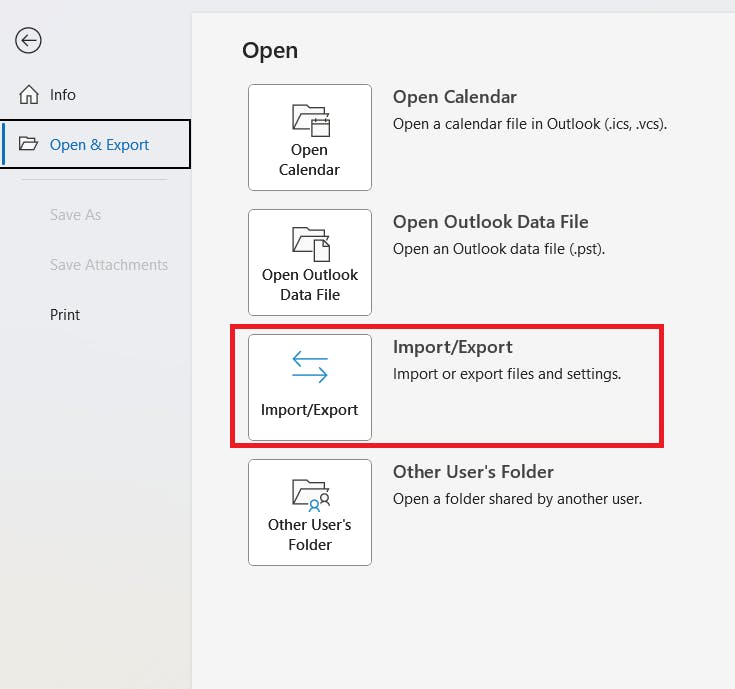
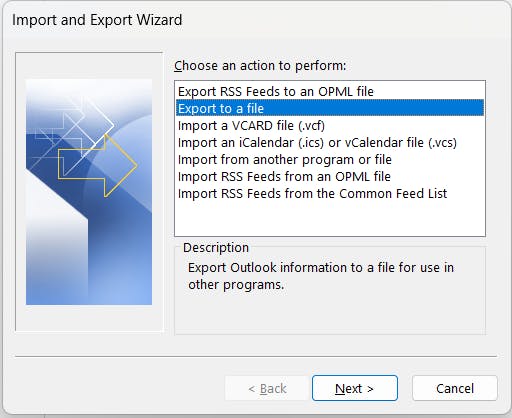
To Export as a PST File:

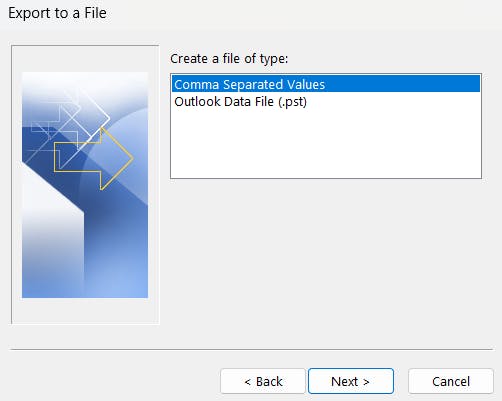
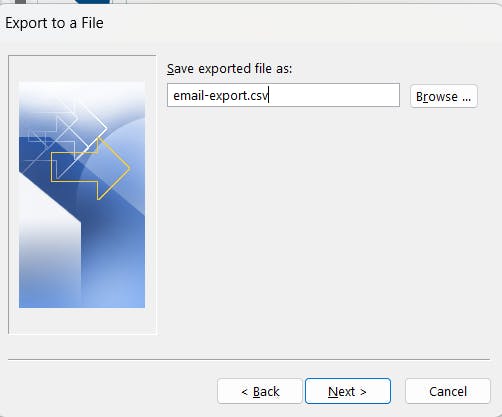
To Export as a CSV File:
Important Notes
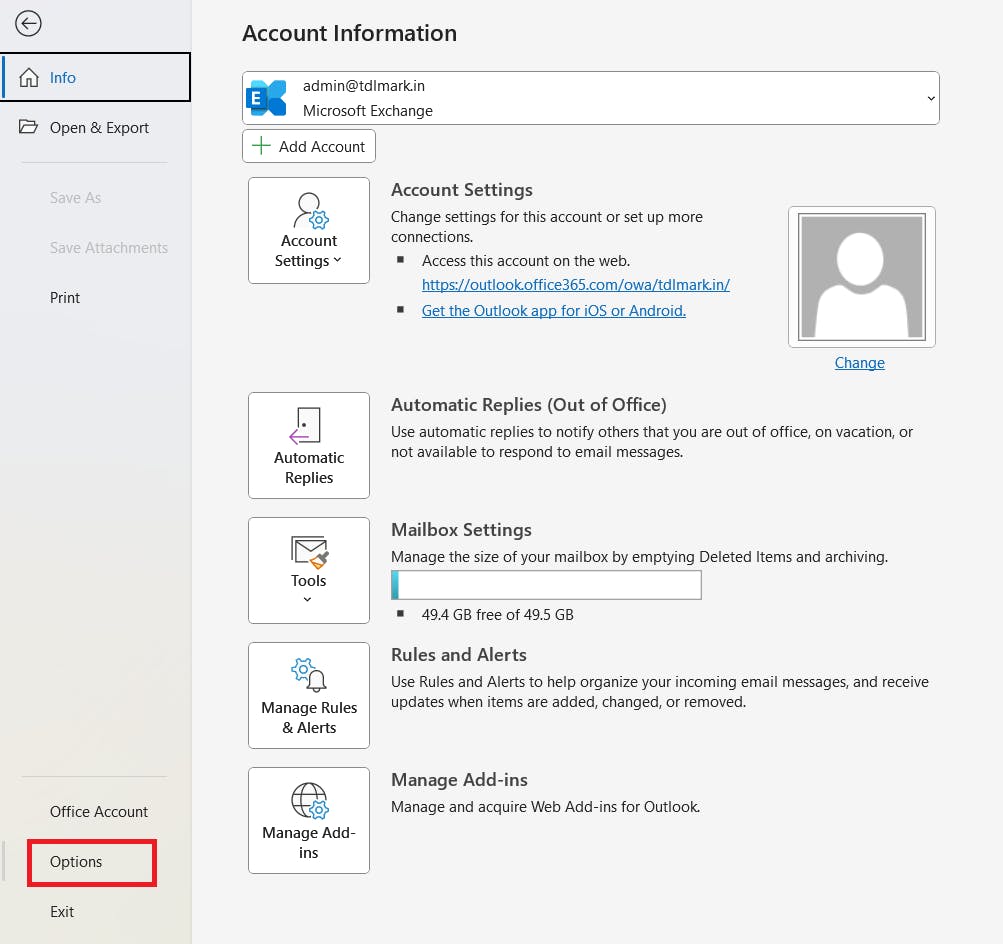
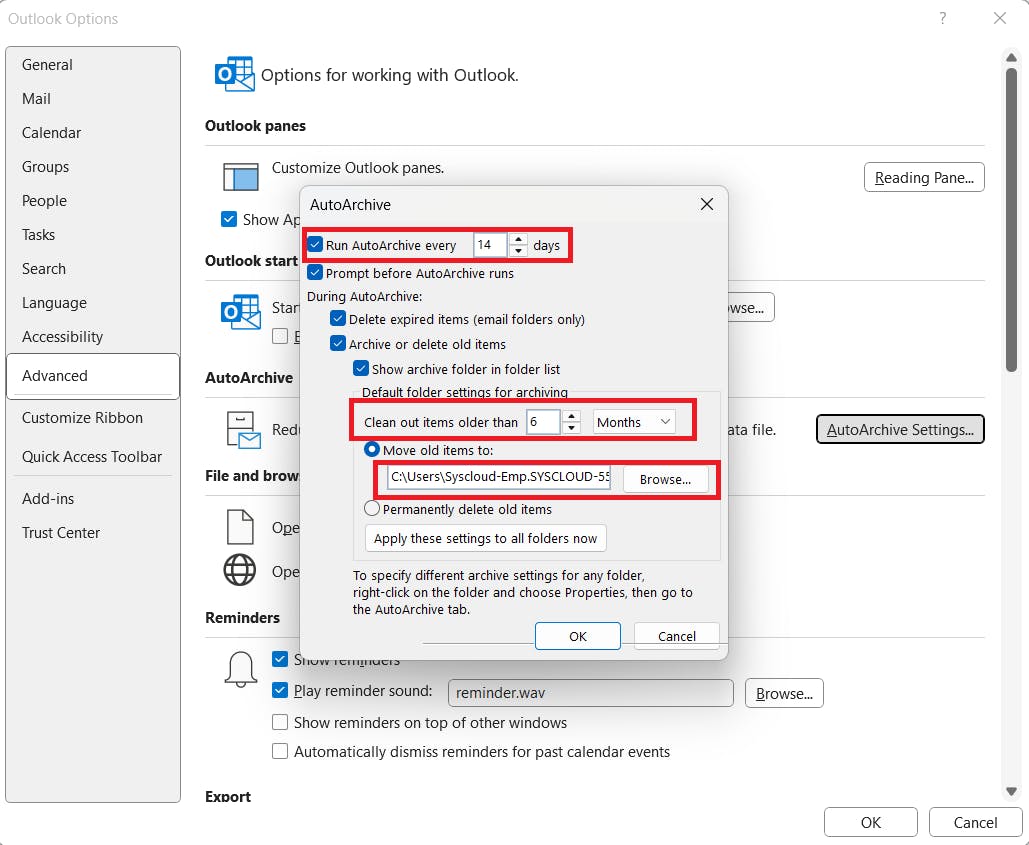
How to back Up Outlook emails using AutoArchive

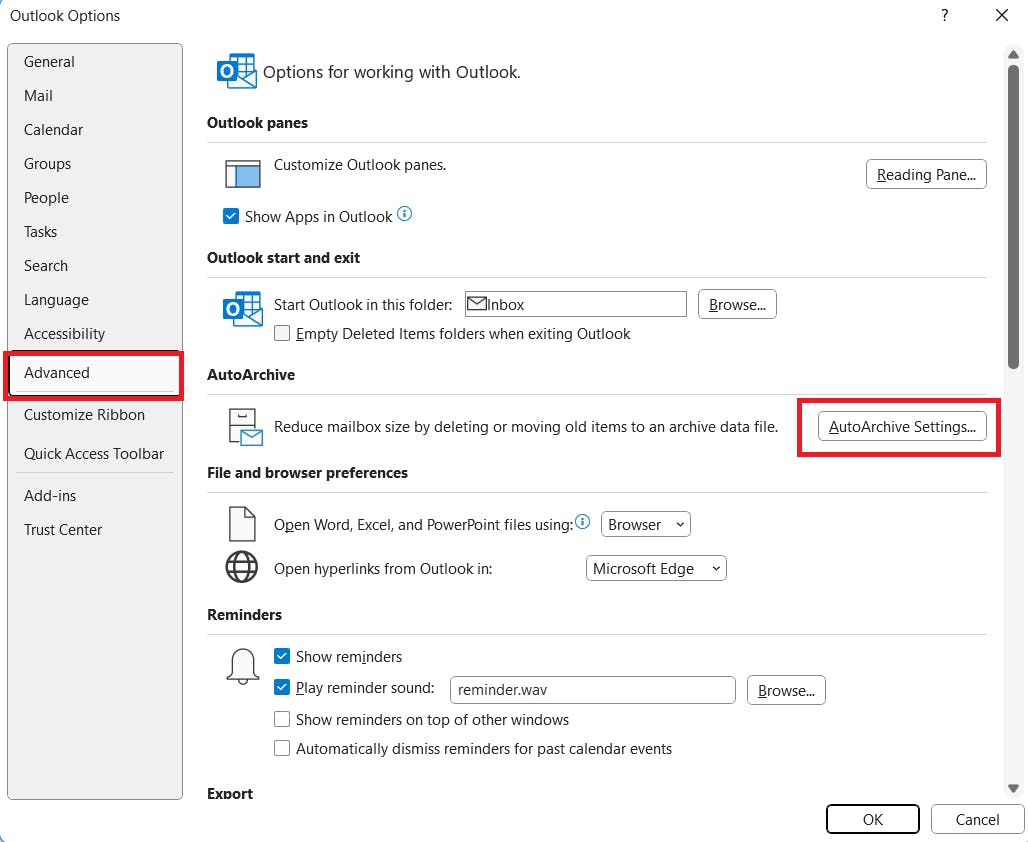
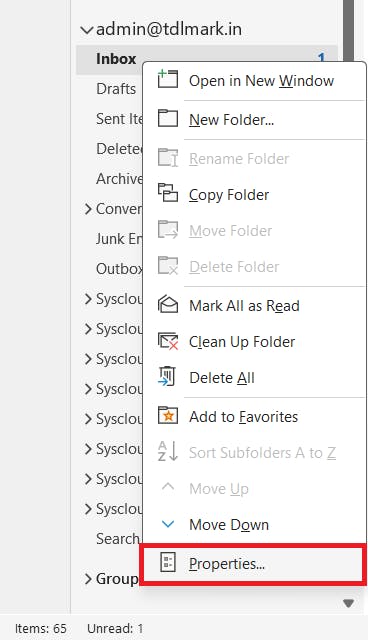
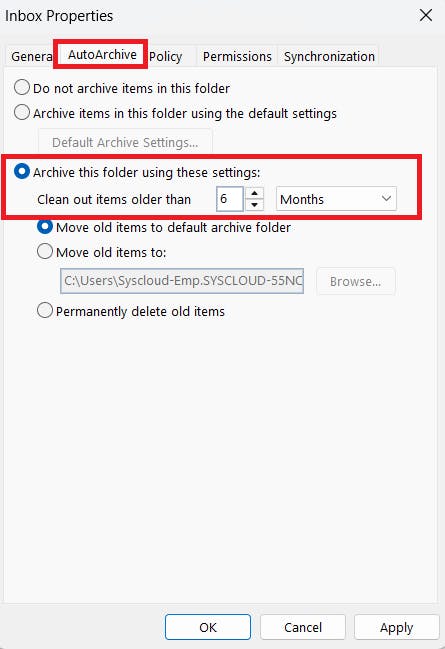
Folder-Specific Configuration (Optional but Recommended)
Things to Keep in Mind:
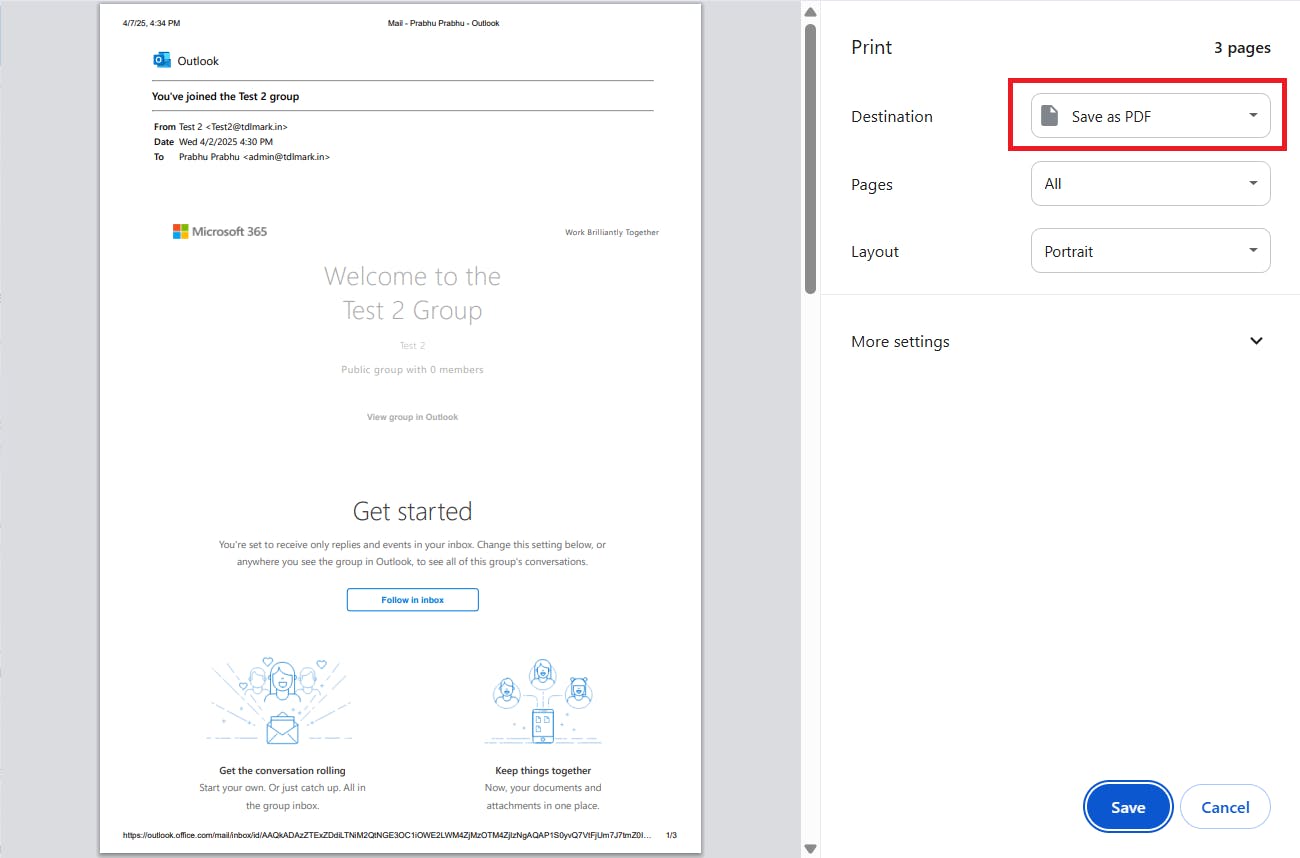
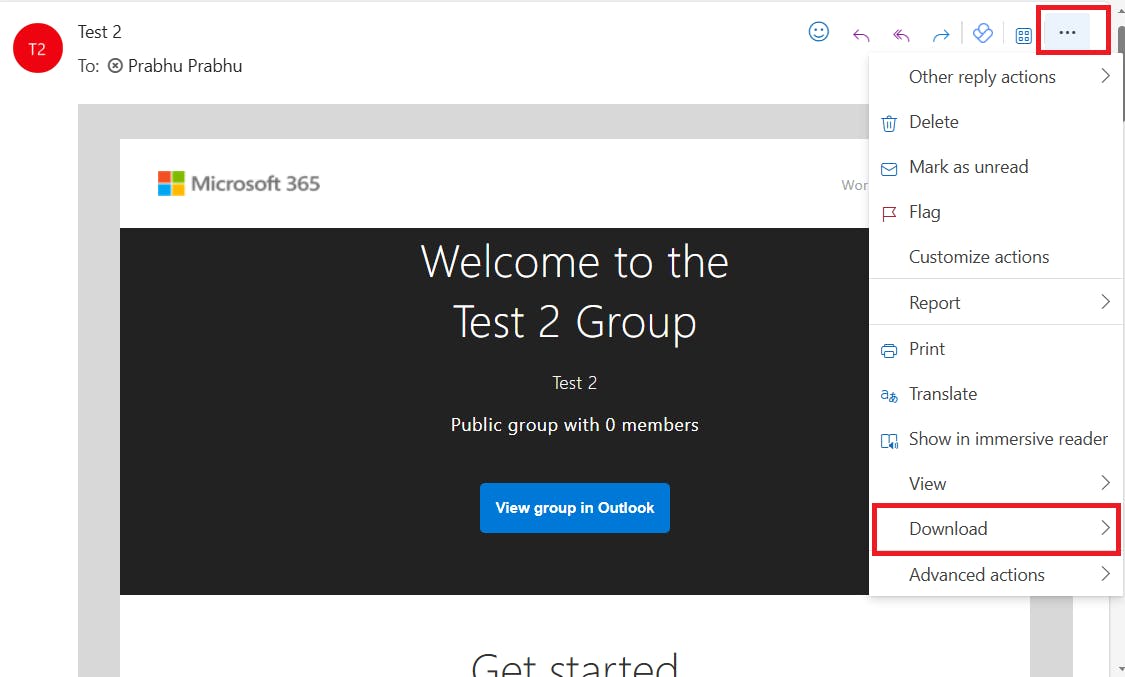
How to back up Outlook emails from the web as PDF or EML
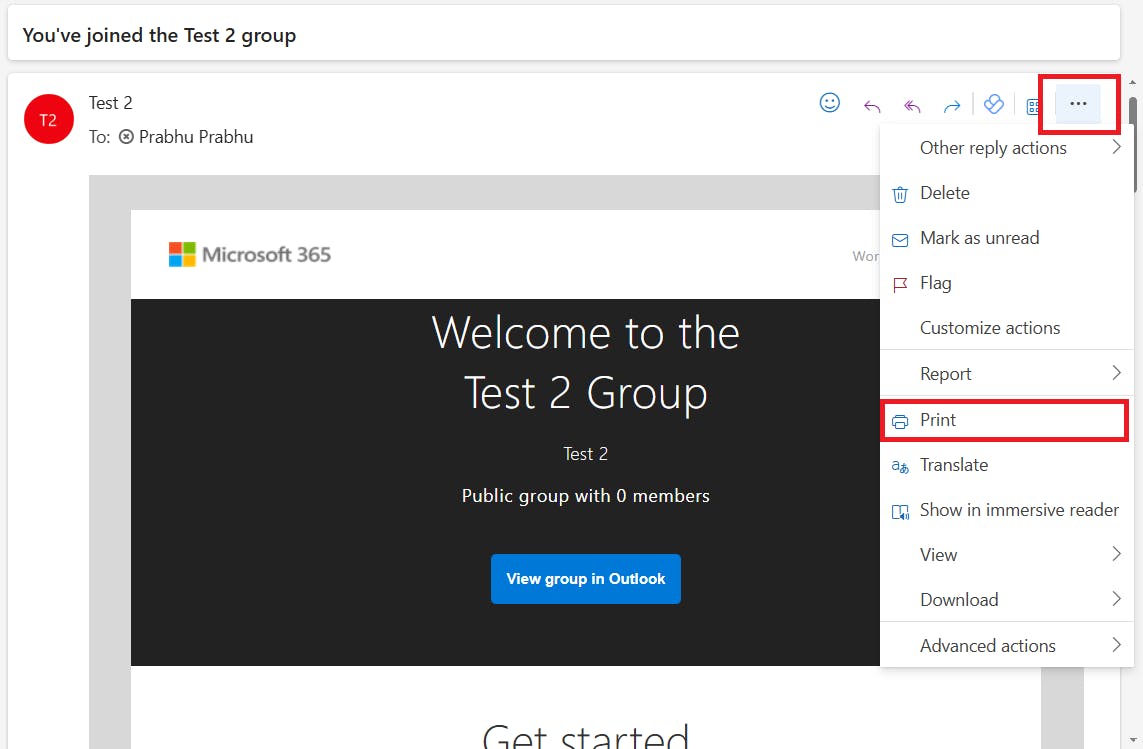
Save Outlook emails as PDF
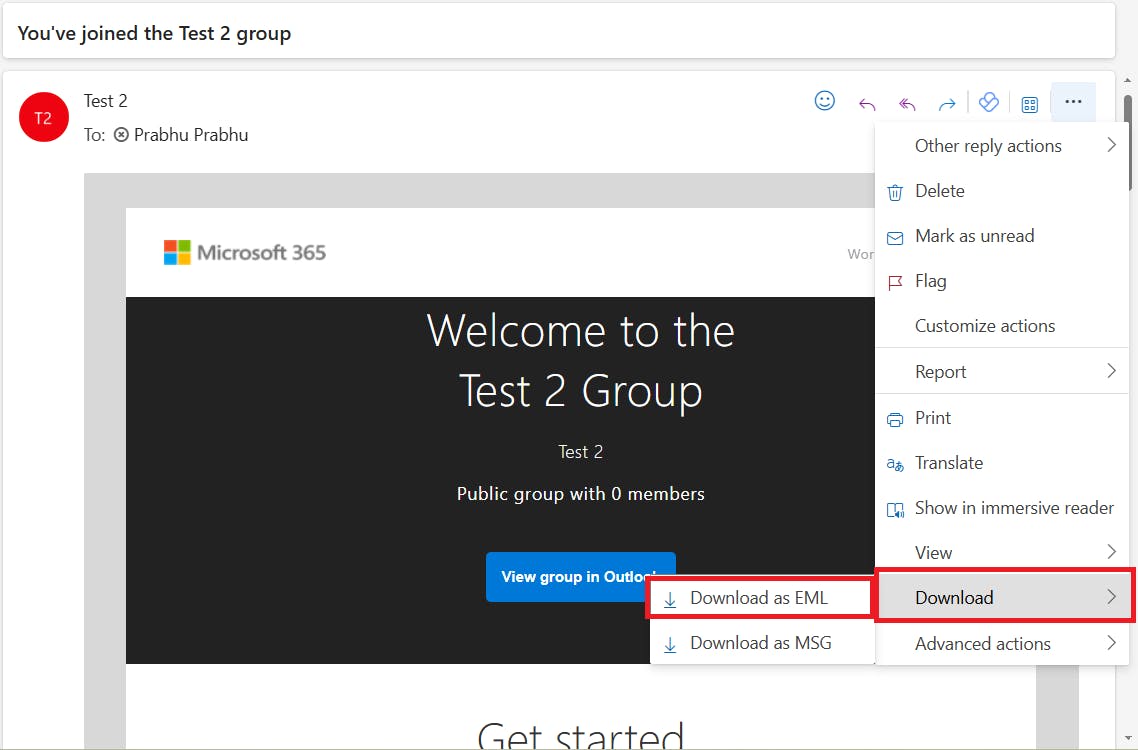
Save Outlook emails as EML
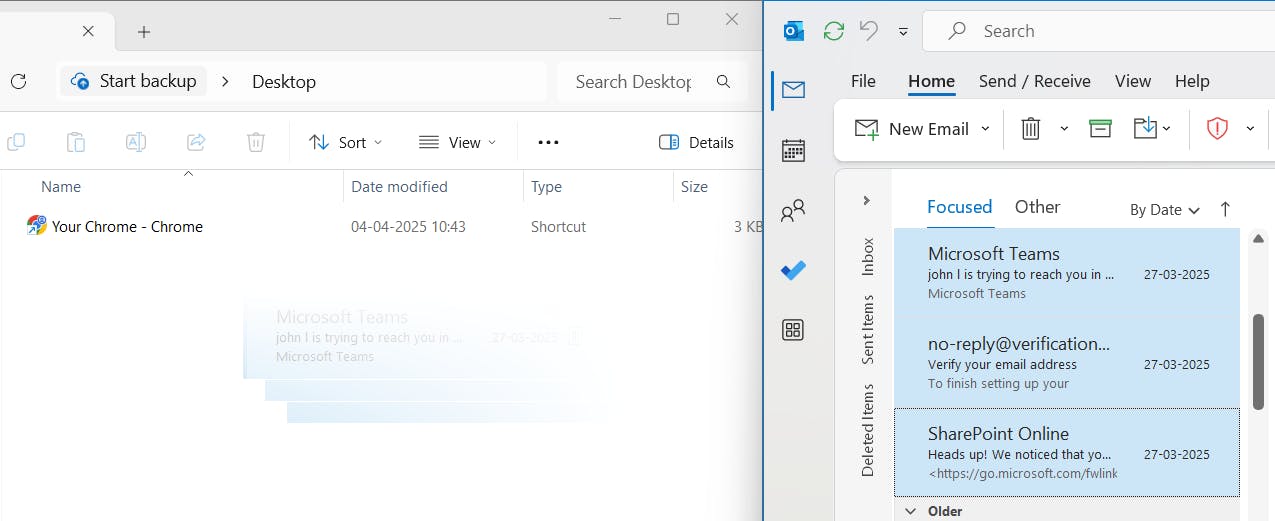
How to back up Outlook emails using local folder drag-and-drop

Comparison of Outlook backup methods
| Capability | Native Tools | eDiscovery | SysCloud | ||||
|---|---|---|---|---|---|---|---|
Show More | |||||||
Frequently Asked Questions (FAQs)
In this article

- How to Export Outlook Emails Using Microsoft 365 eDiscovery
- How to Back Up Outlook Emails with SysCloud
- How to Back Up Outlook Emails with Native Tools
- Frequently Asked Questions (FAQs)