In this article
- Using Google Vault
- Using third-party cloud backup tools
- Backup to external drive
- Backup to another Google Drive
- Using Drive for desktop
- Using Google Takeout
- FAQs
A Complete Guide to Google Drive Backup
17 Apr 2025
|5 min read
|Anju George


Blog Articles
Article at a glance
Google Drive lacks comprehensive backup options, putting critical business data at risk of permanent loss.
Limited native backup options: Google Vault is designed for archiving, not backup; deleted user accounts result in permanent data loss.
Manual backups are unreliable: Methods like external hard drives, Google Drive for desktop, and Google Takeout require manual effort, have limited restoration options, and don't retain sharing permissions.
Read more
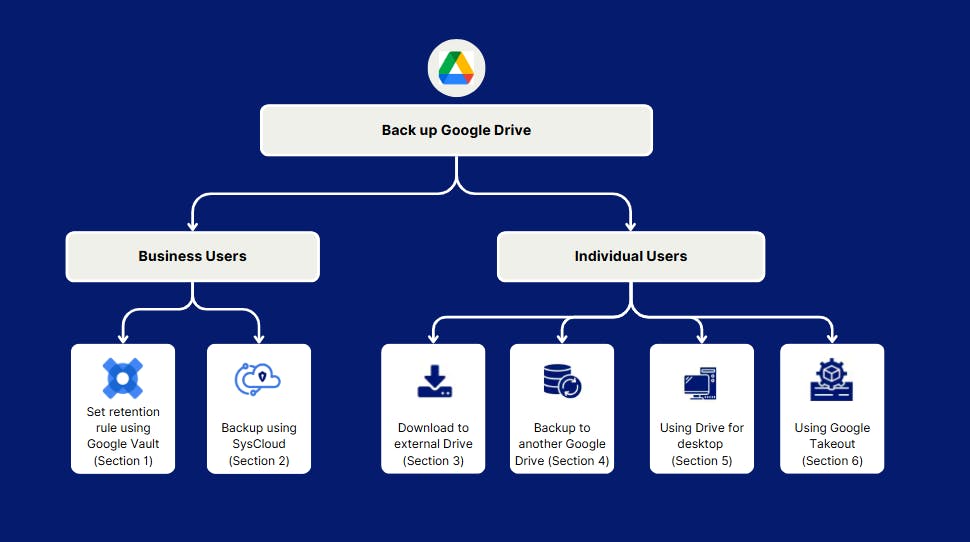
I. Google Drive backup tools for business users
1. How to backup Google Drive data using Google Vault
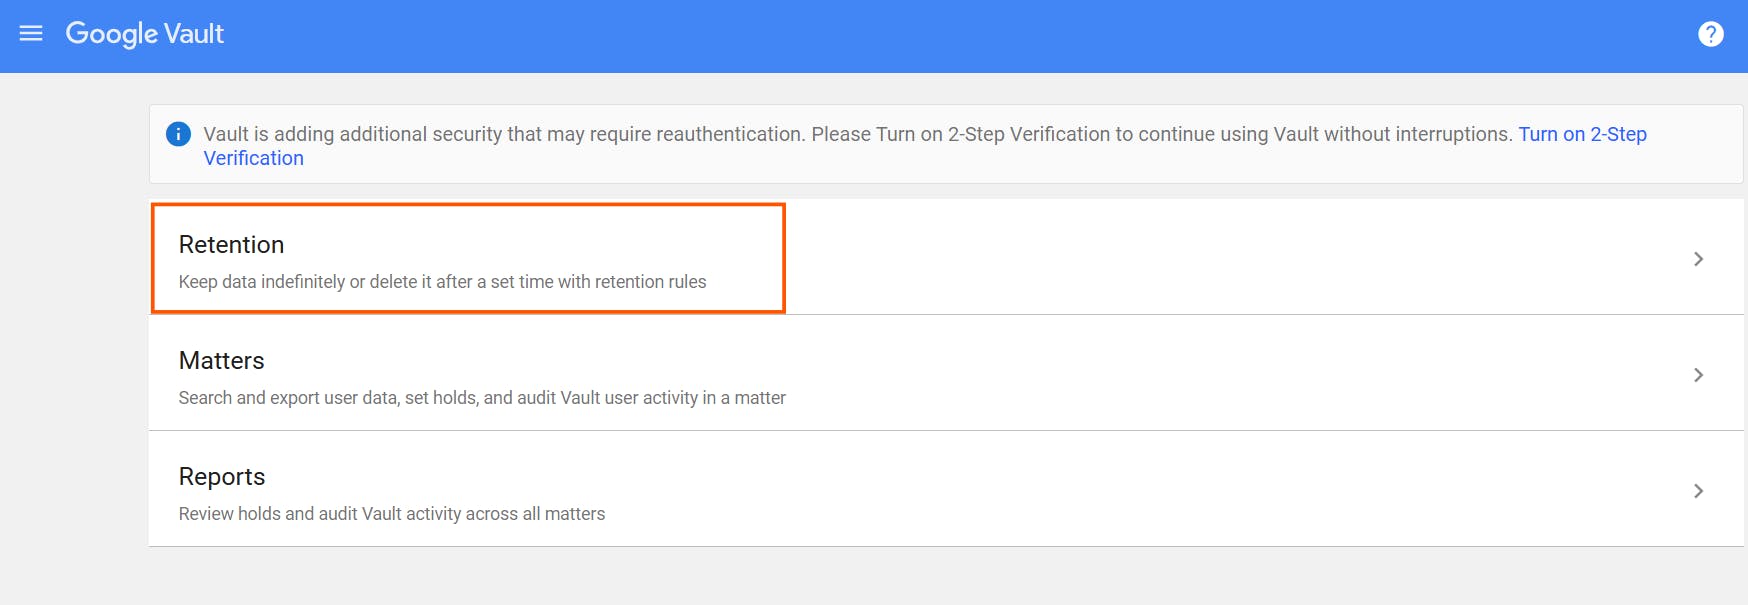
1.1. What is Google Vault?
1.2. How to set a retention rule for your Google Drive files using Google Vault


1.3. Pros of backing up Google Drive data using Google Vault
1.4. Cons of backing up Google Drive data using Google Vault
2. How to backup Google Drive using a third-party cloud backup tool
2.1. Why you should back up Google Drive using third-party cloud backup tools
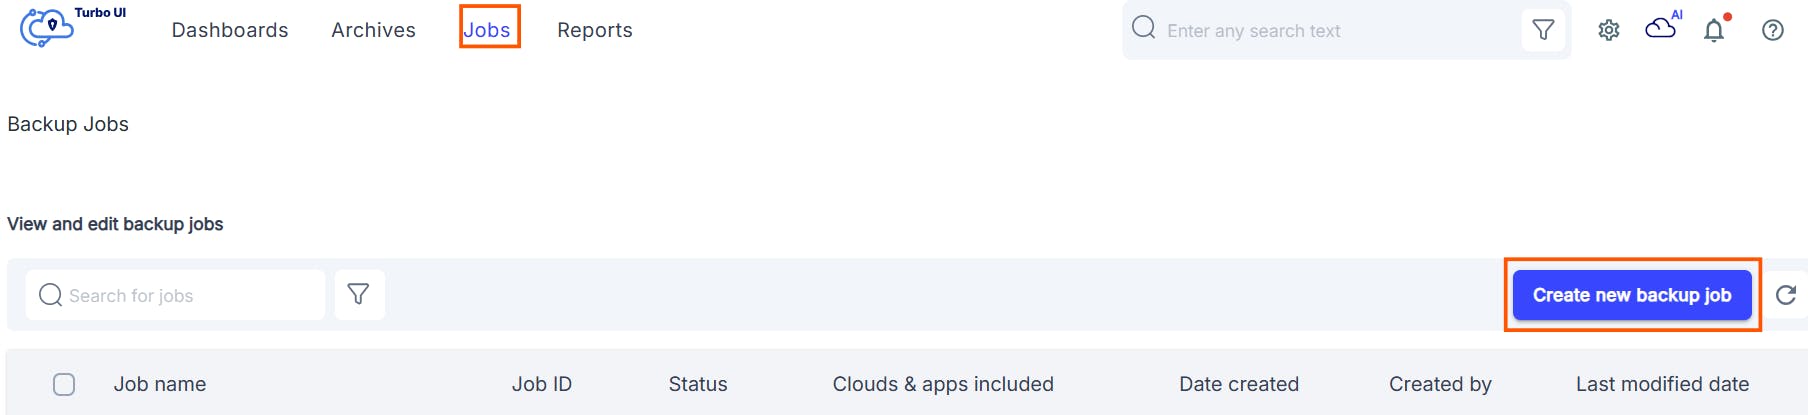
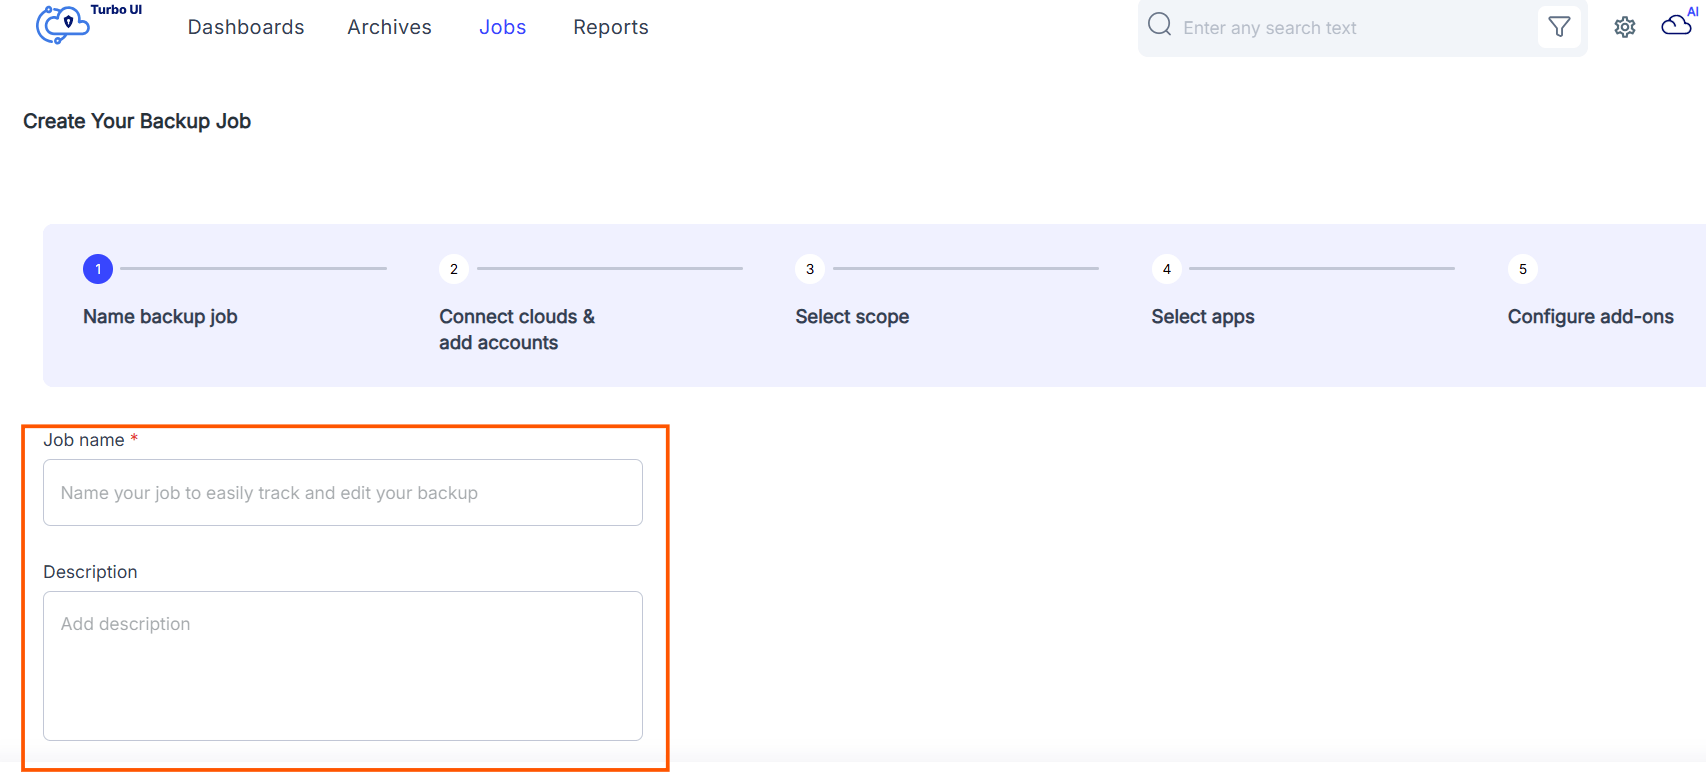
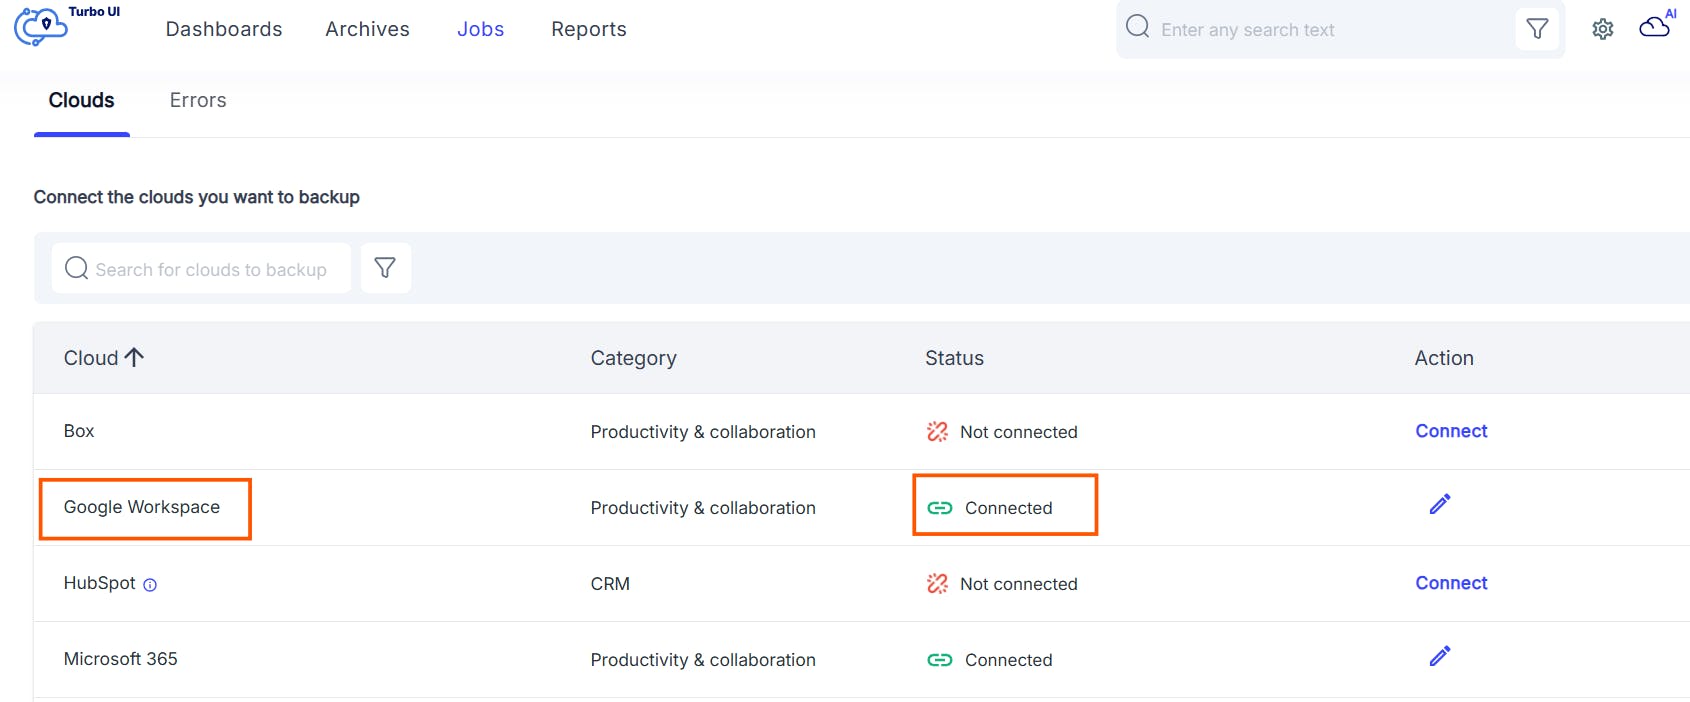
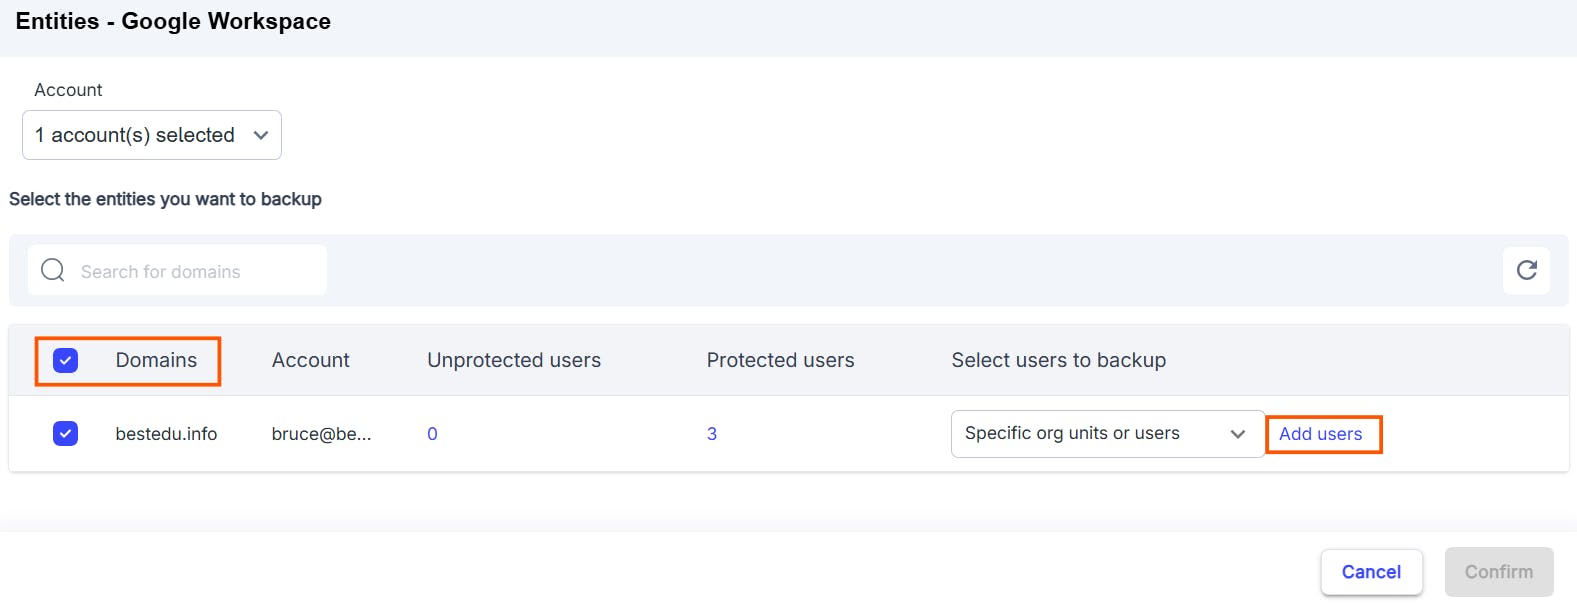
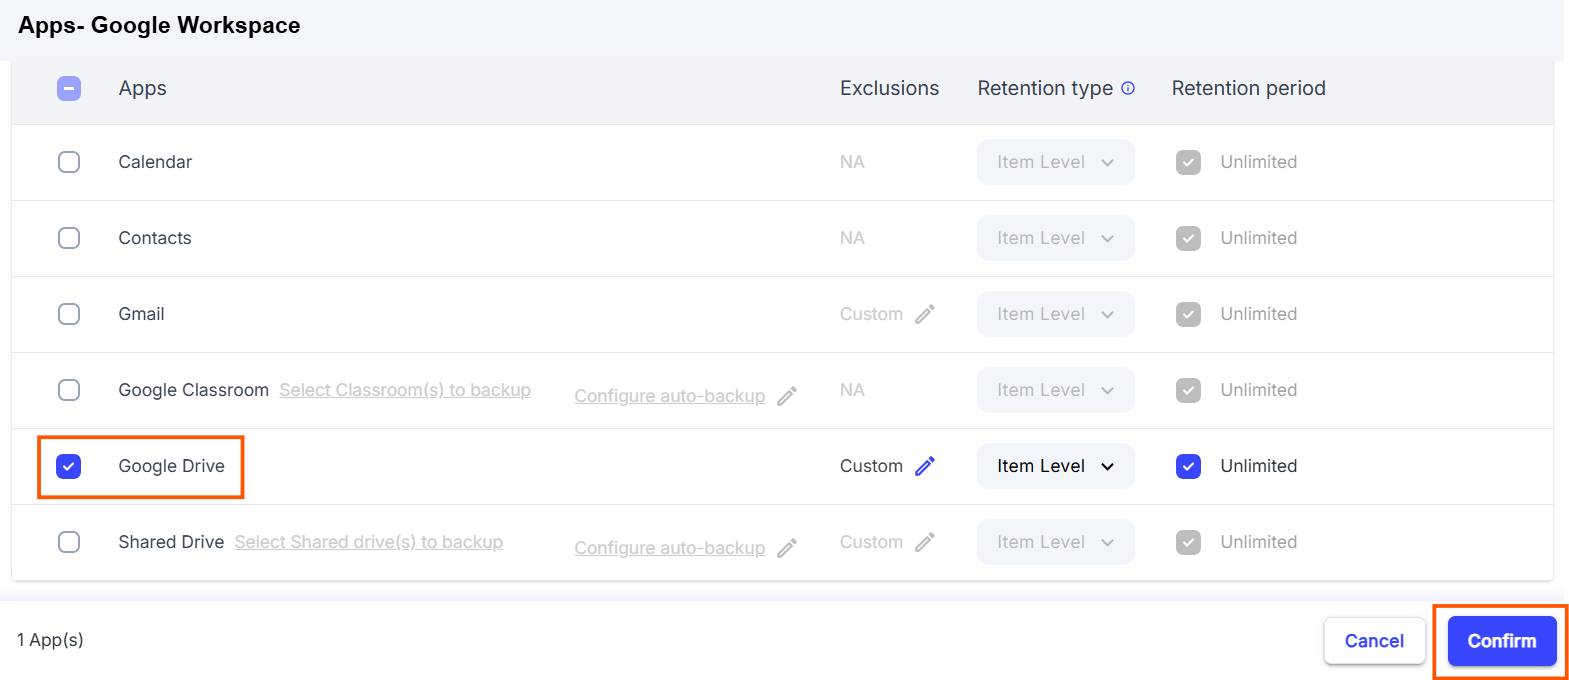
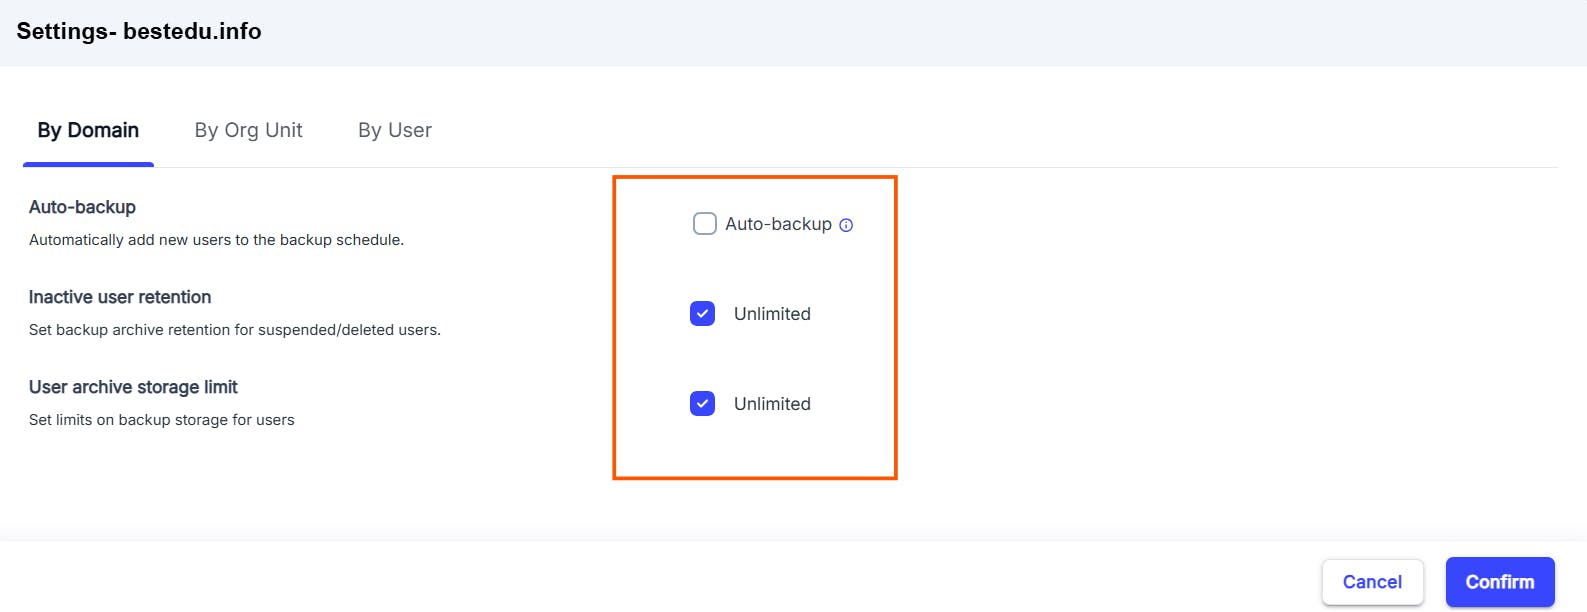
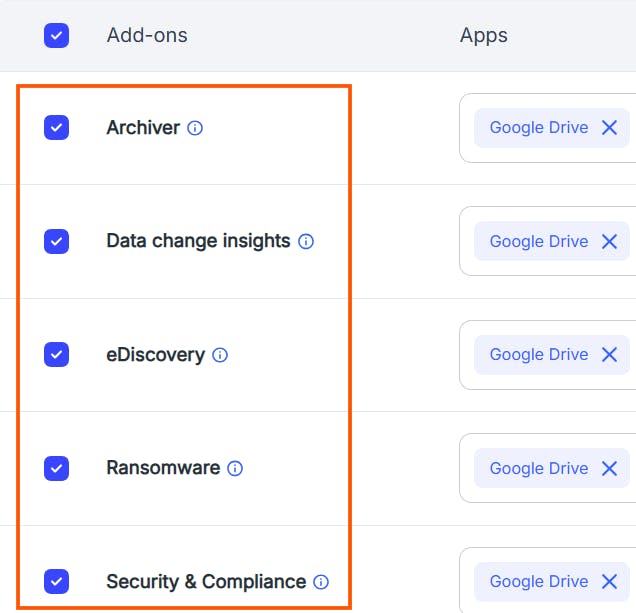
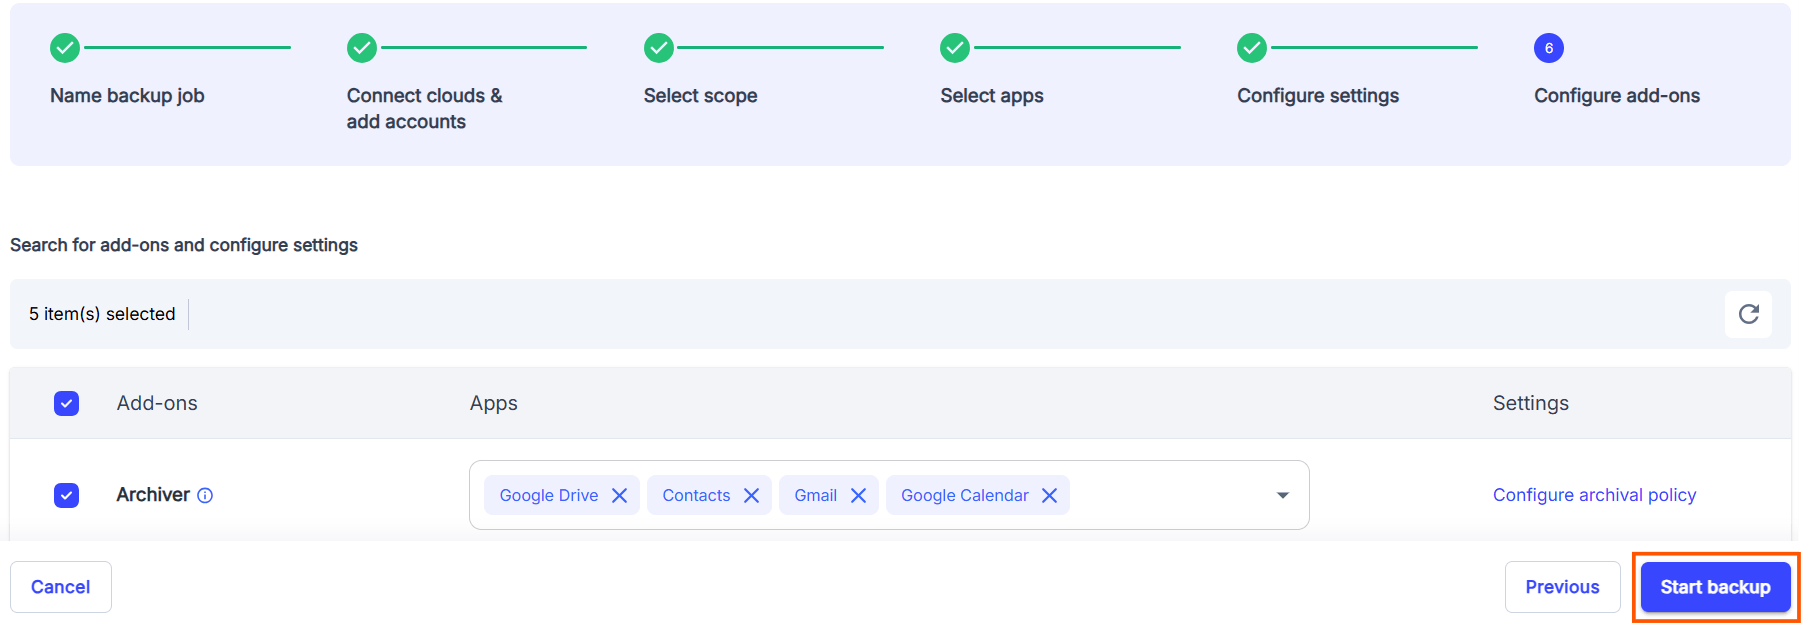
2.2. How to back up Google Drive using SysCloud

2.3 Pros of backing up Google Drive using SysCloud
II. Google Drive backup for individual users
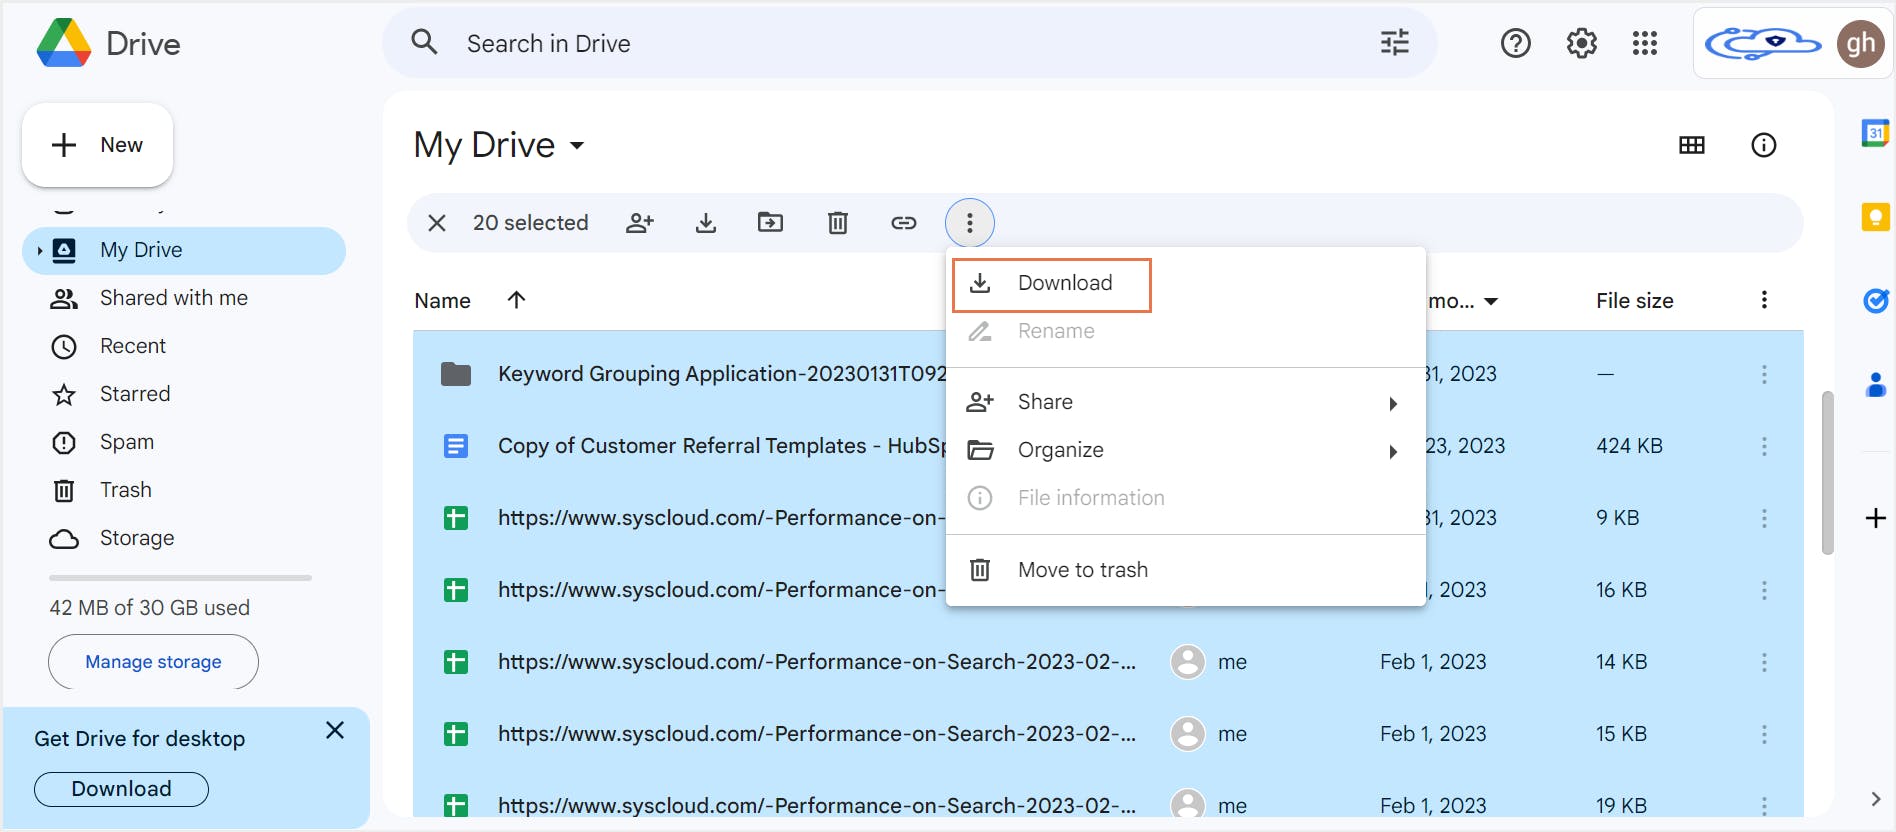
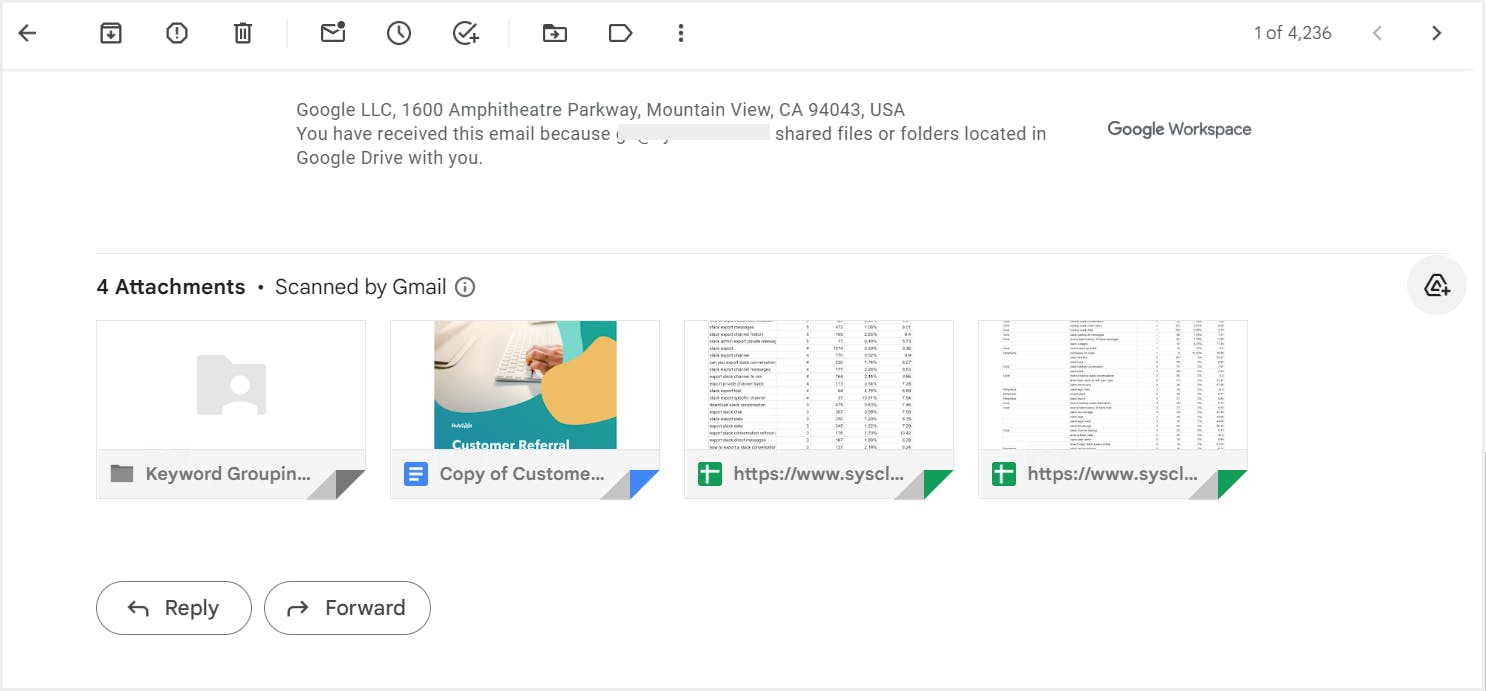
3. How to backup Google Drive to an external hard drive
3.1. Pros of backing up Google Drive to an external hard drive
3.2. Cons of backing up Google Drive to an external hard drive
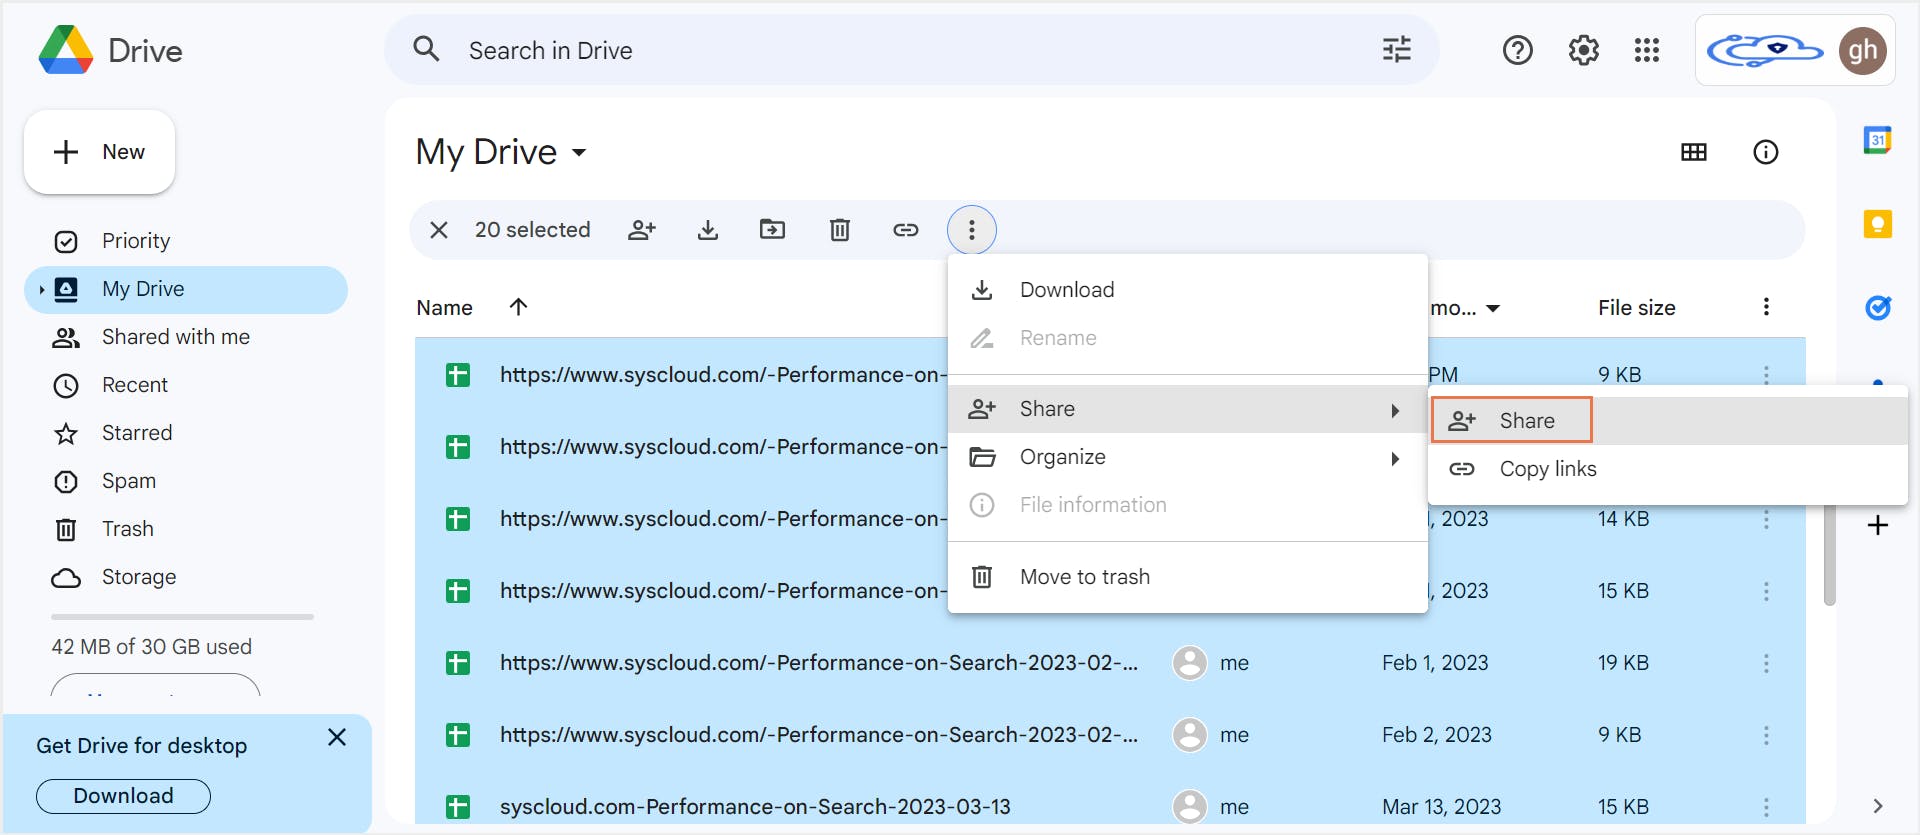
4. How to back up Google Drive to another Google Drive
4.1. Pros of backing up Google Drive to another Google Drive
4.2. Cons of backing up Google Drive to another Google Drive
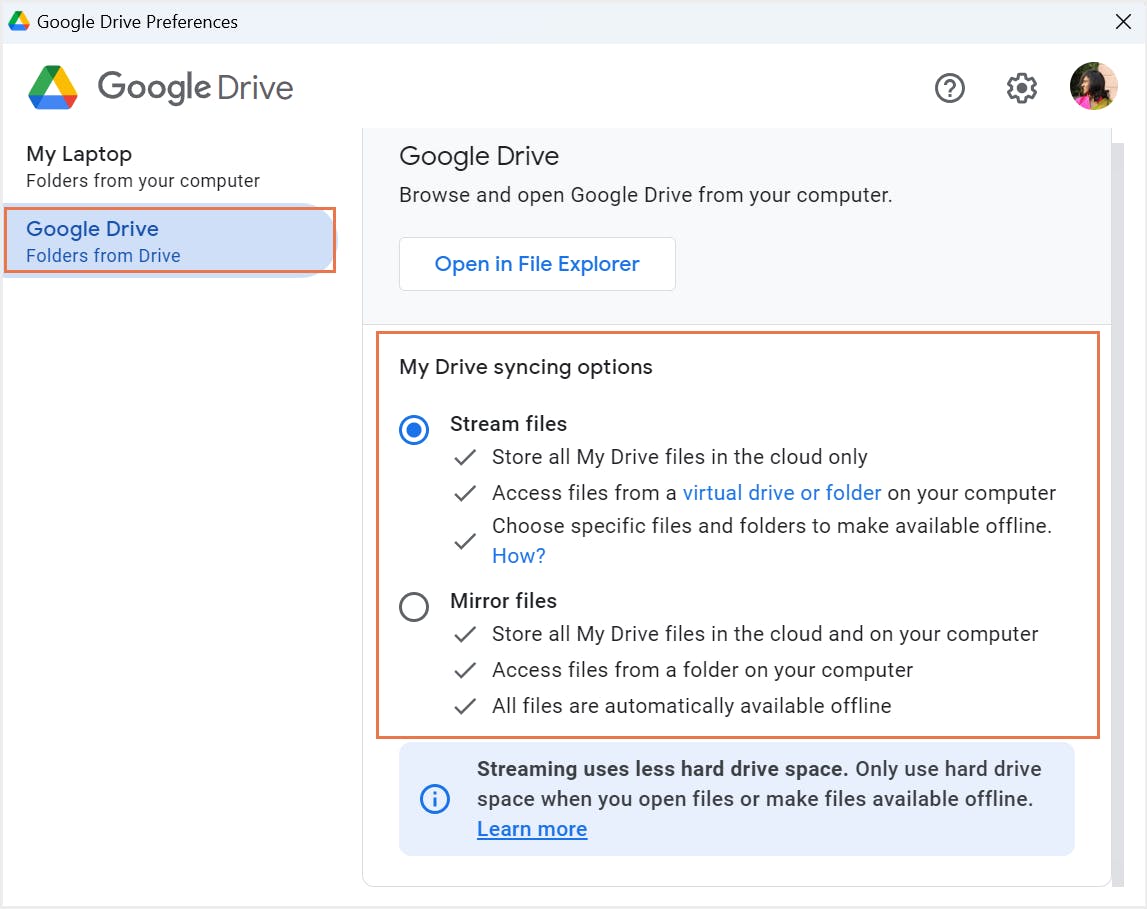
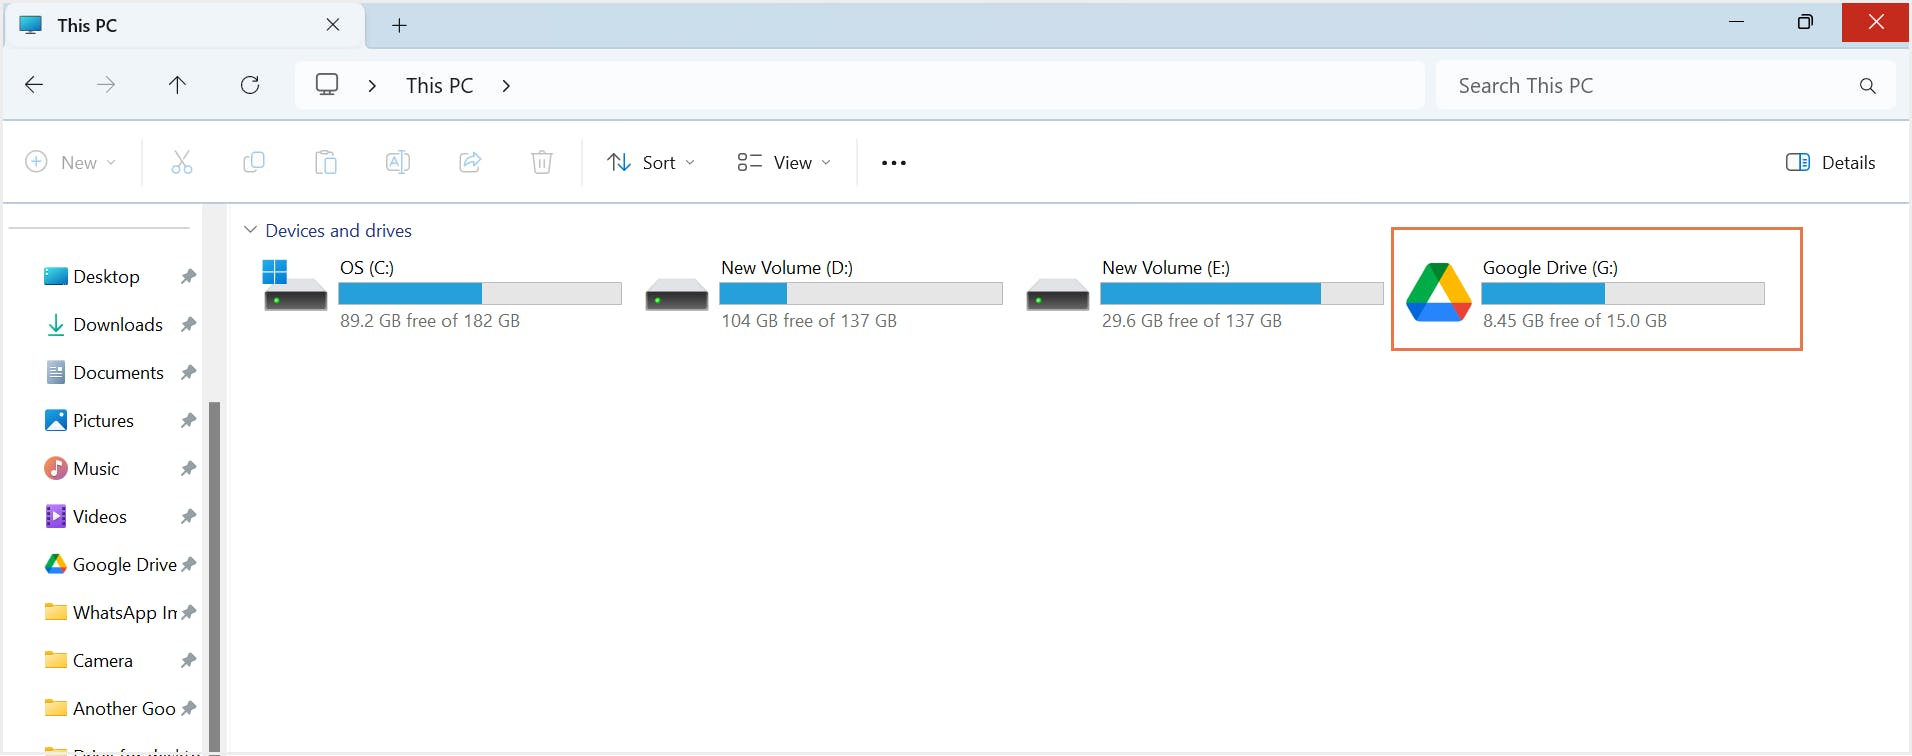
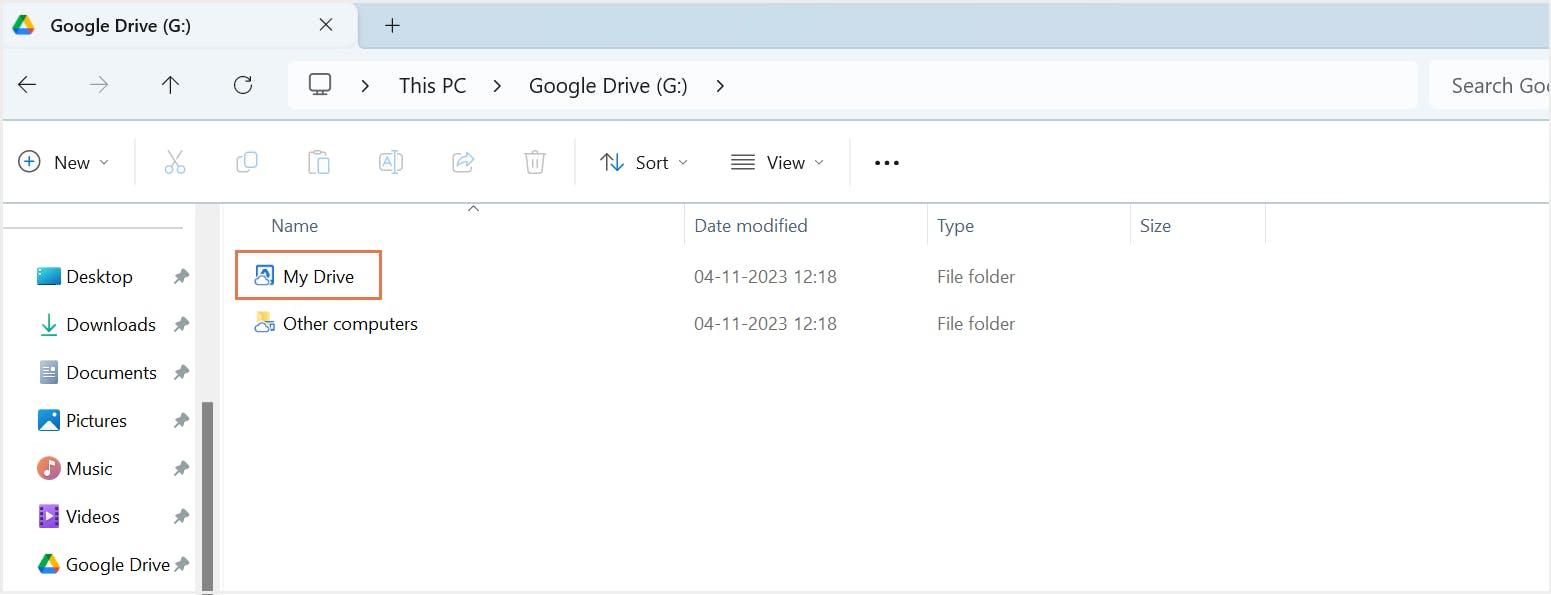
5. How to backup Google Drive data using Google Drive for desktop
5.1. What is Google Drive for desktop?
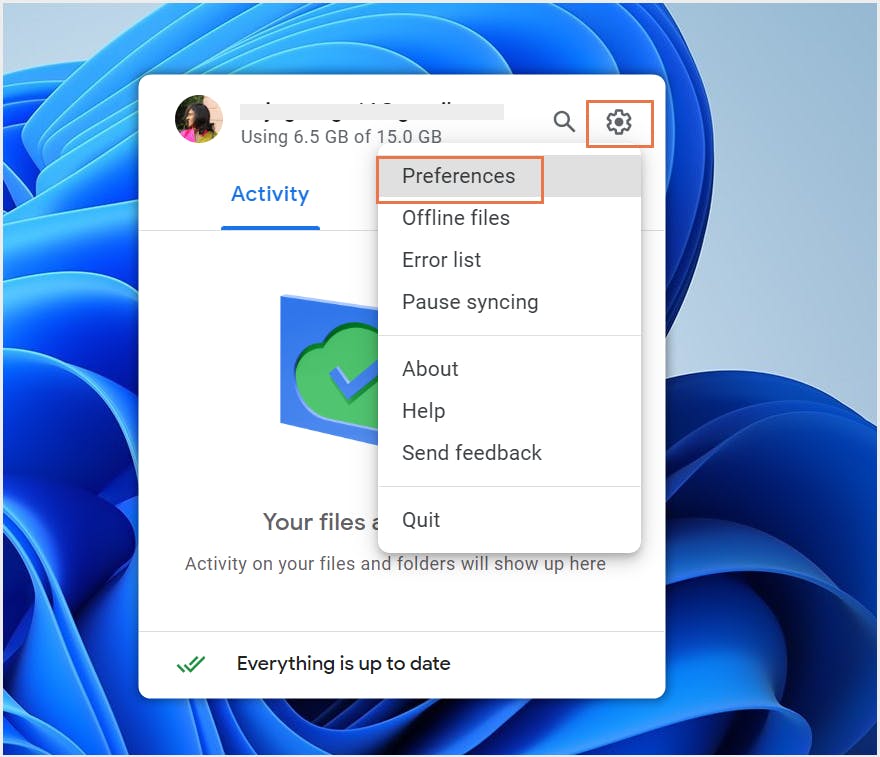
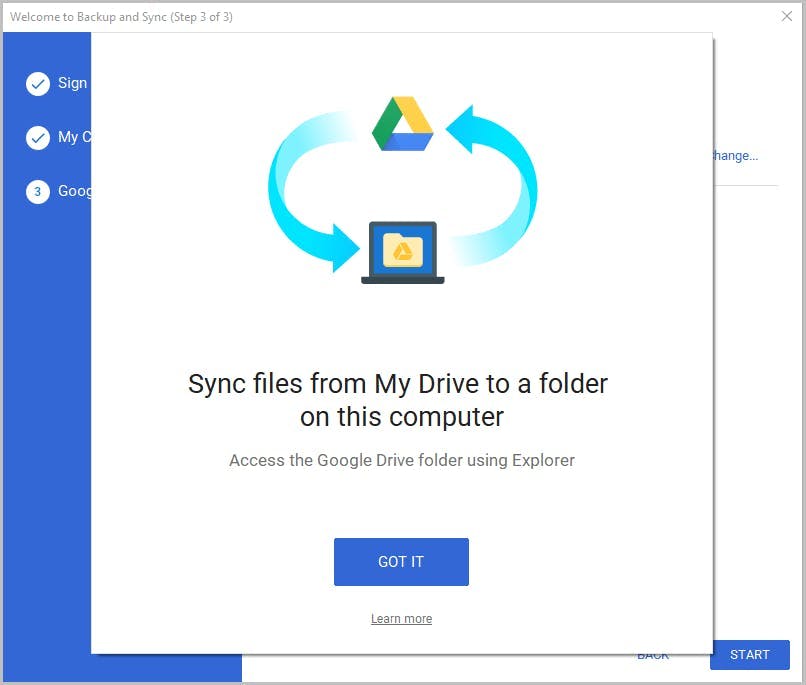
5.2. Pros of backing up Google Drive using Drive for desktop
5.3. Cons of backing up Google Drive using Drive for desktop
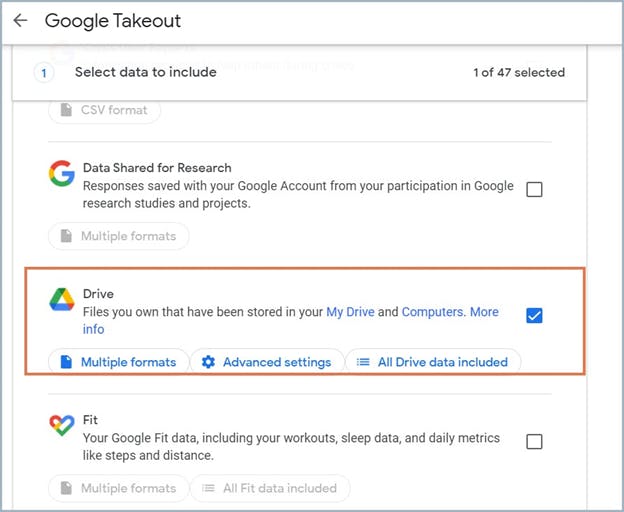
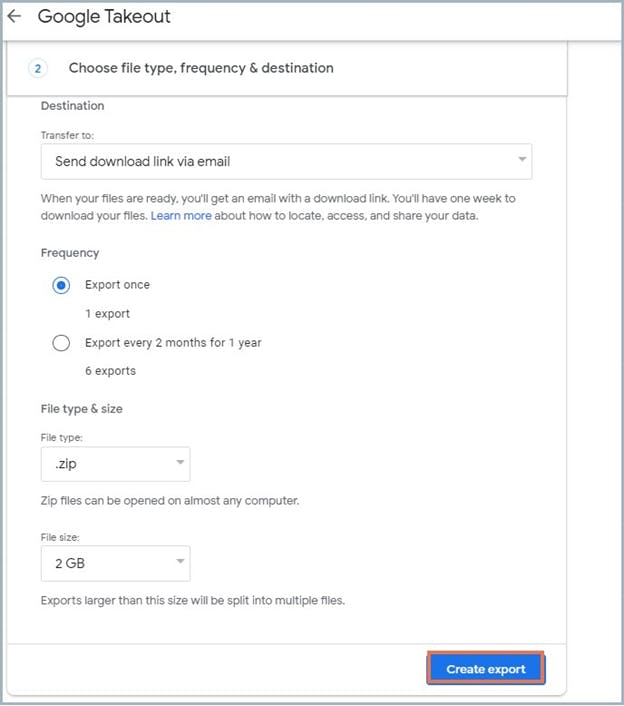
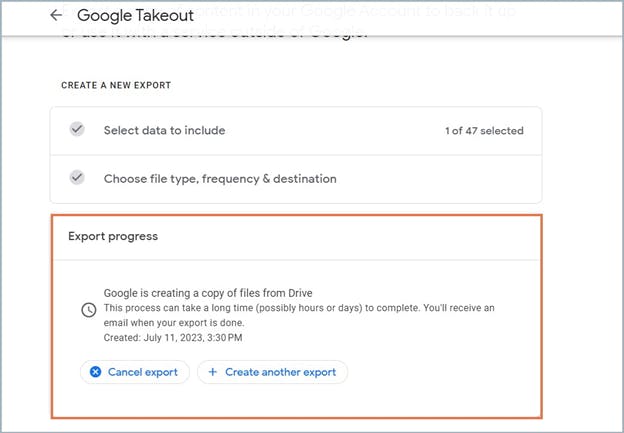
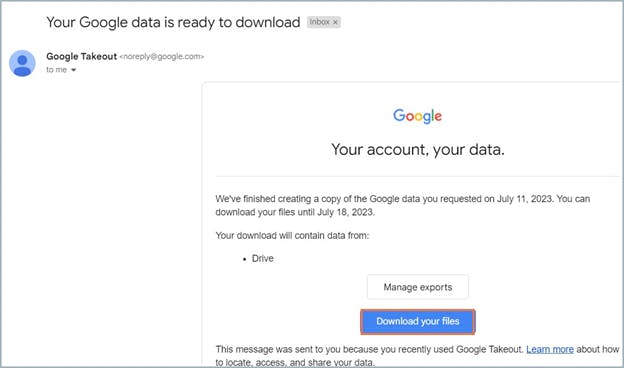
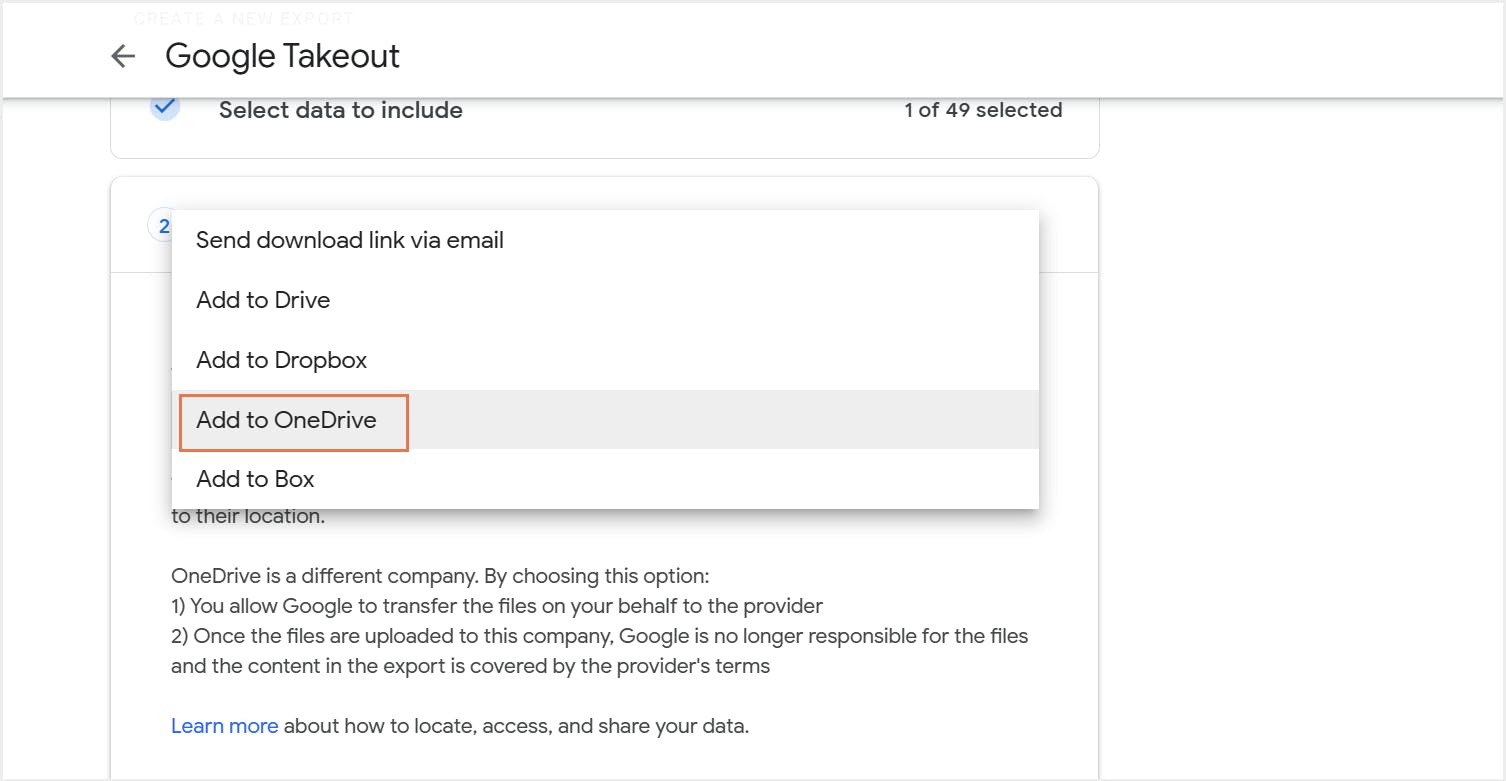
6. How to back up Google Drive using Google Takeout
6.1. Pros of backing up Google Drive files using Google Takeout
6.2. Cons of backing up Google Drive files using Google Takeout
7. Frequently asked questions on Google Drive backup
In this article

- Using Google Vault
- Using third-party cloud backup tools
- Backup to external drive
- Backup to another Google Drive
- Using Drive for desktop
- Using Google Takeout
- FAQs